


[social_warfare]
This article is the fourth chapter of my guide on Building Apps With MySQL and WordPress.
This guide shows you how to make three different MySQL/Wordpress powered apps that all leverage the benefit of having a web hosting account.
The first chapter shows you how to sign up for a hosting account.
The second chapter shows you how to set up the MySQL database and create the first app that will read data from it.
The third chapter shows you how to create a WordPress site and create a companion iPhone app that will display your sites contents.
This chapter will also show you how to create a companion iPhone app but with much less objective-C code needed.
TABLE OF CONTENTS
1. Choosing a responsive WordPress theme with a strong mobile view
1.1 Creating the website
1.2 Finding a mobile responsive theme
1.3 Installing a new WordPress theme
2. How to make an iPhone app that leverages the mobile version of your website
2.1 Creating the Xcode project
2.2 Loading the URL into the webview
1. Choosing a responsive WordPress theme with a strong mobile view
In this last app of the MySQL/Web host article series, you’re going to be setting up a new website and applying a WordPress theme which has an app-like mobile responsive layout.
When we display this website in our app using a UIWebView, it will look and feel like an app but the user will actually be interacting with the website itself.
Some good candidates for this type of app are portfolios, resumes or content based apps.
You’ll get a discount, I’ll receive a bonus at no extra cost to you and this supports my efforts in publishing free tutorials. Thank you!
We’re going to create a brand new WordPress installation. You won’t need another domain name but you can get one if you want.
In this tutorial, we’re going to create a new WordPress installation in a sub-directory because when we display the site in the web view, the user won’t see the domain name or web address anyways.
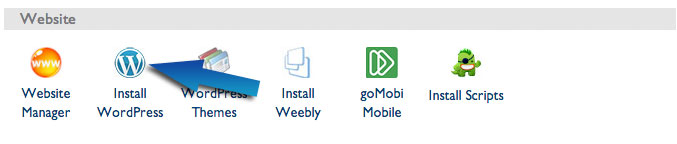
Start by going to your Bluehost control panel and looking for the “Install WordPress” icon:
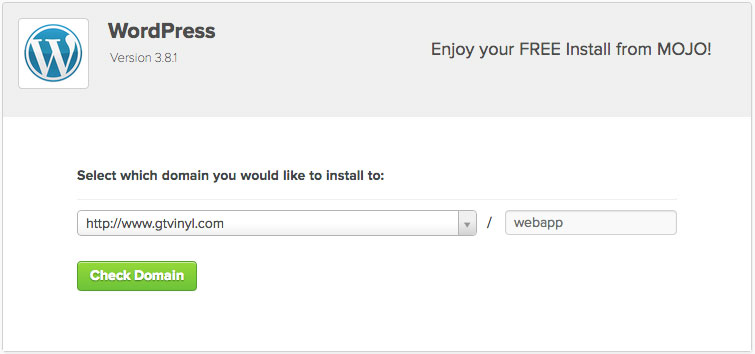
On the next screen, choose “Start a brand new install”.

Then you’ll get to select the domain name you registered with your Bluehost hosting account but you’ll also want to specify a directory to install in because we already have a site set up on the root of the domain from the previous app that we did.
Fill in “webapp” for the directory field and click “Check Domain”.
The rest of the WordPress installation steps are the same as in the last chapter.
Click here if you don’t remember!
1.2 Finding a mobile responsive theme
There are a lot of free mobile responsive WordPress themes that you can get.
Go to Google.com and search for “free responsive wordpress themes” and you’ll find a lot of articles which aggregate a whole bunch of free themes.
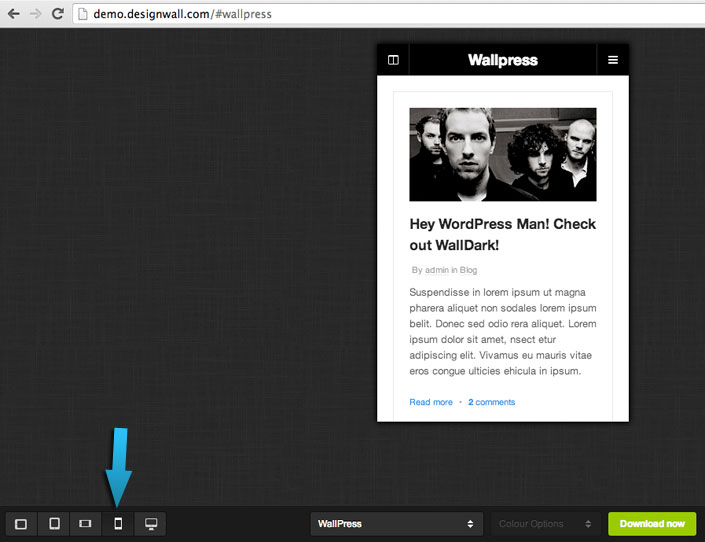
What you want to do is to check out the live demos of the themes and usually they’ll have a button to show you how the theme would look like in a mobile view.
By clicking that button, you can see what it would look like if it were displayed in a UIWebView in your app.
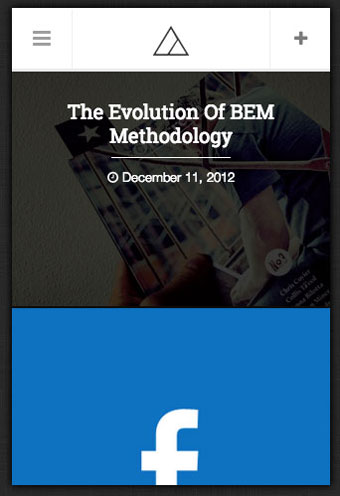
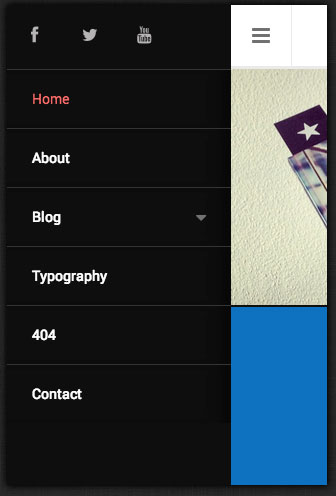
You want to find something that resembles an app. I find that the themes which use large photo like tiles for navigation seem to look the most app-like to me.
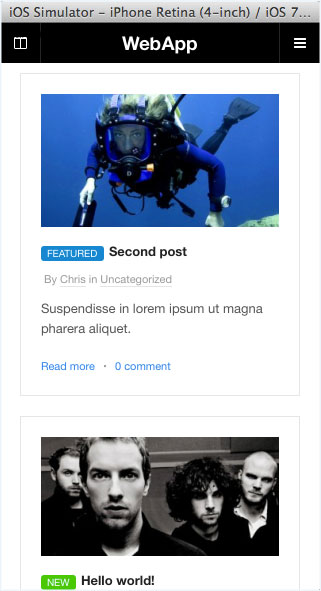
Here’s a free one which resembles an app when it’s in a mobile view.
This is the iPhone view
And if you have an iPad, this would be what the theme would look like on it:
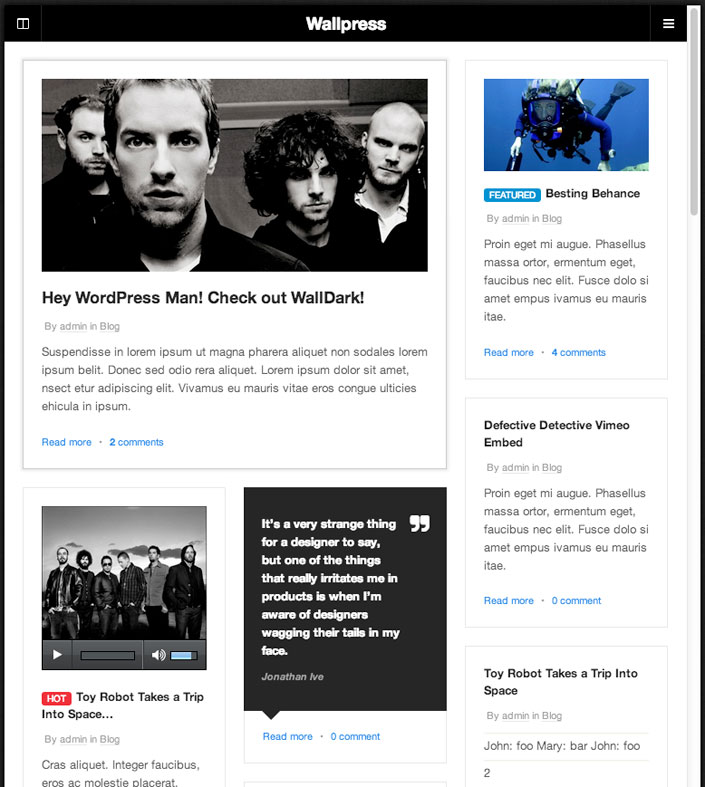
Pretty cool, right?
Another one that looks promising as a mobile view is this one, also from Design Wall (unfortunately, this one is not a free theme):
http://www.designwall.com/wordpress/themes/dw-fixel/
When you’ve found one that you like, download the zip file.
1.3 Installing a new WordPress theme
Login to your WordPress sites admin area (youdomain.com/webapp/wp-admin) and go to your themes section under the Appearance menu.
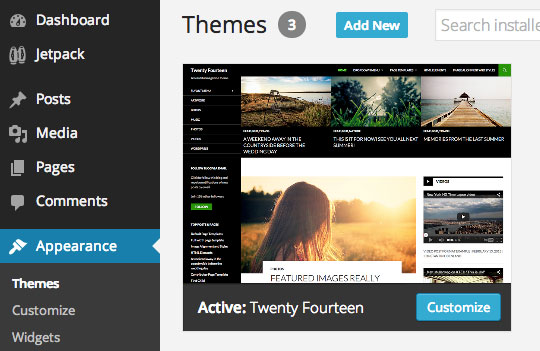
Click “Add New” and then “Upload”. Choose the zip file of the theme you downloaded and it will install it.
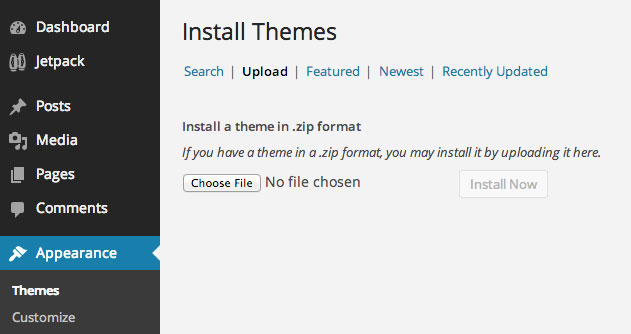
Then you need to click the “Activate” link to set your site to use this theme.
Go to your domain/webapp and you should see your new WordPress theme!
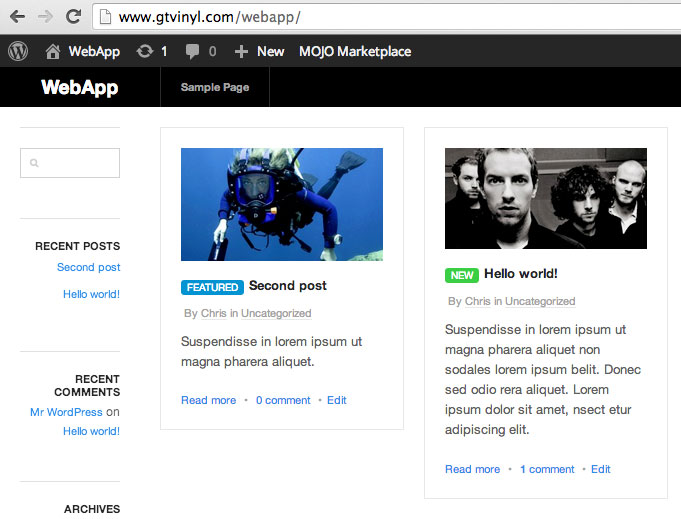
What you’re seeing is not the mobile responsive view though, so let’s create the iPhone app with the UIWebView and display this URL.
2. How to make an iPhone app that leverages the mobile version of your website
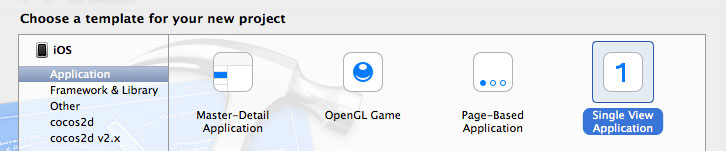
Since this is going to be the third app that we do in this series, you should be pretty familiar with the process of creating a new single view application Xcode project.
Go ahead and do it now 🙂
2.1 Creating the Xcode project
Next, go to Main.Storyboard and search for “webview” in the library of UIElements. We’re going to add a UIWebView element to the view controller.
When you find it, drag it into your view.
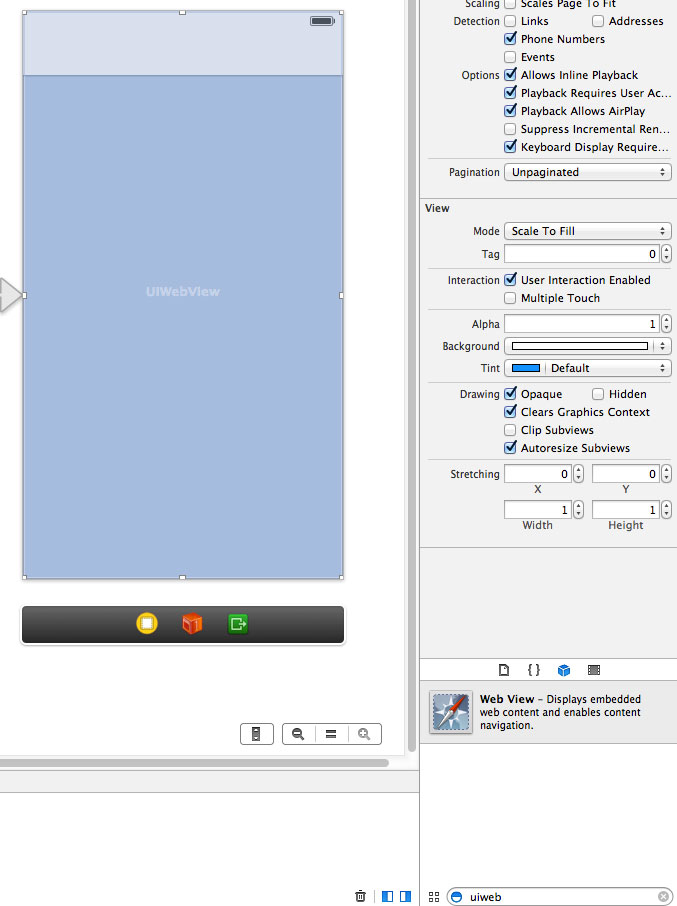
If you can’t seem to drop the web view into your view, it might be because you’re in zoomed out view. Double click an empty area in your storyboard and zoom back in.
Also, if you can’t find the web view in your elements library, double check that the lower right pane is on the same “tab” as shown in the screenshot above.
Once you’ve added the web view, open up the “Assistant Editor” by clicking the “tuxedo” icon in the upper right corner.
On the right side you should see ViewController.h. If you don’t you can change it by clicking the breadcrumb.
On the left side you should see the storyboard.
Now you can hold down control, click the web view element and drag it to the right side just under the @interface tag.
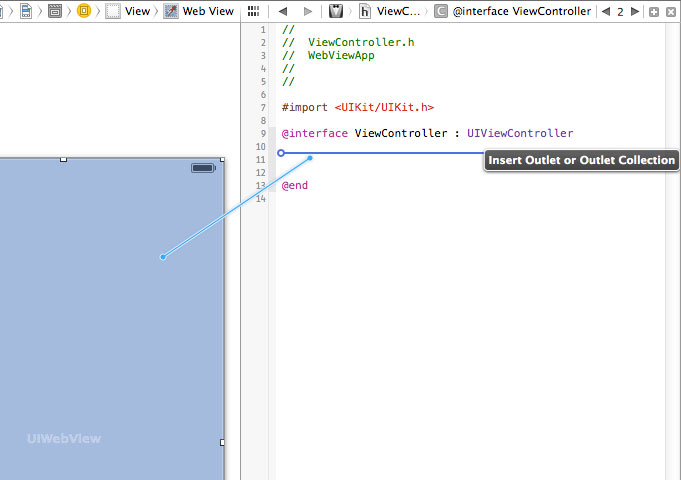
Let go and a dialog will pop up. You can name this IBOutlet property “webView”.
When you’re done, your ViewController.h will look like this:
#import

@interface ViewController : UIViewController

@property (weak, nonatomic) IBOutlet UIWebView *webView;

@end
2.2 Loading the URL into the webview
The last thing left to do is to go into ViewController.m and add code in the “viewDidLoad” method to load our WordPress site into the web view.
Your ViewController.m will look like this (the new lines are 14-15):
#import "ViewController.h"

@interface ViewController ()

@end

@implementation ViewController

- (void)viewDidLoad
{
    [super viewDidLoad];

    // Load the url into the webview
    NSURL *url = [NSURL URLWithString:@"https://codewithchris.wpengine.com/webapp"];
    [self.webView loadRequest:[NSURLRequest requestWithURL:url]];
}

- (void)didReceiveMemoryWarning
{
    [super didReceiveMemoryWarning];
    // Dispose of any resources that can be recreated.
}

@end
When you run your app now, you’ll see your mobile responsive WordPress site load in your web app.
If you run into some errors, check this article first and then leave a comment below and we’ll get to the bottom of it!
Conclusion
This is a quick and easy way to get an app for your website, provided that your website has a responsive theme.
Although the technique in chapter 3 is more code heavy, it is what we call a “native” app. This means that it’s an app built using Xcode and with objective-C code.
The technique shown here today is more of an app “wrapper” that is displaying your website.
If this suits your needs, then it can be a great way to get up and running really quickly!
What’s Next?
Now you’ve created three different types of apps, each being powered by different elements of a web hosting account.
If you haven’t signed up for one yet and you’re thinking of doing so, I’d really appreciate it if you joined through my referral link!
The bonus that I get comes at no extra cost to you and supports my efforts in publishing free tutorials. Thank you!
Click here to go to the resources page
or
Click here to go back to the guide main page
[social_warfare]