

Parse is a platform that offers many tools and one of the things it provides is a service as a back-end. Parse takes care of the implementation of the back-end so that developers can focus on building their apps while still leveraging the power of having data persistence in the cloud.
Long time reader, Lukas von Mateffy, shares this tutorial with you guys on how to use Parse in Swift.
When Apple announced Swift, they told us that their new programming language will still support Objective-C Code. That means we can still use popular frameworks like Parse. If you don’t know what Parse is, check it out here.
For the usage of Parse features, Chris has already made a tutorial in his course. Since the methods are the same, you can still work with the methods you used before and you only have to change the syntax.
In this tutorial I will only cover how to import the Parse Framework into your Swift project and some basics in how to use it. Alright, let’s get started!
Step 1: Setup Parse Backend
First of all you have to register a new account at Parse.com.

Then it will prompt you to create a new application. If you already have an account, then you have to create one by yourself.
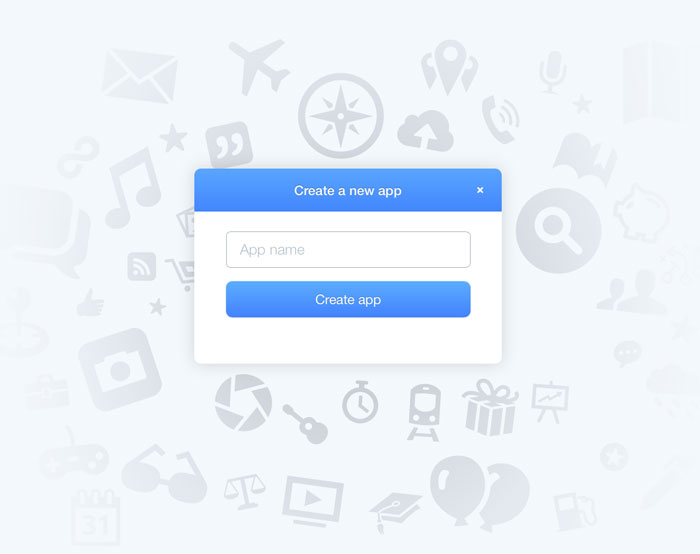
Enter the name of your application and click Create app.
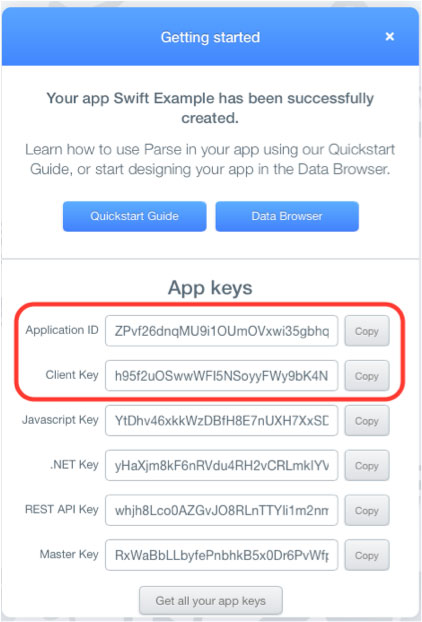
After that step, it will show you a list of your application keys. Keep these safe! With them you will access your Parse data. For the iOS app you will need the Application Key and the Client Key.
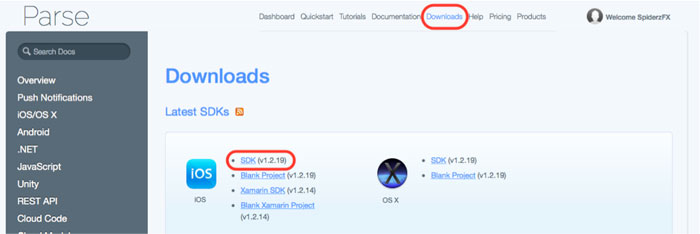
Now go to the Downloads section in your Parse backend. Then download the Parse iOS SDK.
Step 2: Setup Xcode Project
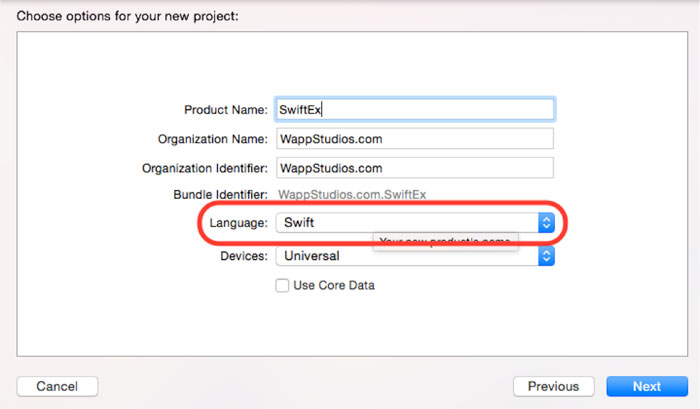
Create a new Xcode project and fill in your information. It’s important that you select Swift as the programming language.
Once the application is created, click on your project and go to Build Phases. In the list Link Binary With Libraries, you will have to add these frameworks to use Parse.
CFNetwork.framework
CoreGraphics.framework
CoreLocation.framework
libz.dylib
MobileCoreServices.framework
QuartzCore.framework
Security.framework
StoreKit.framework
SystemConfiguration.framework
libsqlite3.dylib
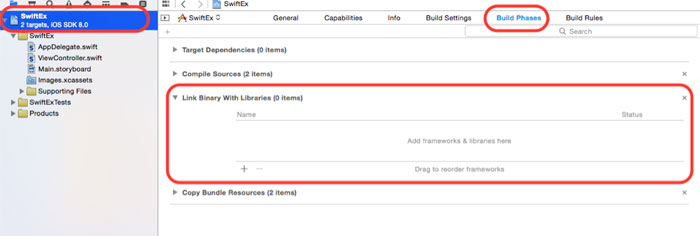
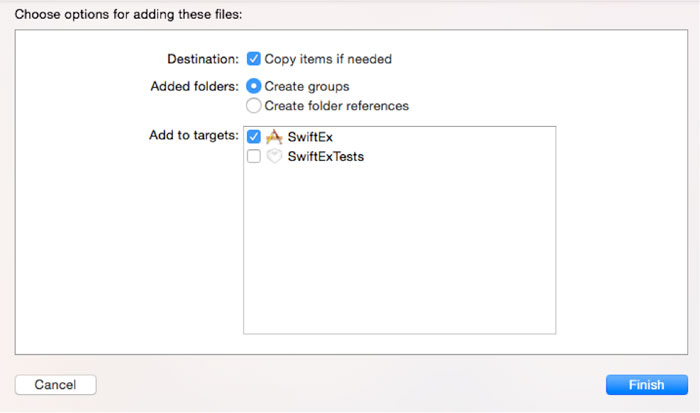
Then you can simply drag the Parse.framework you downloaded before into your project. It’s important to check Copy Items if needed when you drag over the file.
Step 3: Import Parse into Swift
Create a new file (File -> New -> File) of type Objective-C File.
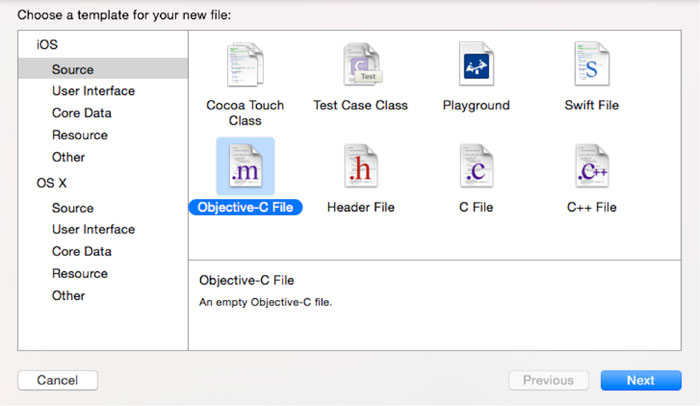
Name it whatever you want, we’ll just call it CustomClass. It will prompt you if you would like to configure an Obj-C Bridging Header. Click Yes.
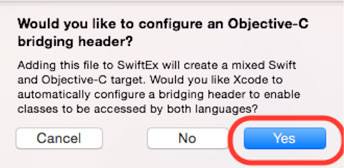
Now it will add two new files to your project. First, the .m file with the name you specified for your class. Delete this file. The second file is called YourProjectName-Bridging-Header.h, and this file is our key to success.
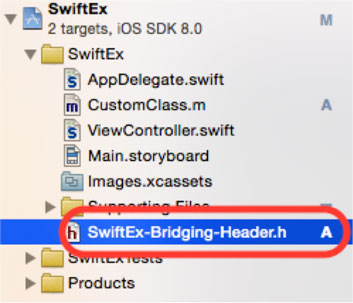
Add this code to the YourProjectName-Bridging-Header.h file:
#import <Parse/Parse.h>Step 4: Initialize Parse
Go into your AppDelegate.swift file and add this code to your applicationDidFinishLaunching method:
Parse.setApplicationId("your_application_key", clientKey: "your_client_key")Replace your_application_key and your_client_key with your own keys and now you’re ready to use Parse.
To prove that it actually works, add this code to the same method and run the app.
var object = PFObject(className: "TestClass")
object.addObject("Banana", forKey: "favoriteFood")
object.addObject("Chocolate", forKey: "favoriteIceCream")
object.saveInBackground()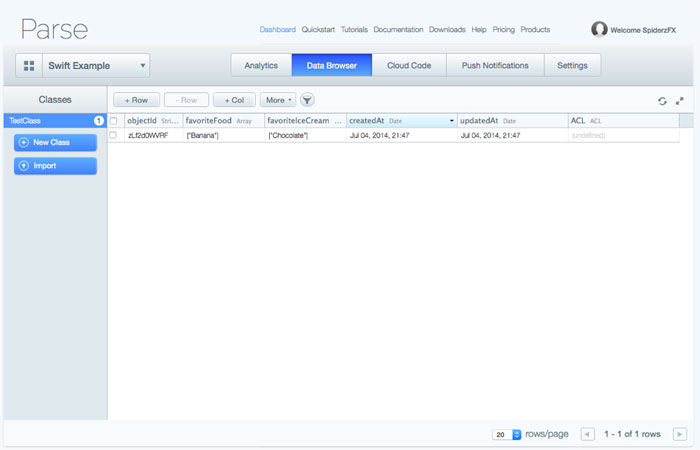
If you then take a look at the Data Browser in your Parse backend, you will see some new objects added.
And that’s how you use Parse in Swift.
Lukas is a 14 year old web and app developer. Being a long time reader, he now wants to share his knowledge about developing apps for the iPhone, iPad and iPod Touch.