
Somewhere along your iOS development journey you will come across the term cocoapods or pods.
What is it and what does it do? Cocoapods is an application level dependency manager that runs on objective-c, swift, and any other programming languages that run on Objective-C. It focuses on source-based distribution of third party code and allows automatic integration to your Xcode projects.
It is in essence, an app that helps integrate third party repositories in your projects.
This guide will help you to set up your first project cocoapods powered project.
Setting up
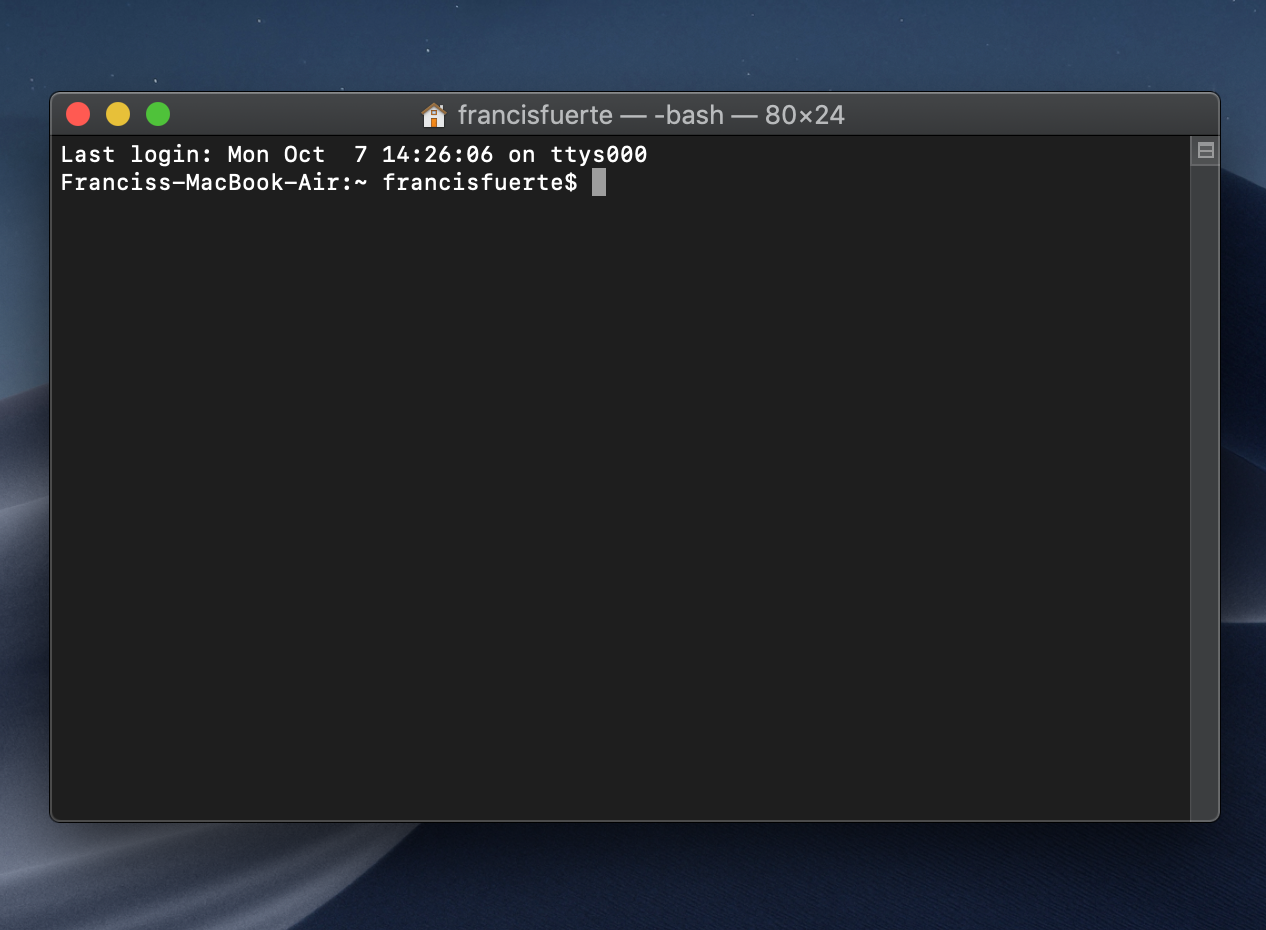
Step 1:
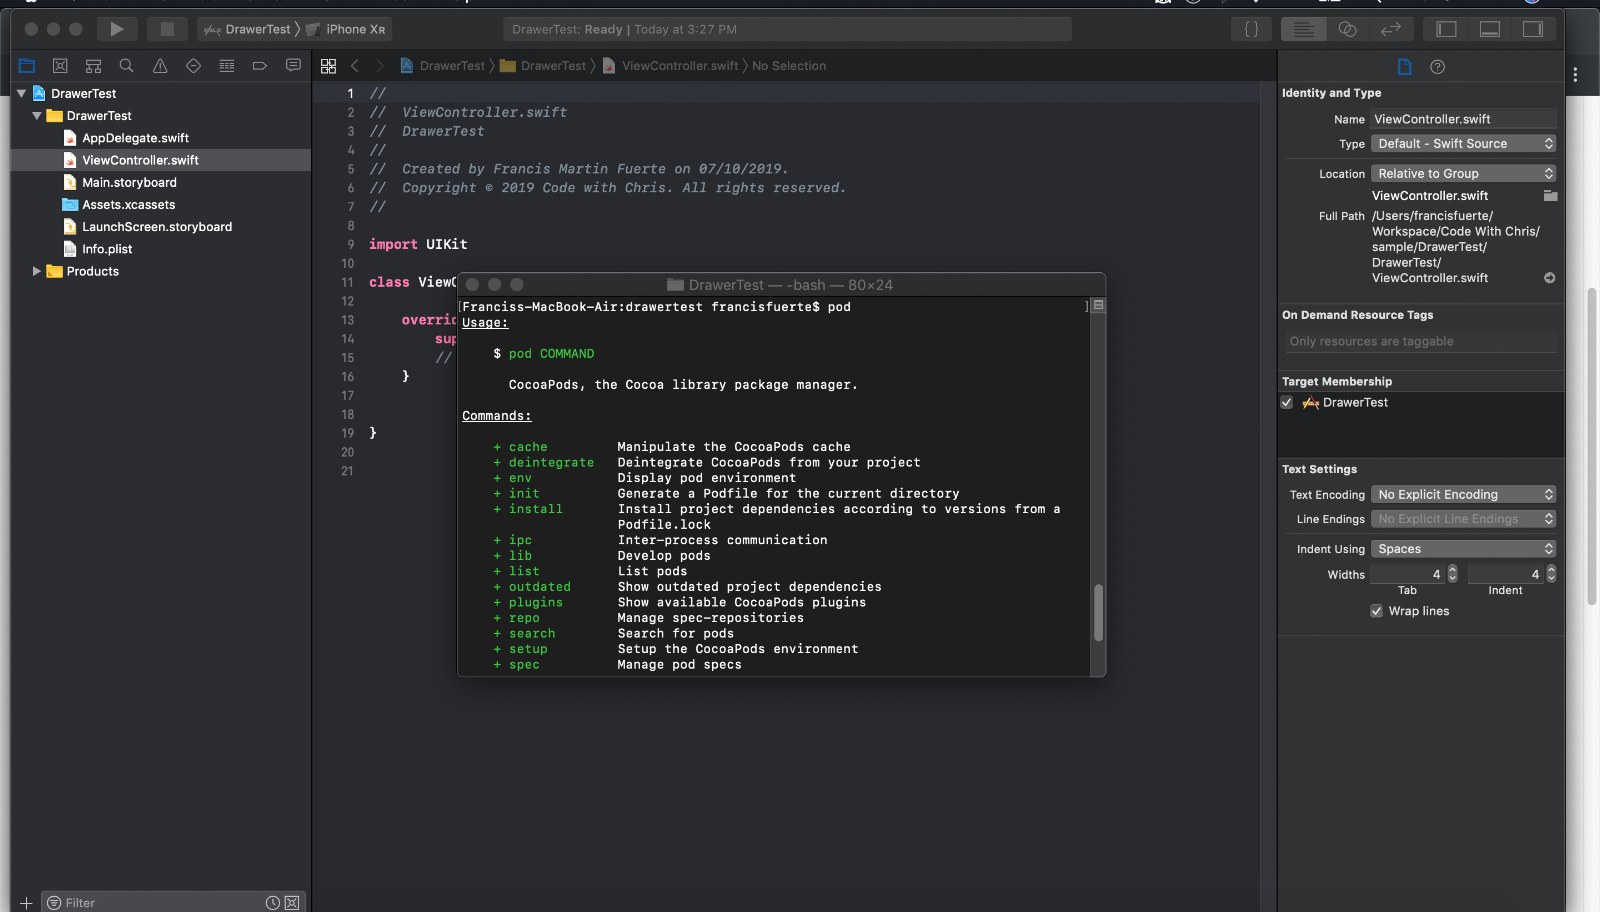
To make sure that cocoapods is installed open a Terminal app on your computer
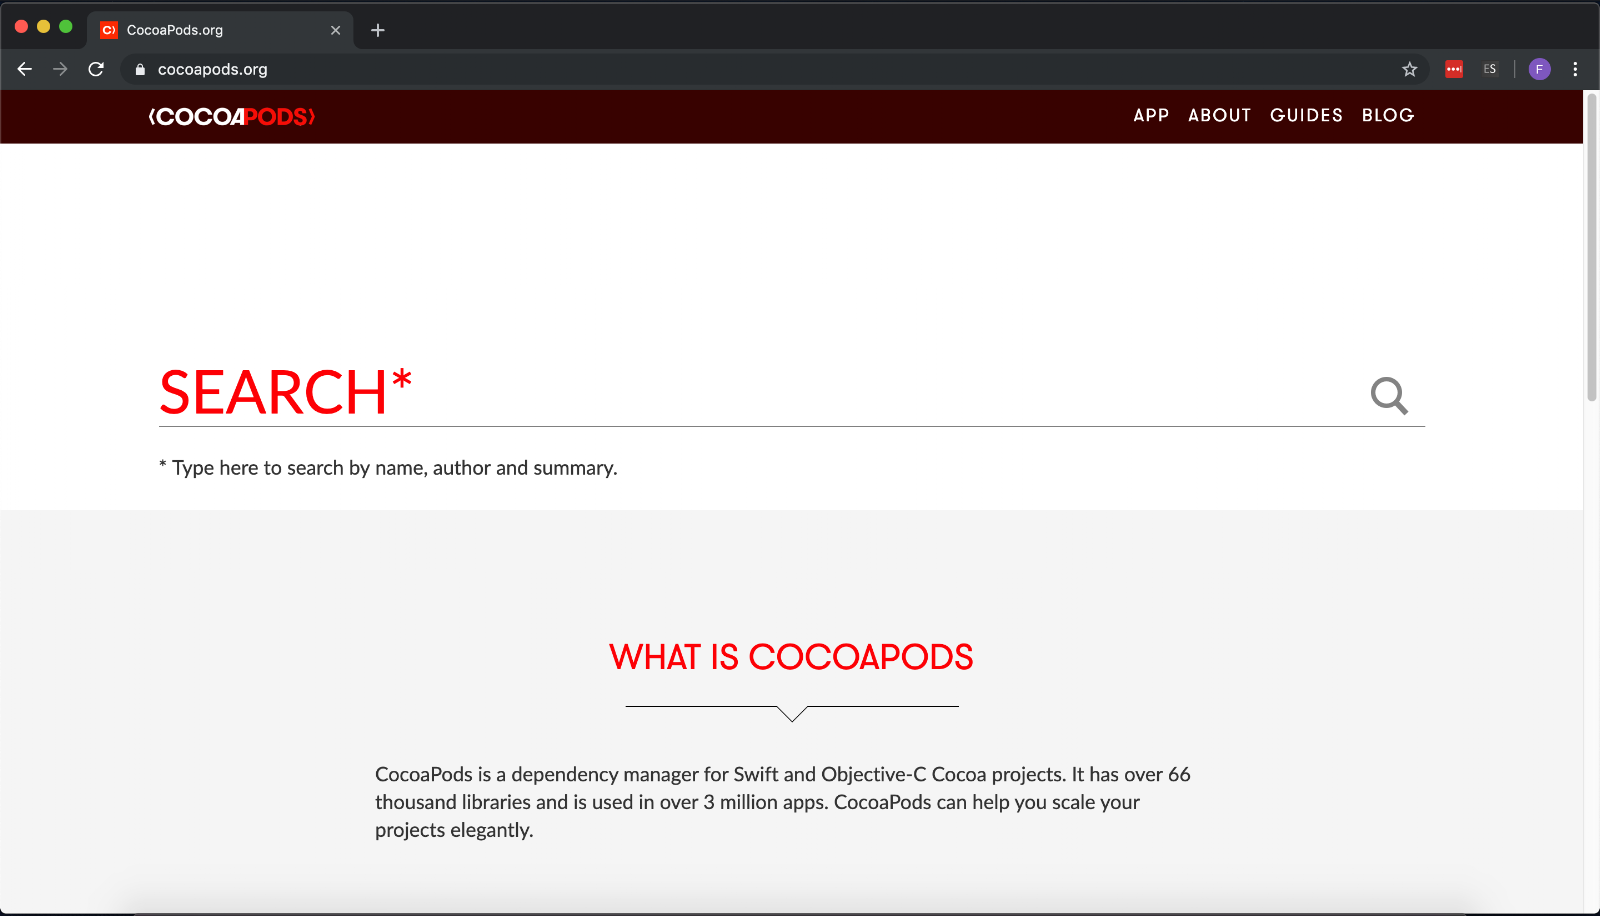
Step 2:
Then open cocoapods.org and scroll down to see the instructions for setting up
Step 3:
Go back to your terminal and follow to command “sudo gem install cocoapods” it will then ask for to provide your password in order to continue

And that’s it! after it completes you should be ready to use cocoapods in your system now.
Adding a Pod
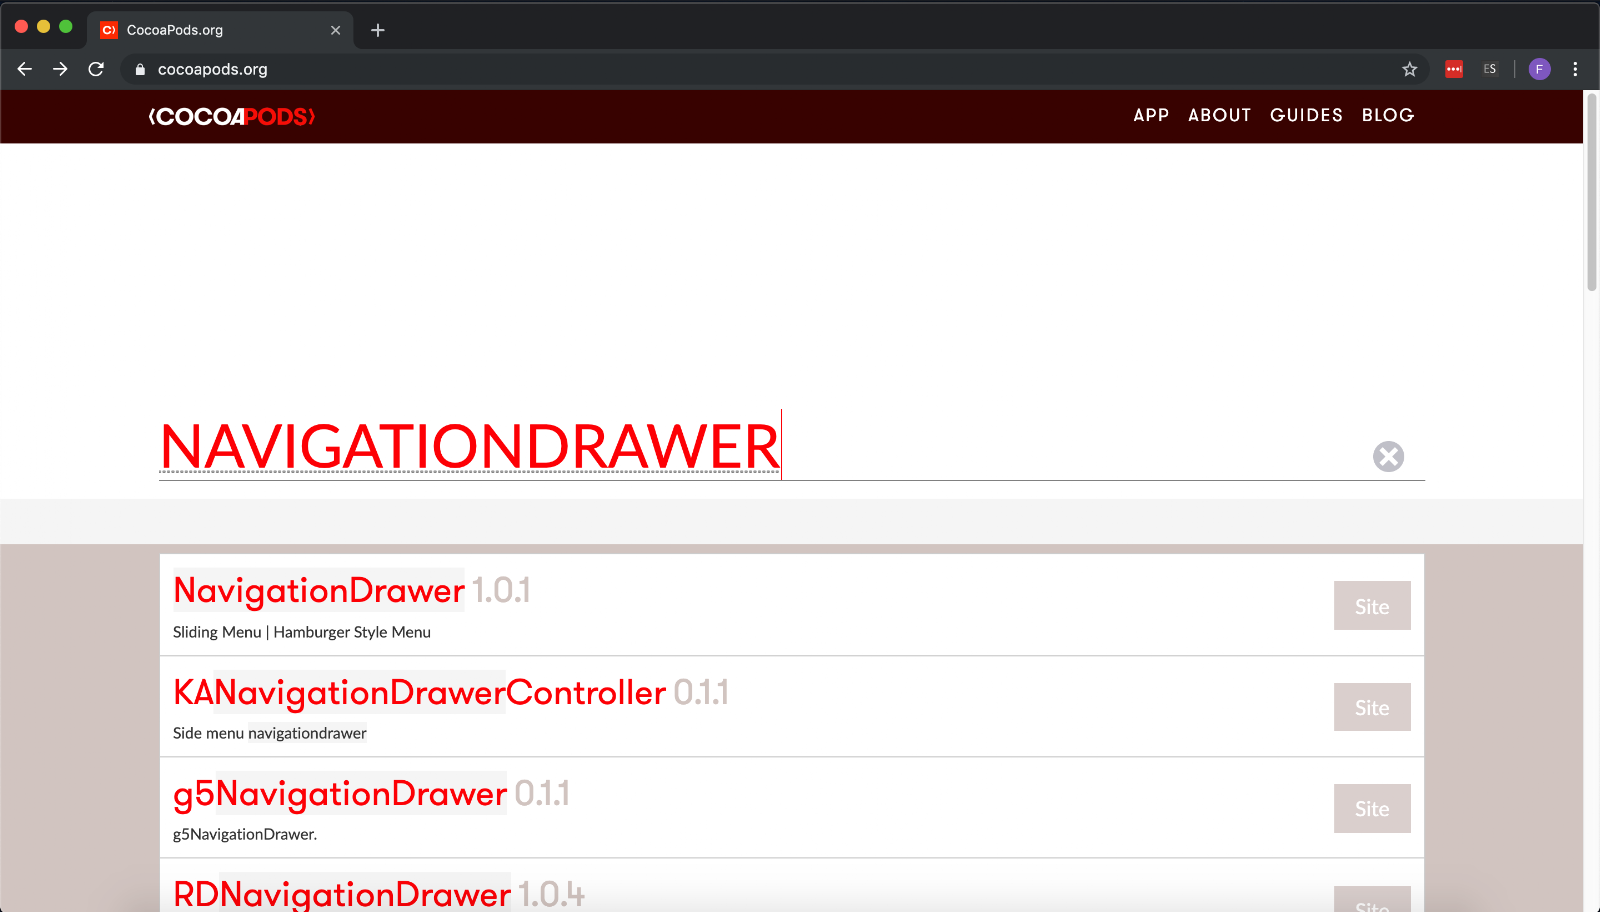
Step 1:
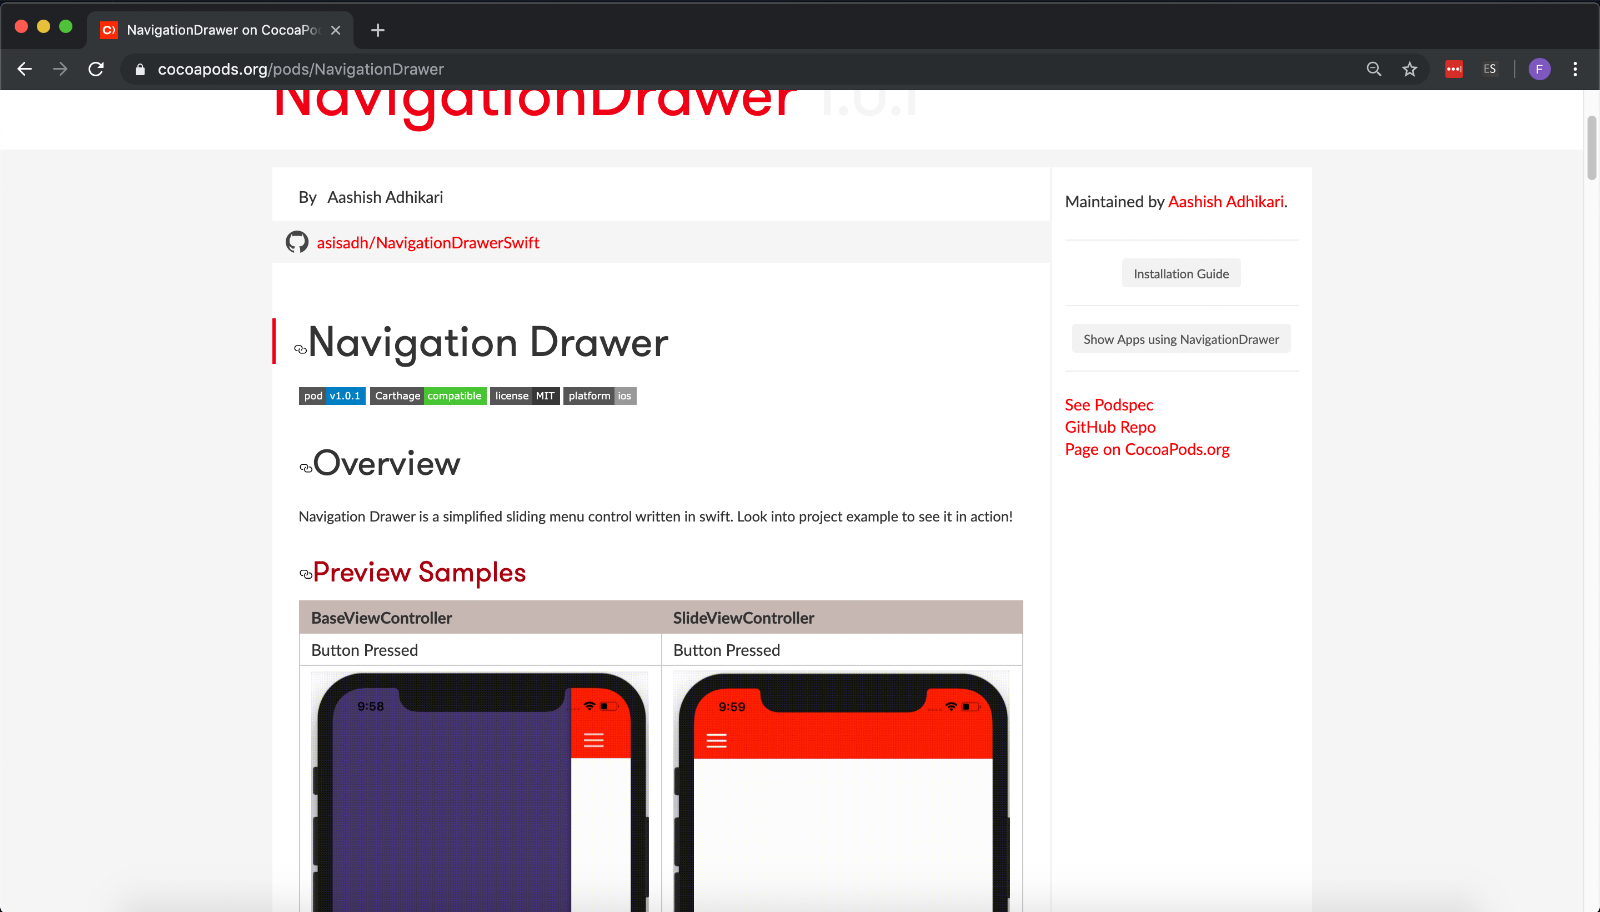
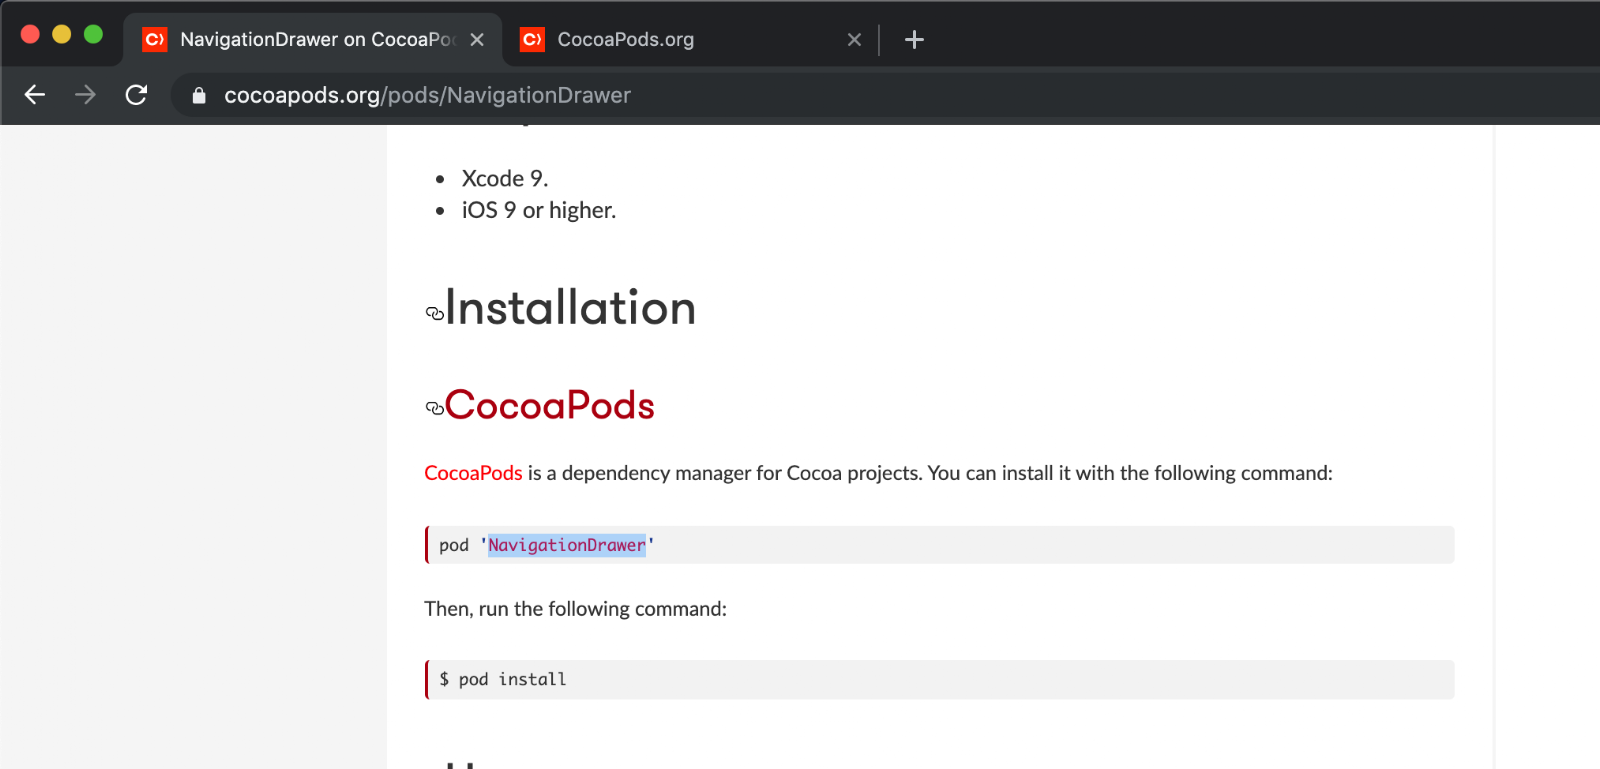
Once we complete setting up are cocoapods we should be ready to add a third party library to our project, you can use cocoapods.org to browse the available libraries, for this example we’ll be using NavigationDrawer, so let’s go ahead and open it the page
Step 2:
Once we have selected our pods we should now create/open the project that we want to integrate the pod to. Once our project is ready just open a terminal and navigate to the project folder
Note: You do not need to have the project open, It is just kept it open in this example to make it clearer
Step 3:
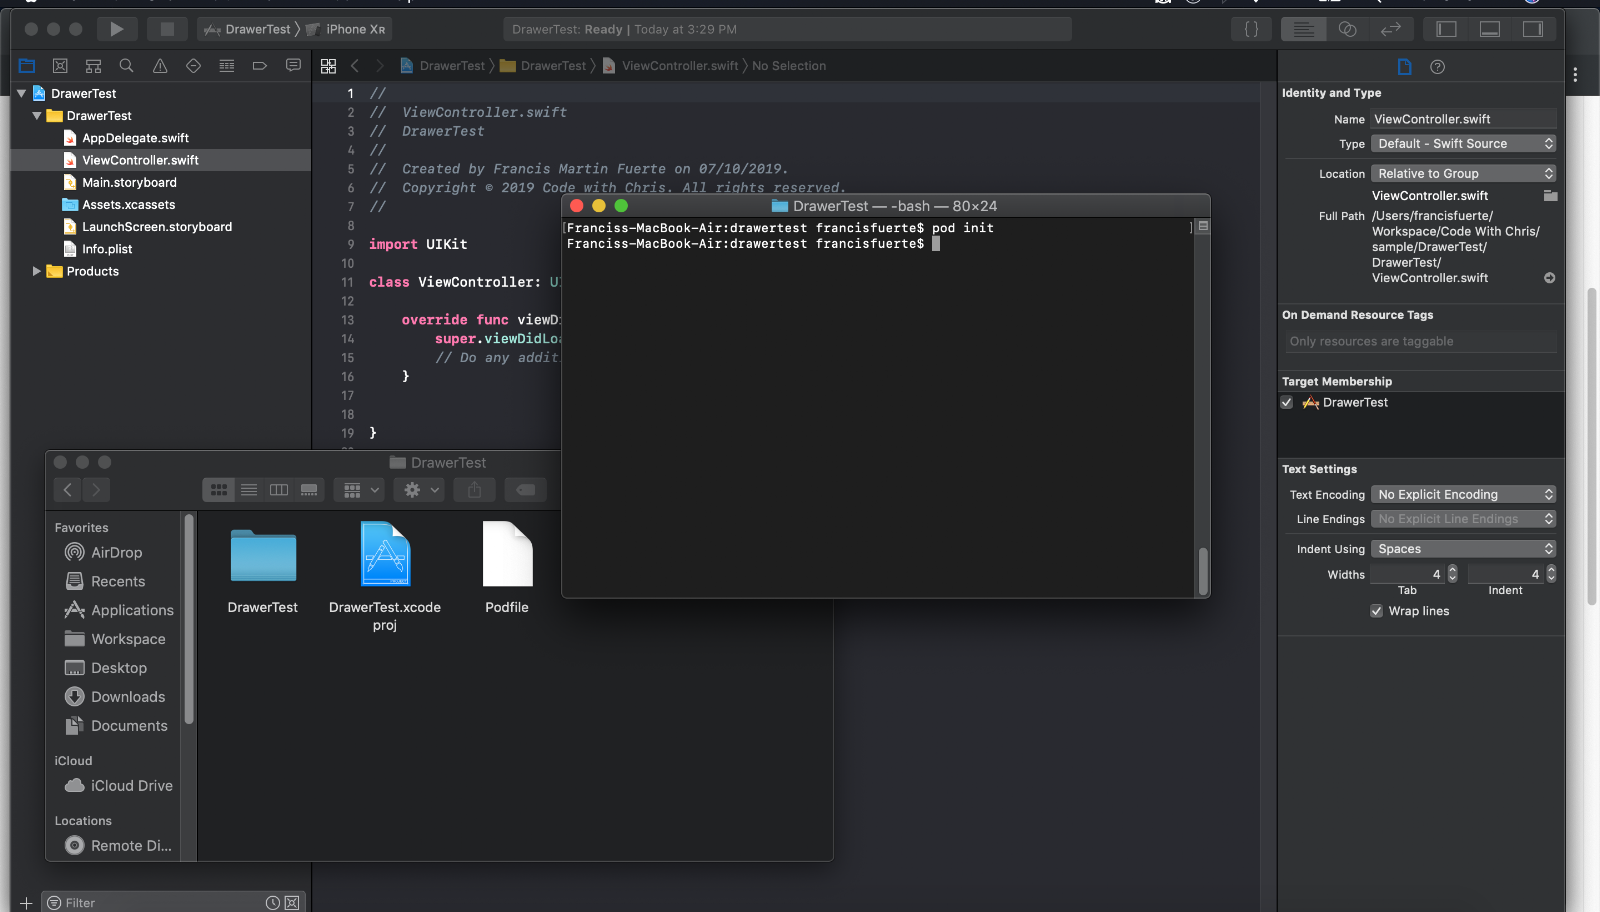
Once you have navigated to your project do a “pod init”, this will create a Podfile in your project folder (make sure to do this just outside of the project files)
Step 4:
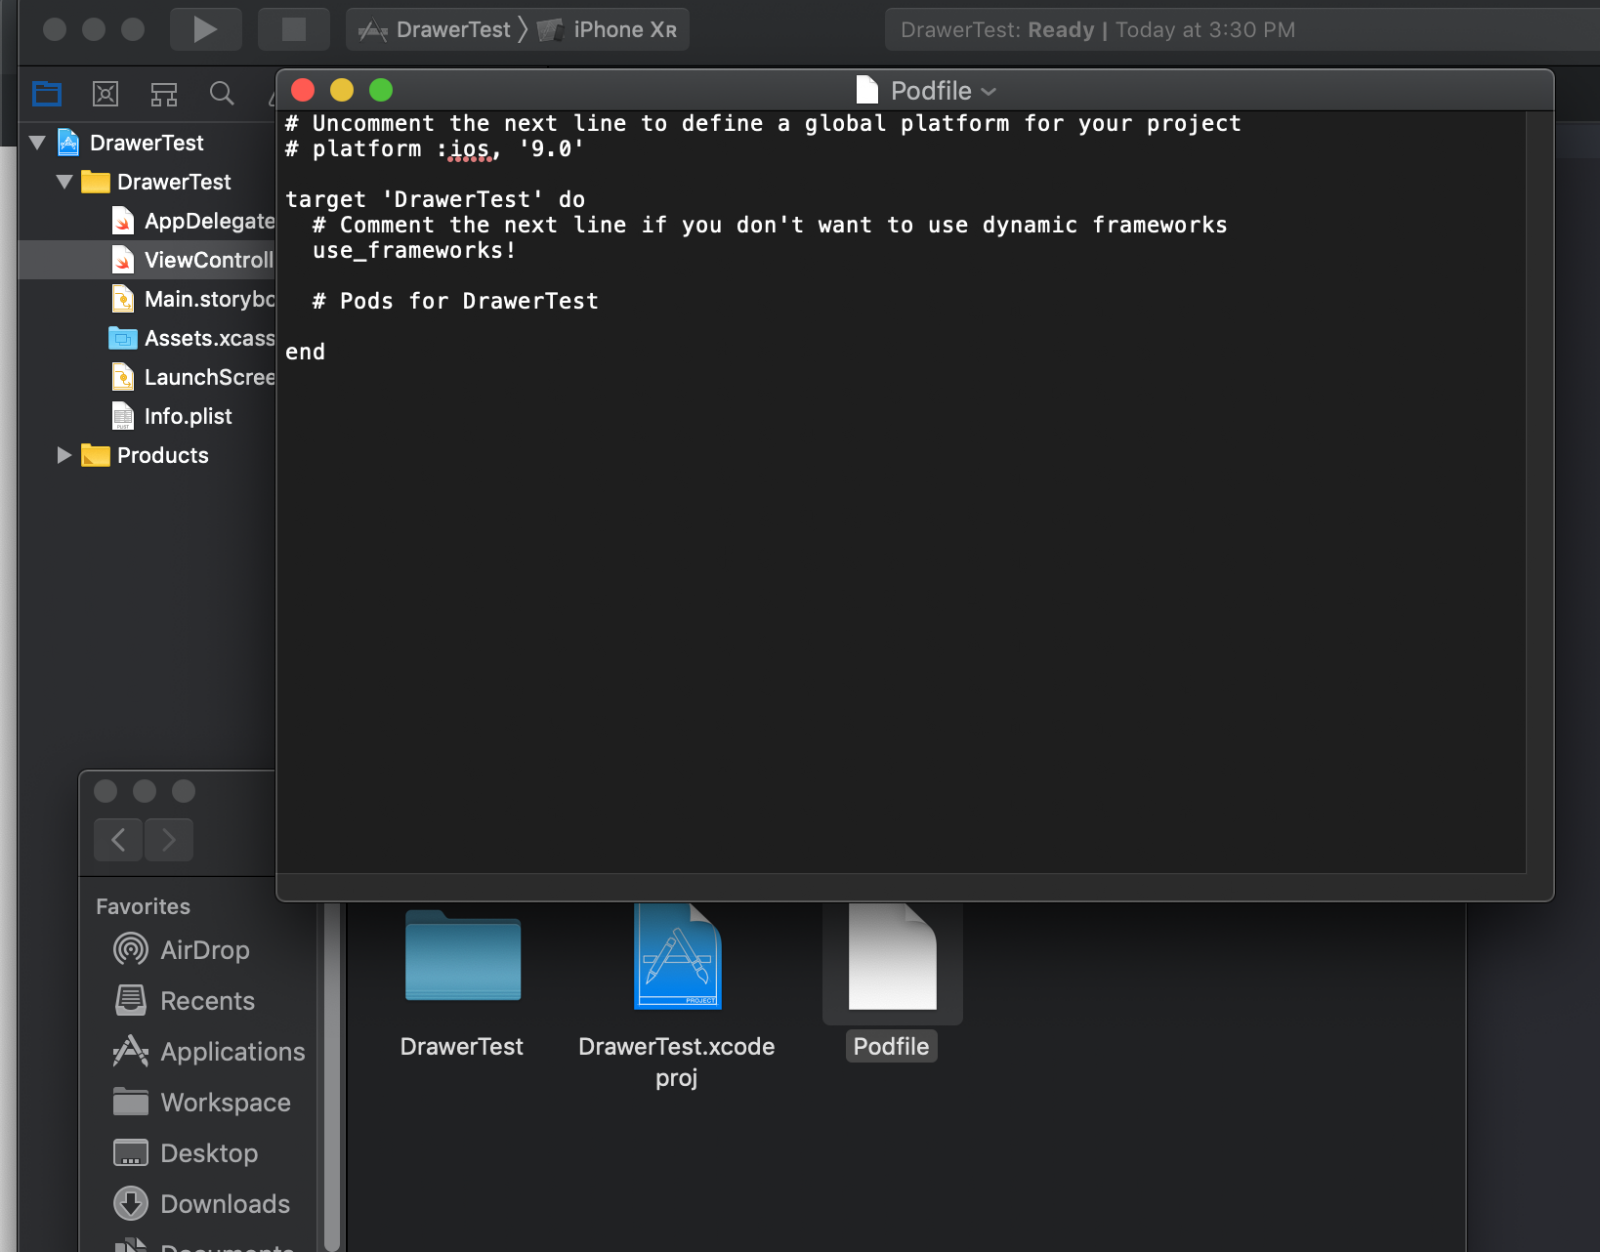
Open the Podfile in TextEdit or any text editing software you prefer
Step 5:
Check the library page to check on how to install the pod and add this line on your Podfile
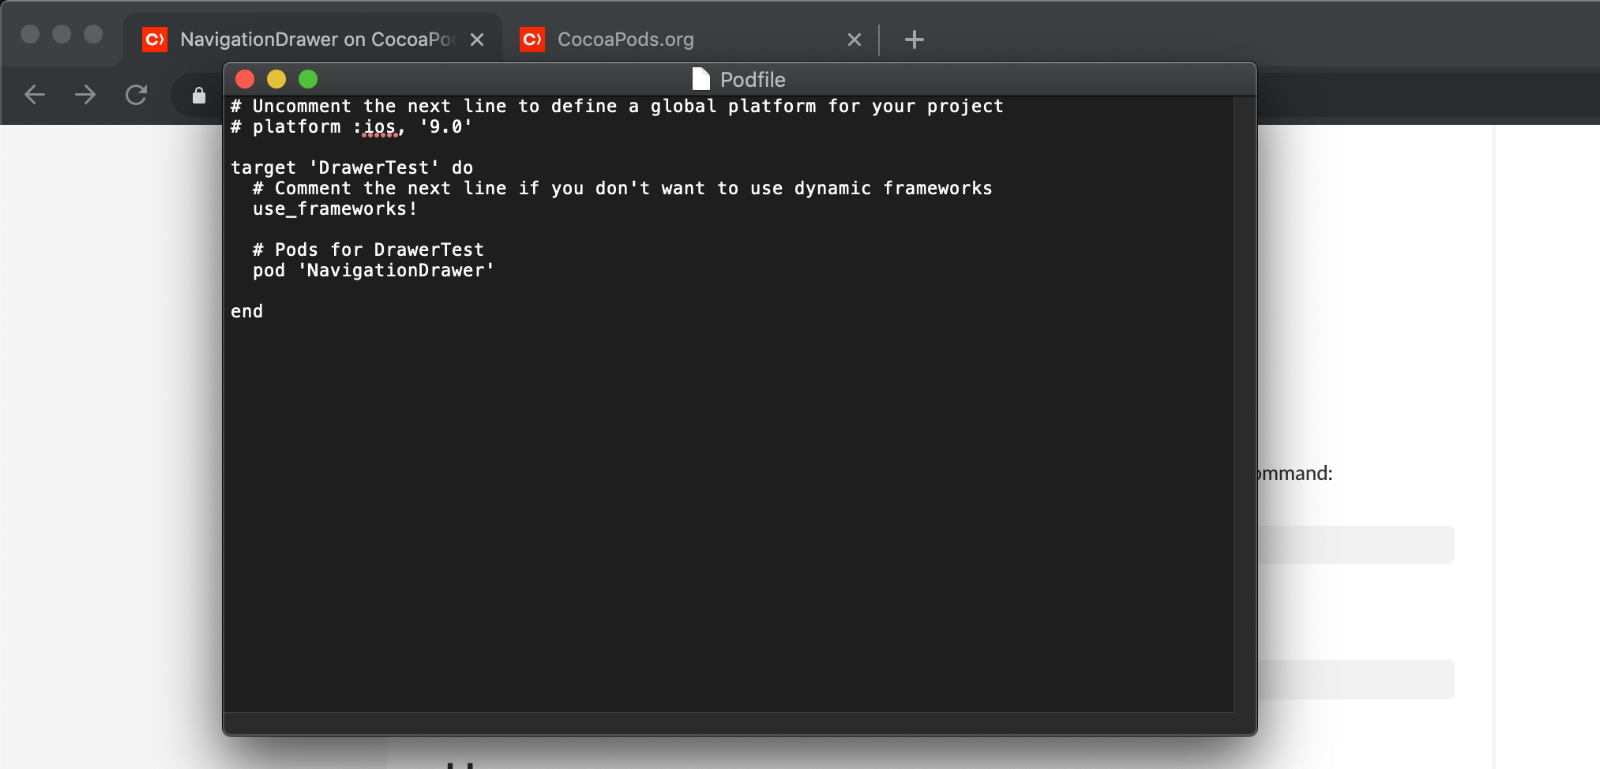
Save what you added to the Podfile
Step 6:
Finally, do a “pod install” in your terminal and wait for it to install the pod
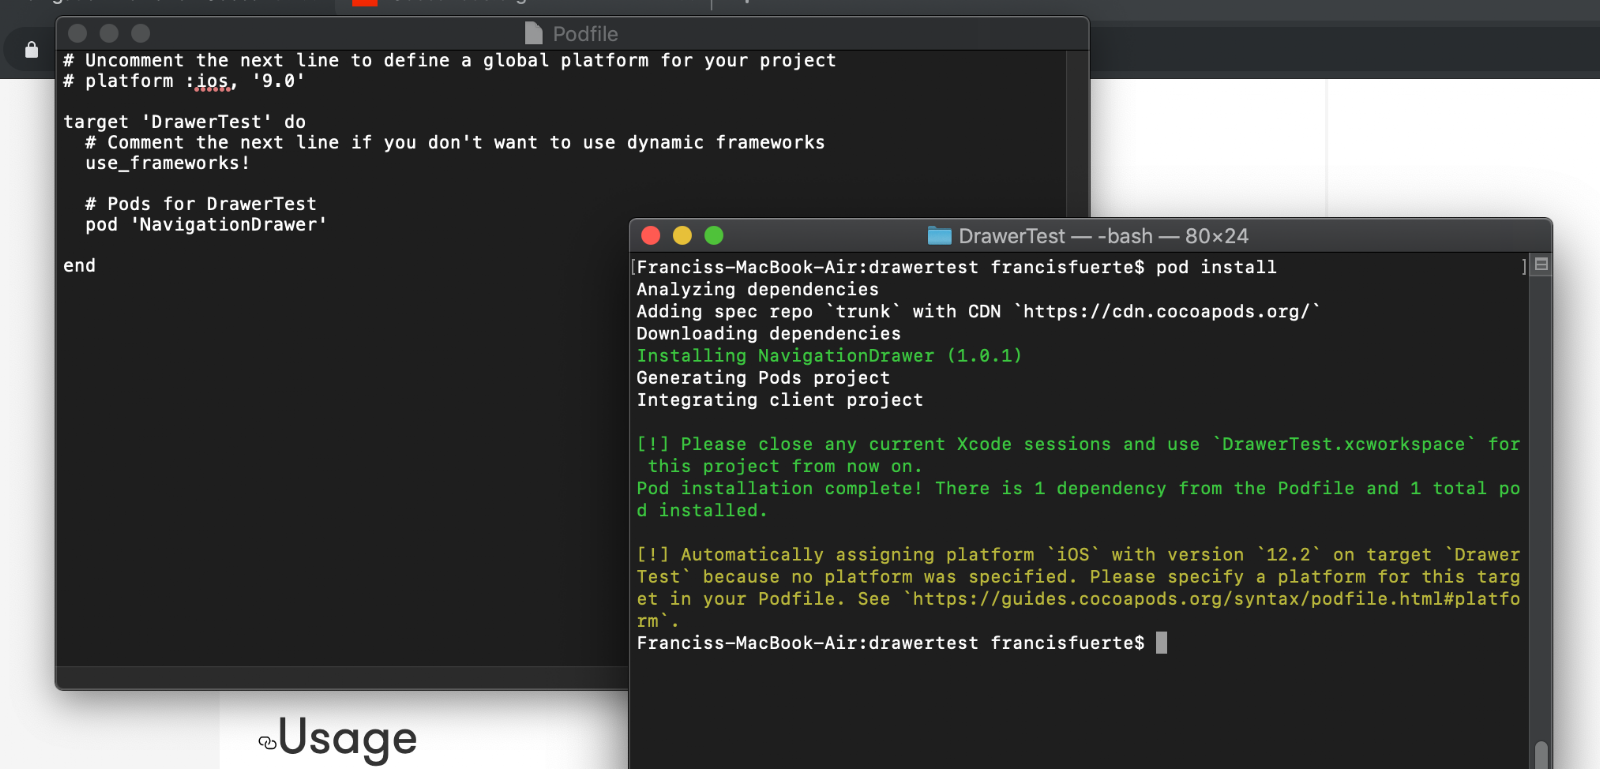
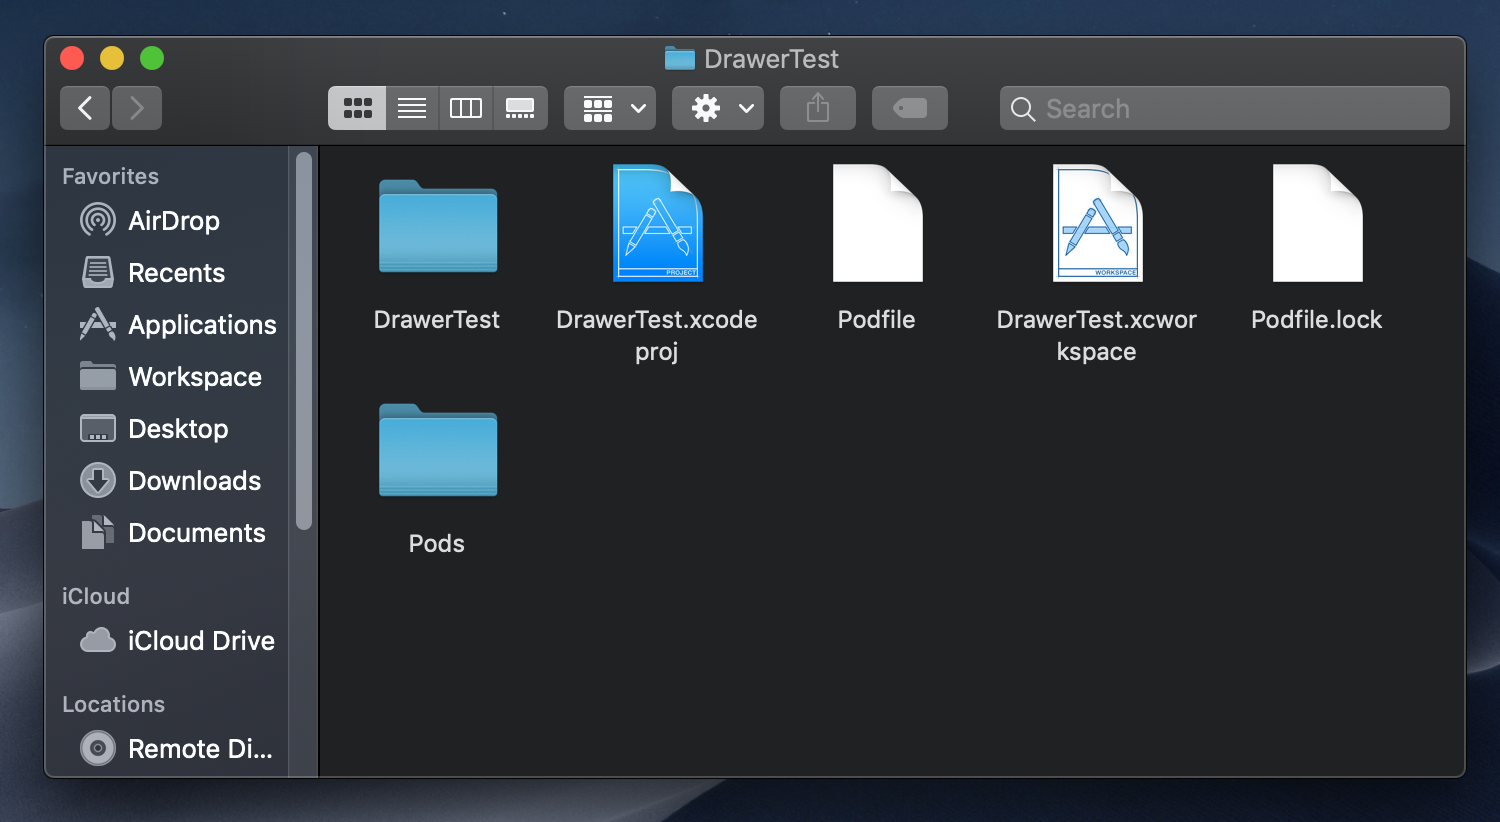
Doing so will create multiple files in your project folder
From now on you should open the project using the .xcworkspace in order to properly build and use the pods in your project. Opening the file should make your project look like this
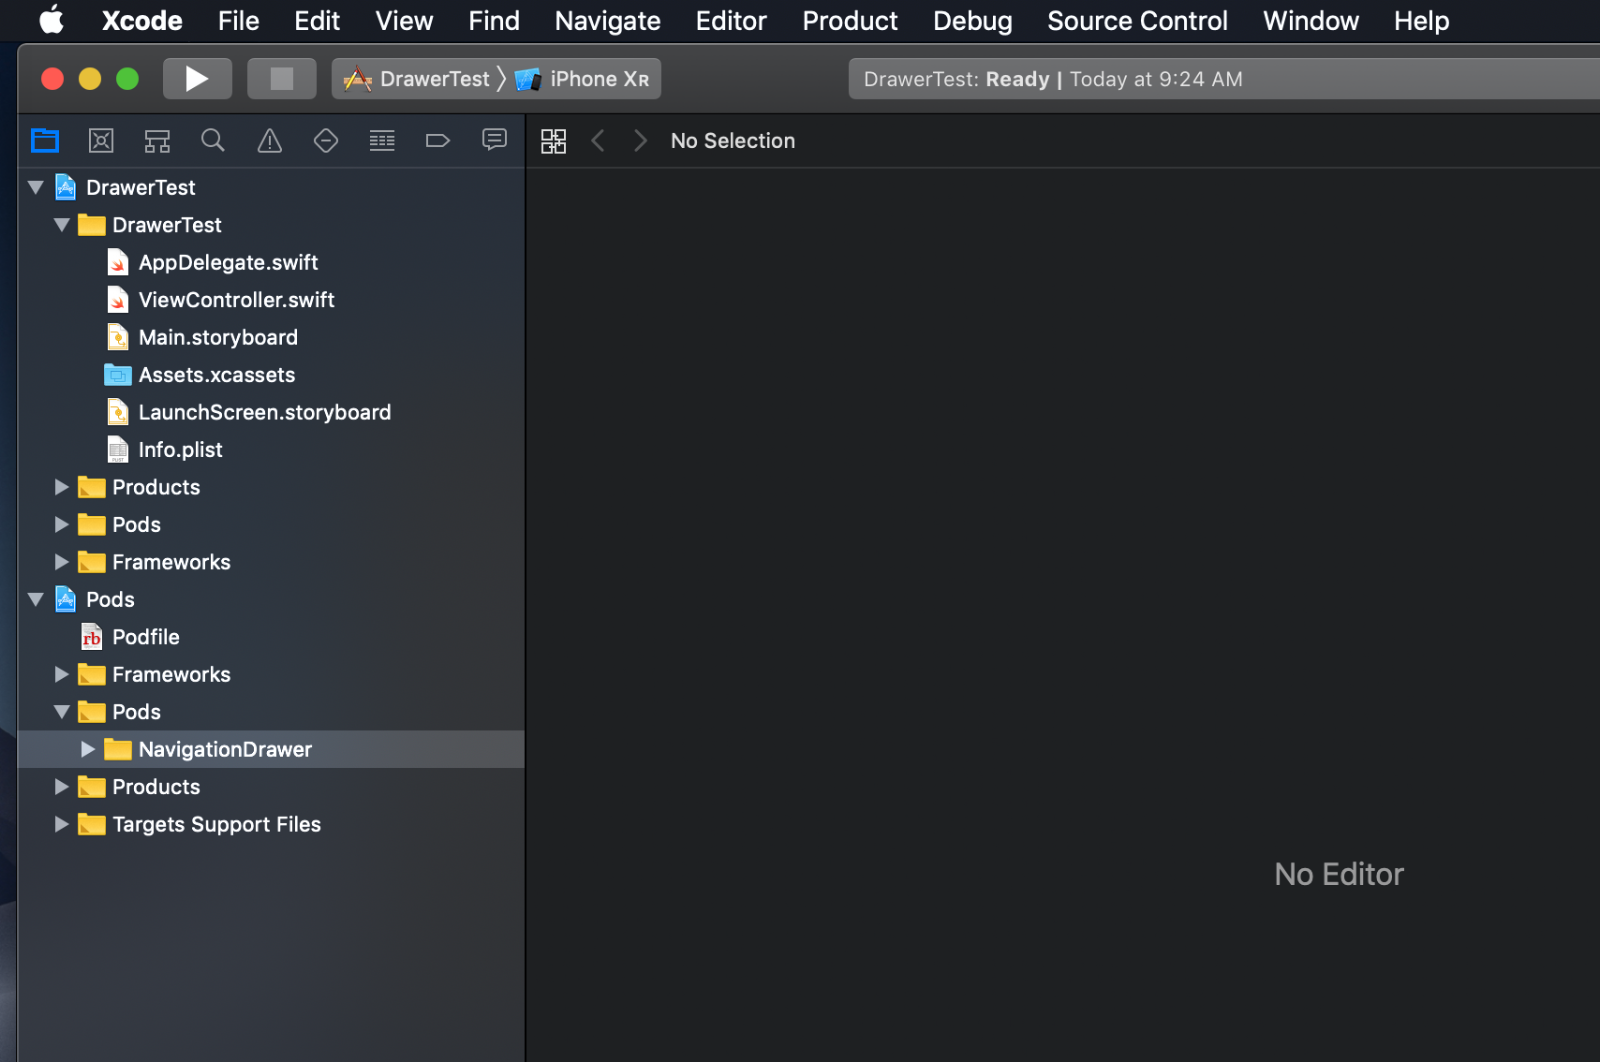
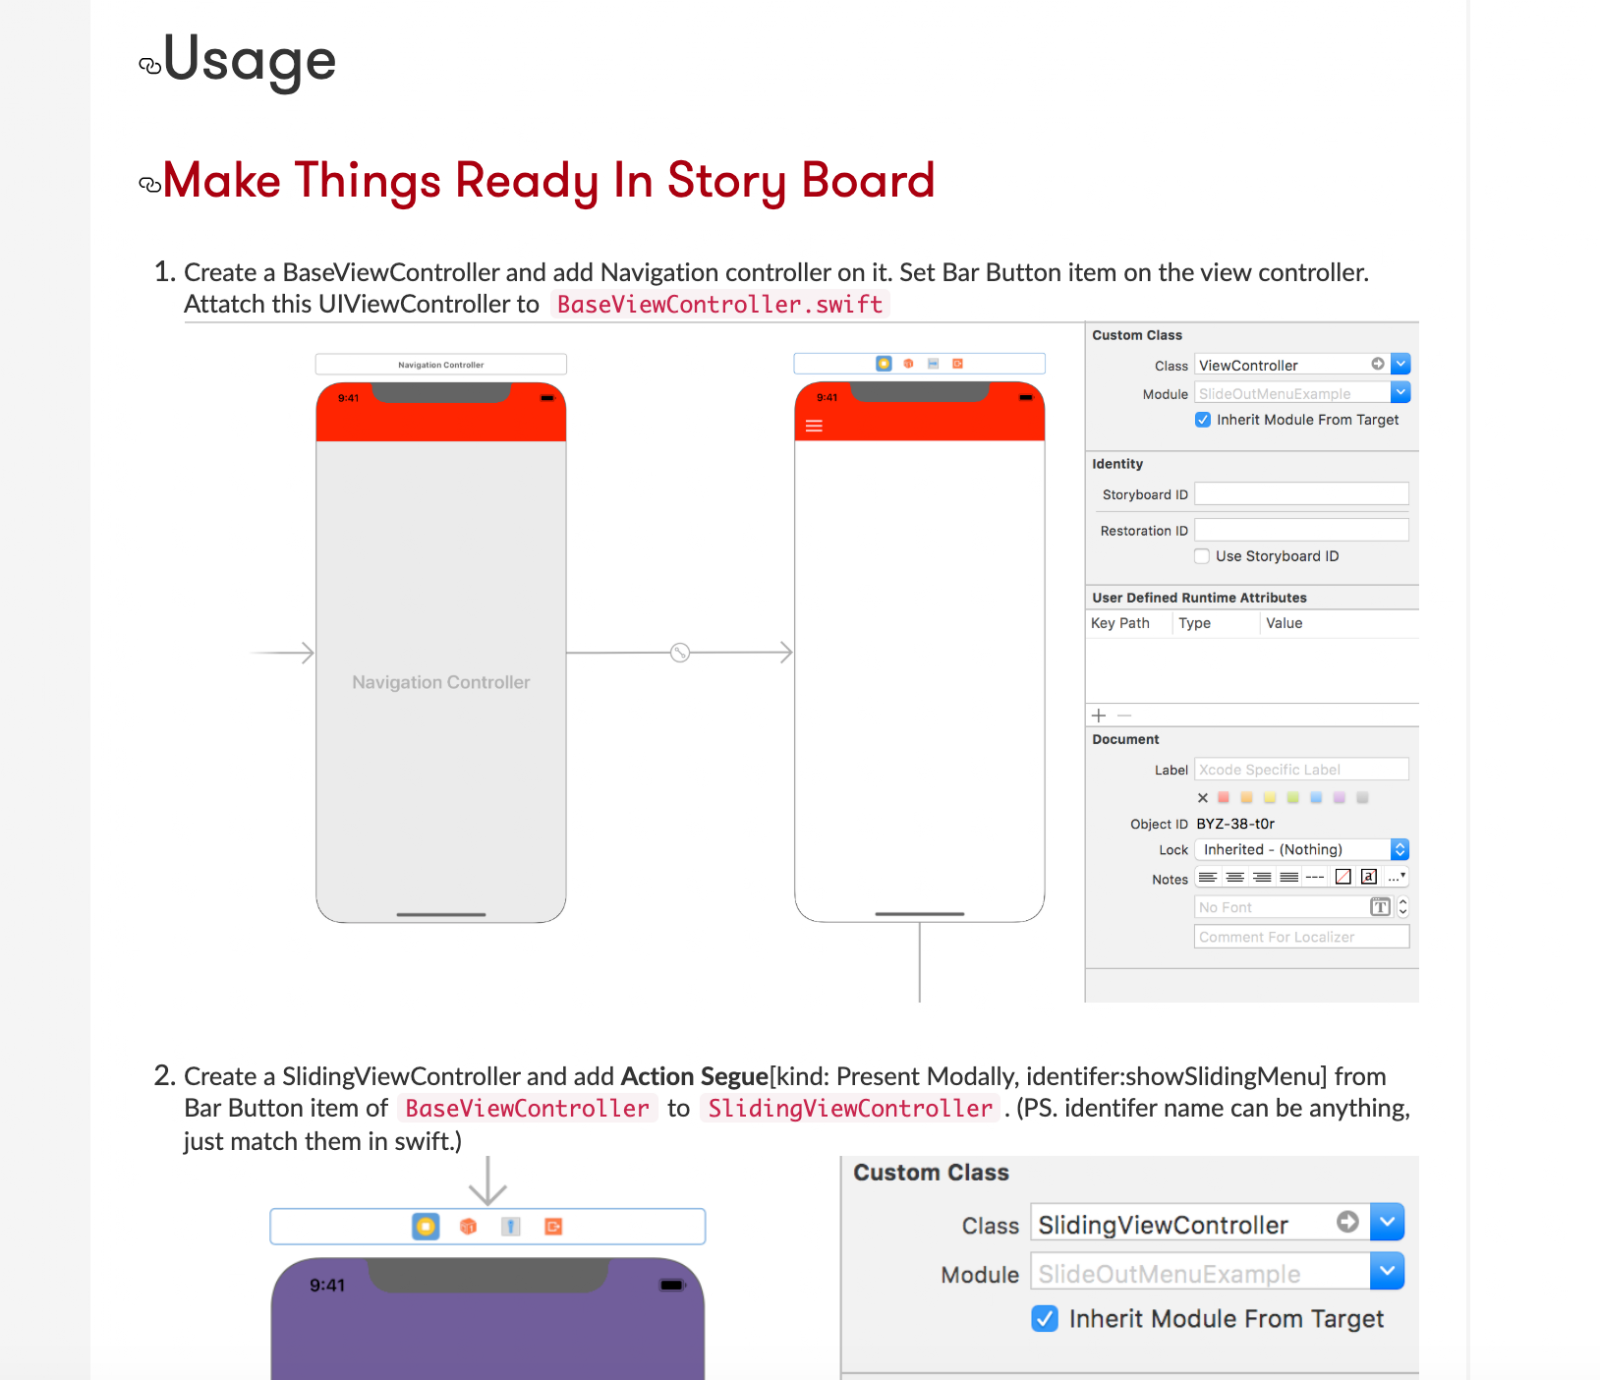
And that’s it! Just follow the instructions on the library on how to use the pod, remember different libraries have different ways to give samples and usage of their project
Conclusion
You have now properly set-up and added a cocoapod dependency to our project, There are plenty of libraries out there for you to depend/integrate on, some popular ones are Alamofire and SwiftyJson which we will cover in another article. Perhaps in the future you might want to make a library of your own or contribute to to improve an existing pod, only time can tell but what’s important is the first step that you took today. Happy coding! 🙂
Further Reading
- How To Use SwiftyJSON: SwiftyJSON is a Swift library for reading and processing JSON data. Learn how easy it is to use it and how it’s different from Codable and JSONSerialization
- Alamofire Tutorial with Swift (Quickstart): Alamofire is a third party networking library that helps with tasks such as working with APIs, downloading feeds and more!
- How To Submit Your App To the App Store: Learn how to submit your app to the App Store with App Store Connect the right way!
- How to become an iOS developer: This guide will tell you what skills you should learn to become an iOS developer, where to find jobs, how to prepare for your interviews and more!