


In 2026, building an app has never been more accessible — and never more confusing. You have more options than any generation of app builders before you: learn to code it yourself, use a no-code tool, hand it to an AI builder, or hire a developer. Each path is legitimate. Each one involves real tradeoffs.
This guide covers the full journey from idea to launch. You’ll learn how to validate your concept, choose the right platform, pick the right build path for your situation, and understand what actually happens after you publish. We’ll also give you honest timelines, real cost ranges, and none of the fluff you find on most “how to make an app” guides written by companies trying to sell you their tool.
- Define and validate your app idea — confirm real people have the problem you’re solving
- Choose your platform — iOS, Android, or both — based on your target audience and revenue goals
- Decide how you’ll build it — learn to code, use a no-code tool, or hire a developer
- Plan, design, and build your MVP — the minimum version that delivers real value
- Test thoroughly, submit to the App Store or Google Play, then market and iterate
Step 1. Define Your App Idea
The most common reason apps fail has nothing to do with code. It’s that nobody needed them. Before you write a single line of code or sign up for any platform, spend real time on your idea.
The best apps solve a specific problem for a specific group of people. Not a vague inconvenience — a real, recurring frustration that people are currently dealing with in some clunky way. Uber didn’t invent getting a ride. It made getting a ride dramatically less painful.
The One-Sentence Test
Try to complete this sentence: “My app helps [specific person] do [specific thing] more easily.”
If you can fill in both blanks clearly, you have something to work with. If “specific person” is “everyone” or “anyone with a phone,” keep refining. The tighter your target, the easier everything that follows becomes — from building to marketing to finding your first users.
How to Validate Before You Build
- Search the App Store and Google Play for similar apps — if they exist, read the reviews carefully. One-star reviews are a goldmine for understanding what users actually want.
- Search Reddit for your target problem. Are people asking for solutions? How are they currently coping?
- Talk to five people who match your target user. Not your friends who will be supportive — people who actually experience the problem.
- Look for “quick validation” signals: are people already paying for alternatives, even imperfect ones? Existing spending is strong evidence of real demand.
Step 2. Choose Your Platform: iOS or Android?
This is the question most guides dodge or answer vaguely. Here’s the honest answer backed by actual data.
Android has more users — roughly 72% of global smartphone market share compared to iOS’s 28%. On the surface, that makes Android sound like the obvious choice. But user count and revenue are very different things.
The pattern is consistent and has held for years: iOS users spend more on apps. They’re more likely to pay for subscriptions, make in-app purchases, and upgrade to premium tiers. This is partly because iPhone ownership skews toward higher-income demographics in wealthier markets like the US, UK, Japan, and Australia — where app spending is highest.
The practical implication for you: if your goal is to generate revenue from your app — especially through subscriptions or paid features — iOS gives you a much better return on your effort for most markets.
- You’re targeting US, UK, Canada, Japan, or Australia
- Your monetization relies on subscriptions or paid features
- You’re learning to code and want to start with one platform
- You want the strongest path to revenue early on
- You’re targeting professional or premium users
- You’re targeting India, Southeast Asia, Latin America, or Africa
- Your model relies on ad revenue at scale
- Maximum reach matters more than revenue per user
- Your target users are on lower-cost devices
- You already know Java or Kotlin
A third option worth mentioning: cross-platform frameworks like Flutter and React Native let you write one codebase and deploy to both iOS and Android. This is increasingly popular among professional developers, but adds complexity for beginners. Most people starting out are better served by picking one platform, building something that works well, and expanding later.
Step 3. Pick Your Build Path
There are three fundamentally different ways to make an app. Which one is right for you depends on your budget, your timeline, your technical comfort, and your long-term goals. Take the quiz below — it takes about 60 seconds.
Here’s a detailed look at all three paths — with honest assessments of what each one actually involves.
The most powerful long-term path. You learn the skills, you own the code, and you’re never dependent on another platform’s pricing or limitations. The tradeoff is time — this is a real investment, measured in months, not weekends.
- For iOS: Swift + SwiftUI + Xcode (Mac required, all free to download)
- For Android: Kotlin + Jetpack Compose + Android Studio (free, works on Mac or PC)
- AI tools like Claude, GitHub Copilot, and Cursor significantly shorten the learning curve
- Opens career opportunities: developer jobs, freelancing, building your own product business
- Best for: career changers, indie builders, anyone serious about apps long-term
No-code platforms and AI app builders let you assemble an app using visual interfaces — no programming required. Great for proving a concept exists or getting a simple app live quickly. The honest limitation: you’ll eventually hit a ceiling on what you can build, and you’re dependent on the platform’s pricing and existence.
- Popular tools: Bubble, Glide, Adalo, Bravo Studio, and newer AI builders
- Good for: MVP validation, simple utility apps, non-technical founders testing demand
- Native app feel is harder to achieve — many no-code apps feel like web wrappers
- If your app gets traction, you may need to rebuild from scratch in code later
If you have a validated idea and real budget, hiring is the fastest way to get a polished app built. The challenge is that without some technical understanding, it’s hard to evaluate quality, manage scope, and avoid being overcharged for work that doesn’t meet your vision.
- Freelancer ($5k–$25k): good for simpler apps, requires careful vetting
- Agency ($50k–$150k+): full team, better process, higher cost
- Have a wireframe, a feature spec, and a realistic budget before reaching out
- Where to find developers: Upwork, Toptal, referrals from your network
- Best for: funded startups, businesses with a validated concept and real budget
Cost Comparison at a Glance
| Approach | Upfront Cost | Ongoing Cost | Time to Launch | Flexibility |
|---|---|---|---|---|
| Learn to code (iOS) | $0–$99/yr | $99/yr (App Store) | 3–12 months | Unlimited |
| Learn to code (Android) | $25 one-time | $25 (one-time) | 3–12 months | Unlimited |
| No-code tool | Free–$50/mo | Subscription fees | Days–Weeks | Platform-limited |
| Freelance developer | $5k–$25k | Maintenance costs | 2–4 months | High |
| Development agency | $50k–$150k+ | Maintenance + support | 4–6 months | High |
Step 4. Plan Your App
Regardless of which path you chose above, the biggest mistake first-time app builders make is starting to build before they know what they’re building. A few hours of planning here saves weeks of rework later.
Define Your MVP
An MVP — Minimum Viable Product — is the simplest version of your app that still delivers the core value. Not a rough prototype. Not a half-baked product. The smallest complete version that solves the problem you identified.
To define your MVP, write down every feature you want your app to have. Then draw a line down the middle of a page. Put the features that are essential to the core value on the left. Put everything else on the right. Build only the left column first.
Sketch Your Screens
- List every screen your app needs (on paper first — this forces clarity)
- Sketch a rough wireframe for each screen — it doesn’t need to be beautiful, just clear
- Draw arrows showing how users move between screens
- Use Figma (free tier) if you want a digital version — but pen and paper is genuinely fine
- Define what data your app needs, where it comes from, and where it gets stored
Step 5. Build Your App
What follows depends on the path you chose. Here’s what the process actually looks like for each one.
If You’re Coding It Yourself — iOS Path
If You’re Coding It Yourself — Android Path
- Download Android Studio (free, works on Mac and PC)
- Learn Kotlin basics — Google’s preferred language for Android development
- Build your UI with Jetpack Compose — Android’s modern declarative UI framework, similar in concept to SwiftUI
- Connect your data, test on the Android Emulator, then test on a real Android device
What to Expect from No-Code Tools
Sign up for your chosen platform, pick a template closest to your app idea, and configure your screens and features using drag-and-drop. Most platforms have their own tutorials. The process is genuinely fast — you can have something working in a day or two. The challenge is customization: when you need something the platform doesn’t support out of the box, your options are limited.
If You Hired Someone to Build It
Your role now is providing clear requirements, reviewing work in progress, and testing thoroughly. Before development starts: document every screen, every interaction, and every edge case you can think of. The more ambiguity you leave in the spec, the more it costs you — either in revision time or actual fees.
Step 6. Test Your App
Every app has bugs before launch. The goal isn’t to find every bug — it’s to find the ones that would cause a first-time user to delete your app or leave a one-star review.
- Functional testing: does every feature work as intended? Test every screen, every button, every interaction.
- Edge case testing: what happens when the user has no internet connection? What if they leave the app mid-flow and come back?
- Device testing: test on multiple screen sizes, not just your own device. The iOS Simulator makes this easy — test on both small and large iPhone models.
- Beta testing with real users: for iOS, use TestFlight to invite 5–10 people who match your target user. For Android, use Google Play’s internal testing track. Real users find problems you never would on your own.
Step 7. Submit to the App Store or Google Play
You’ve built your app and it’s working well. Now it’s time to publish. The submission process is more involved than most beginners expect, so here’s what you’re actually dealing with.
App Store (iOS)
- Apple Developer Program: $99/year — required before you can submit anything to the App Store
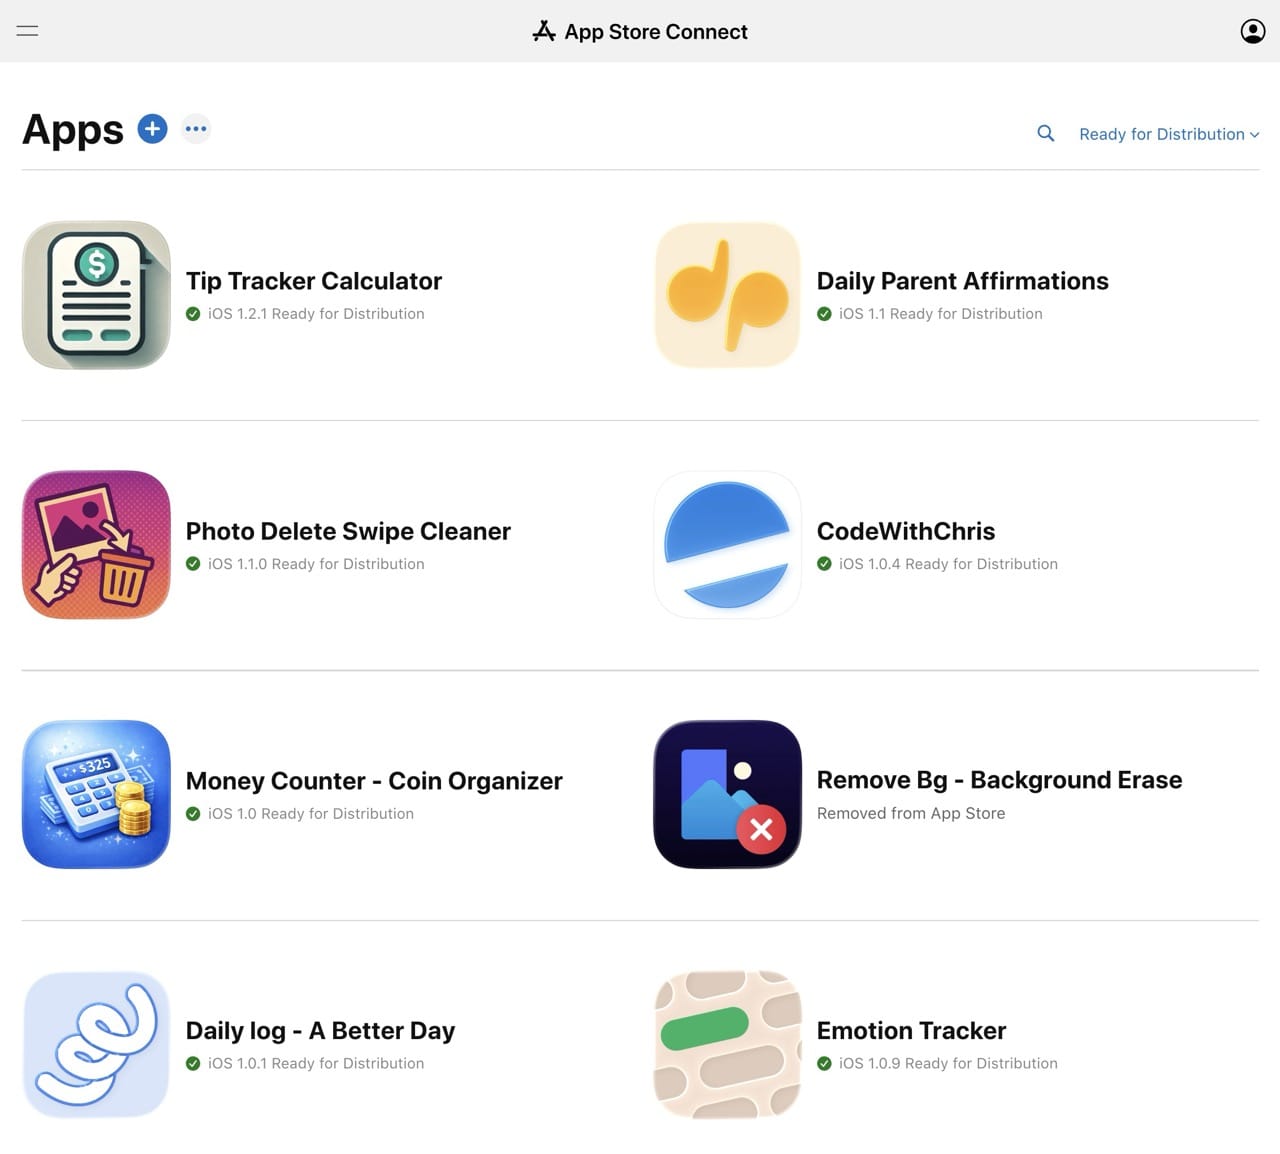
- App Store Connect: Apple’s dashboard where you create your app listing, upload builds, and manage everything
- What you’ll prepare: app name, subtitle, description, keywords, screenshots for multiple device sizes, an app icon, and a privacy policy
- Review time: typically 1–3 days. Apple reviews every app submission manually against their guidelines.
- Common rejection reasons: crashes during review, incomplete information, misleading descriptions, or guideline violations
Google Play (Android)
- Google Play Console: one-time $25 registration fee — much lower barrier than the App Store
- Review process: generally more lenient than Apple, though Google has tightened its review process in recent years
- ASO matters on both stores: your app’s name, keywords, description, and screenshots directly affect how discoverable your app is in search
Step 8. Distribute and Market Your App
Publishing your app is not the finish line. It’s the starting line. An app with no marketing strategy is invisible — there are over 2 million apps on the App Store alone. “Build it and they will come” has never been true in the App Store.
Here’s a high-level view of the channels and strategies that actually move the needle. Each of these deserves its own deep guide — consider this your orientation map.
App Store Optimization (ASO)
ASO is the practice of optimizing your App Store listing so more people discover it through search. It’s the foundation — before you spend a dollar on paid marketing, make sure your organic visibility is as strong as possible. Your app’s name, subtitle, keyword field, description, icon, and screenshots all affect both your ranking and your conversion rate once people land on your page.
Content Marketing and Social Media
The most sustainable long-term channel for indie app developers is building an audience around the problem your app solves. That might be a YouTube channel, a newsletter, a TikTok account, or a presence on Reddit in communities where your target users hang out. This takes time to build, but it creates an owned audience you can activate for every new release or update — without paying for ads.
Press and Communities
Launch on ProductHunt. Post in relevant subreddits. Find the niche communities (Discord servers, Facebook groups, Slack communities) where your target users already spend time. These channels can drive meaningful early downloads if you approach them authentically — not as a promotion, but as someone solving a real problem for that community.
Paid Acquisition
Apple Search Ads lets you bid on keywords so your app appears at the top of App Store search results. Meta (Facebook and Instagram) ads can drive app installs from a broader audience. Paid acquisition works best once you understand your conversion rates — otherwise you’re spending without knowing what it costs to acquire a user who actually sticks around.
Email List
If you can capture email addresses — through a landing page before launch, a “coming soon” waitlist, or an in-app prompt — you own that relationship directly. Email gives you a direct line to your users that no algorithm can take away. Even a small email list of 500 engaged people can make a real difference on launch day.
Step 9. Iterate After Launch
Your first version is a hypothesis. You built something based on your best understanding of what users need — now you get to find out if you were right.
- Read your reviews: every negative review is free user research. What did people expect that they didn’t get?
- Watch your analytics: where do users drop off? Which features do they actually use? Which ones get ignored?
- Update regularly: both Apple and Google favor apps that are actively maintained in their search algorithms. Regular updates also give you a reason to reach out to your existing users.
- Talk to your users: reply to reviews, post in communities, send a survey to your email list. The apps that compound are the ones that keep listening.
The best apps in the world are version 47, not version 1. Give yourself permission to launch something imperfect, learn from real users, and make it better from there.
Frequently Asked Questions
What You Learned
Here’s a quick recap of everything this guide covered:
- Start with a validated idea — solve a real problem for a specific person, not a vague one for everyone
- iOS generates ~70% of global app revenue despite fewer users — for most markets, build iOS first
- Three paths to building: code it yourself (most control), no-code tools (fastest), or hire someone (highest cost)
- Plan your MVP before building — the smallest complete version that still delivers real value
- Test with real users using TestFlight (iOS) or Play Console (Android) before public launch
- App Store submission: $99/year for iOS, $25 one-time for Android — plan for 1–3 day review times
- Marketing starts before launch — ASO, content, community, and email are your core organic channels
- Version 1 is a hypothesis — listen to real users and iterate from there
The best time to start is today, with whatever you have. Pick your path, take the first step, and adjust as you go. Every app you see in the App Store was once just an idea someone decided to actually follow through on.
If you want to learn to build iOS apps yourself — and actually understand what you’re building — CWC+ is the structured path to get there. Beginner-friendly courses, an active community, and a clear curriculum that takes you from your first line of Swift to shipping your first real app.
Learn More →No coding experience required · Hundreds of happy students