
SwiftData, which was presented at WWDC 2023, is a framework that lets developers use Swift-like API to handle “persistence” in their apps. In this context, persistence means saving data so it can be accessed even after the app is closed and reopened.
A Look into SwiftData
SwiftData employs the expressivity offered by Swift’s new language macros to ensure a seamless API interface. It is naturally integrated with SwiftUI and functions compatibly with other platform features, including CloudKit and Widgets.
Embracing @Model Macro
A key player in SwiftData’s functionality is the @Model macro. It empowers you to define your data model’s schema directly from your Swift code. SwiftData schemas are standard Swift code, but with a twist – you can annotate your properties with additional metadata when necessary. This simple act of class decoration with @Model triggers schema generation, transforming your classes’ stored properties into persisted ones.
    import SwiftData

    @Model
    class Trip {
        var name: String
        var destination: String
        var endDate: Date
        var startDate: Date

        var bucketList: [BucketListItem]? = []
        var livingAccommodation: LivingAccommodation?
    }
The real charm of SwiftData is its versatility. It’s capable of adapting basic value types such as String, Int, and Float, and complex types like structs, enums, and codable types. All these become instantly usable as attributes. Furthermore, SwiftData allows for the creation of links between your model types through relationships and collections of model types.
You can modify the way SwiftData builds your schema using metadata on your properties. By using @Attribute, you can add uniqueness constraints, while @Relationship can be employed to control the choice of inverses and specify delete propagation rules.
    @Model
    class Trip {
        @Attribute(.unique) var name: String
        var destination: String
        var endDate: Date
        var startDate: Date

        @Relationship(.cascade) var bucketList: [BucketListItem]? = []
        var livingAccommodation: LivingAccommodation?
    }
Working with SwiftData
To begin your journey with SwiftData, you’ll need to acquaint yourself with two crucial objects: SwiftData’s ModelContainer and ModelContext.
ModelContainer
The ModelContainer serves as the persistent backend for your model types. It can operate with default settings, or be customized with configurations and migration options. To create a model container, simply specify the model types you want to store. Additional customizations can be applied using a configuration to change your URL, CloudKit, group container identifiers, and migration options. Once your container is set up, you’re ready to fetch and save data using model contexts.
Initialize with only a schema
let container = try ModelContainer([Trip.self, LivingAccommodation.self])
Initialize with configurations
    let container = try ModelContainer(
        for: [Trip.self, LivingAccommodation.self],
        configurations: ModelConfiguration(url: URL("path"))
    )
ModelContext
ModelContext tracks changes to your models and provides various actions to operate on them. It’s your primary interface for tracking updates, fetching data, saving changes, and even undoing those changes. In SwiftUI, you’ll generally retrieve the ModelContext from your view’s environment after creating your model container.
    import SwiftUI

    struct ContextView : View {
        @Environment(\.modelContext) private var context
    }
SwiftData also benefits from new Swift native types like predicate and fetch descriptor, which offer a fully type-checked modern replacement for NSPredicate and significant enhancements to Swift’s native sort descriptor. The implementation of your predicates is easy with Xcode’s autocomplete support.
Building a predicate
    let today = Date()
    let tripPredicate = #Predicate<Trip> {
        $0.destination == "New York" &&
        $0.name.contains("birthday") &&
        $0.startDate > today
    }
Once you’ve decided which data you’re interested in fetching, the new FetchDescriptor type can instruct your ModelContext to fetch those data.
Fetching with a FetchDescriptor
    let descriptor = FetchDescriptor<Trip>(predicate: tripPredicate)

    let trips = try context.fetch(descriptor)
SwiftData facilitates creating, deleting, and changing your data. After creating your model objects like any other Swift classes, you can insert them into the context and utilize SwiftData’s features, such as change tracking and persistence.
    @Environment(\.modelContext) private var context

    var myTrip = Trip(name: "Birthday Trip", destination: "New York")

    // Insert a new trip
    context.insert(myTrip)

    // Delete an existing trip
    context.delete(myTrip)

    // Manually save changes to the context
    try context.save()
You can learn more about SwiftData containers and contexts and driving its operations, by checking WWDC Session titled: “Dive Deeper into SwiftData“.
Leveraging SwiftUI for SwiftData
SwiftData was built with SwiftUI in mind, and the integration between the two couldn’t be smoother. Whether it’s setting up your SwiftData container, fetching data, or driving your view updates, APIs are in place to merge these frameworks effortlessly. With SwiftUI, you can configure your data store, toggle options, enable undo and autosave, and much more.
SwiftData supports the all-new observable feature for your modeled properties. With this, SwiftUI will automatically refresh changes on any of the observed properties.
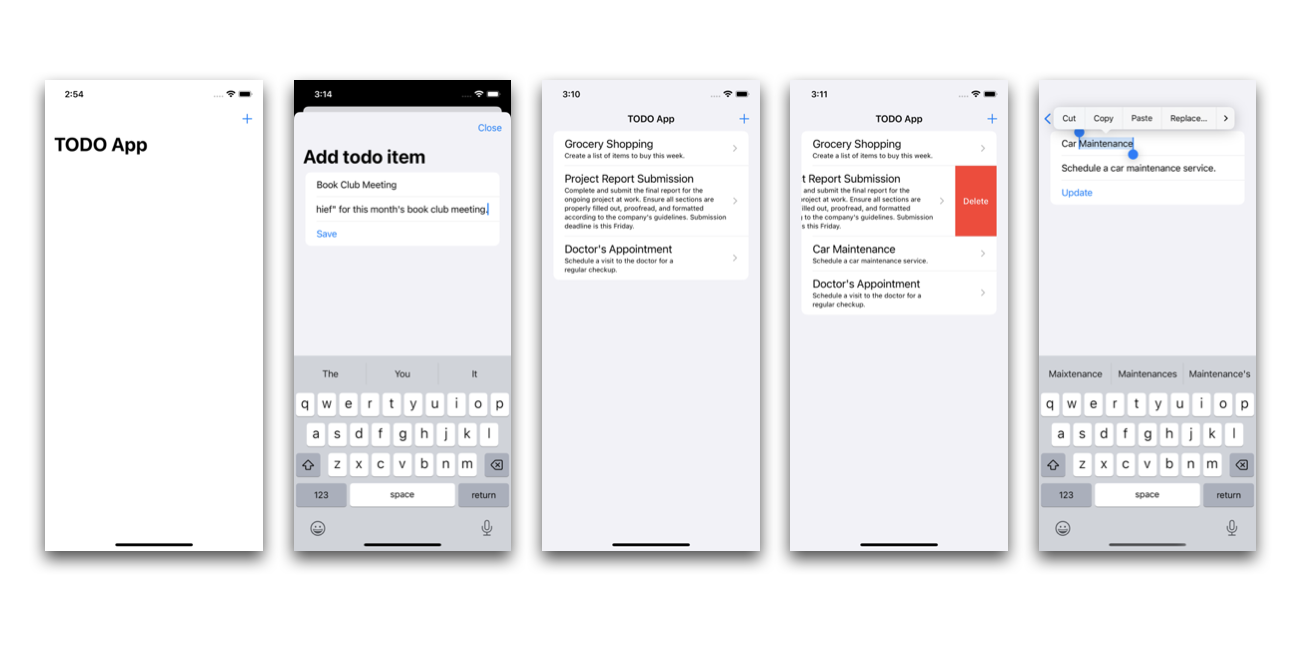
A sample ToDo App using what we learned so far
While researching for this article, I decided to take a hands-on approach and create a sample app to solidify my understanding. Together, we’ll explore the process of building a simple ToDo app using SwiftData. With this app, you’ll be able to effortlessly create, view, update, and delete your todo items.
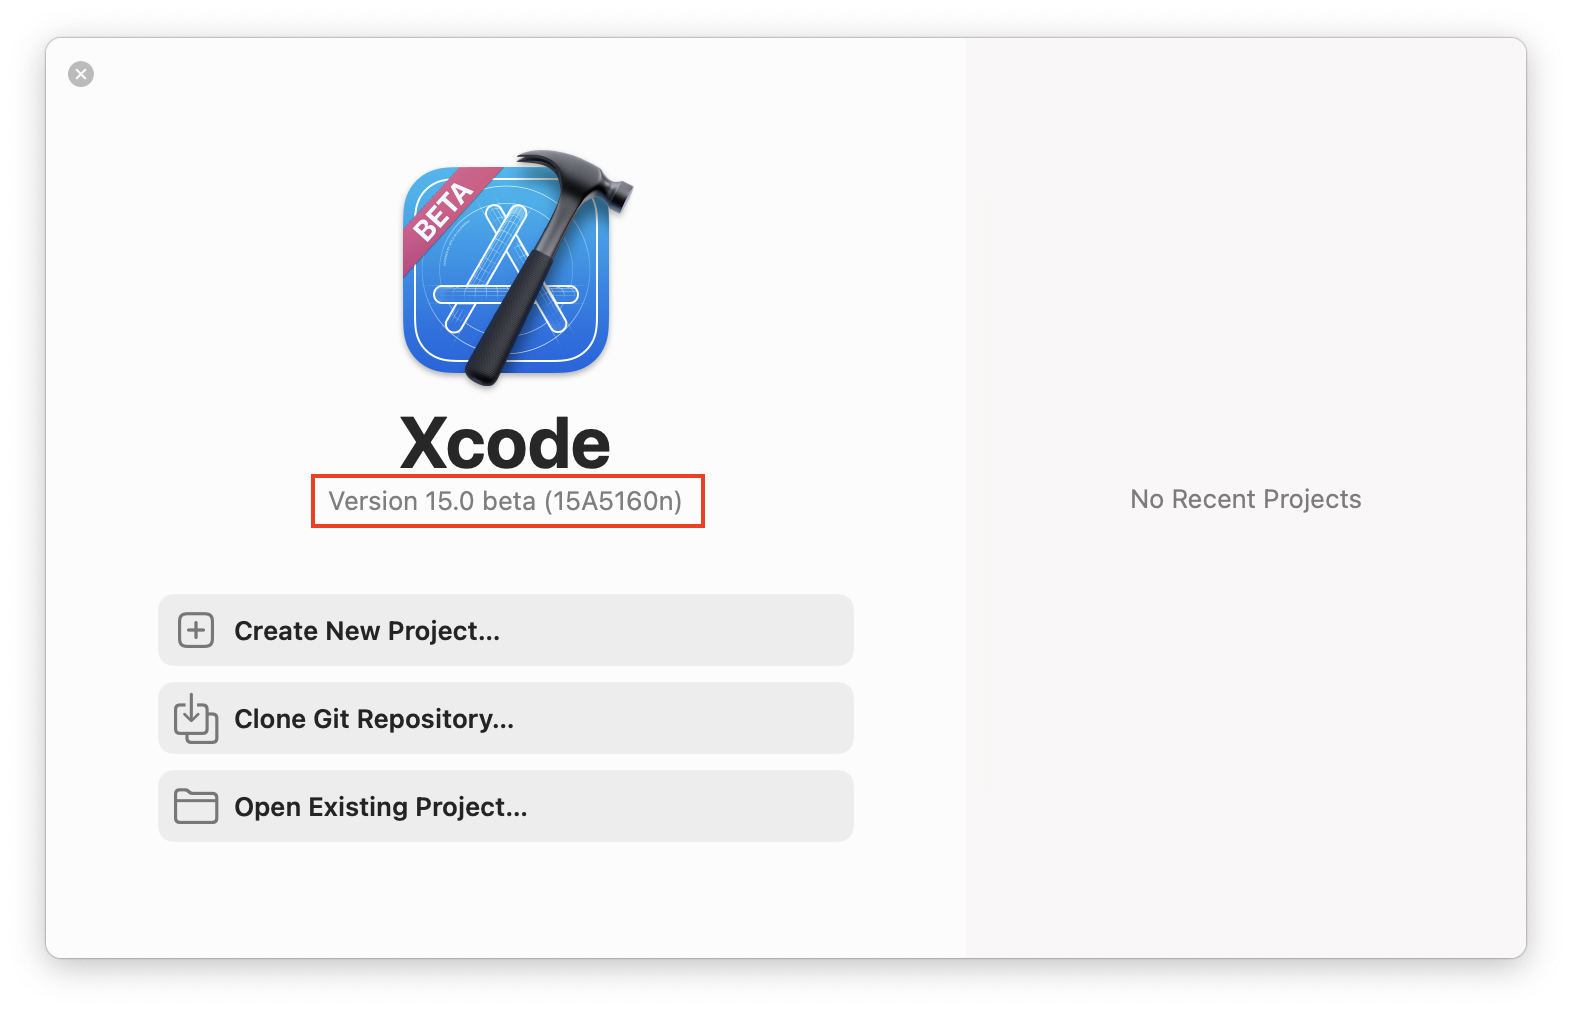
To get started, make sure you have Xcode 15.0 or a later version installed. It’s important to note that, as of now, Xcode is still in beta. By the time you read this, there might have been some syntax changes or, if you’re using the Xcode beta, you might encounter bugs related to the IDE along the way.
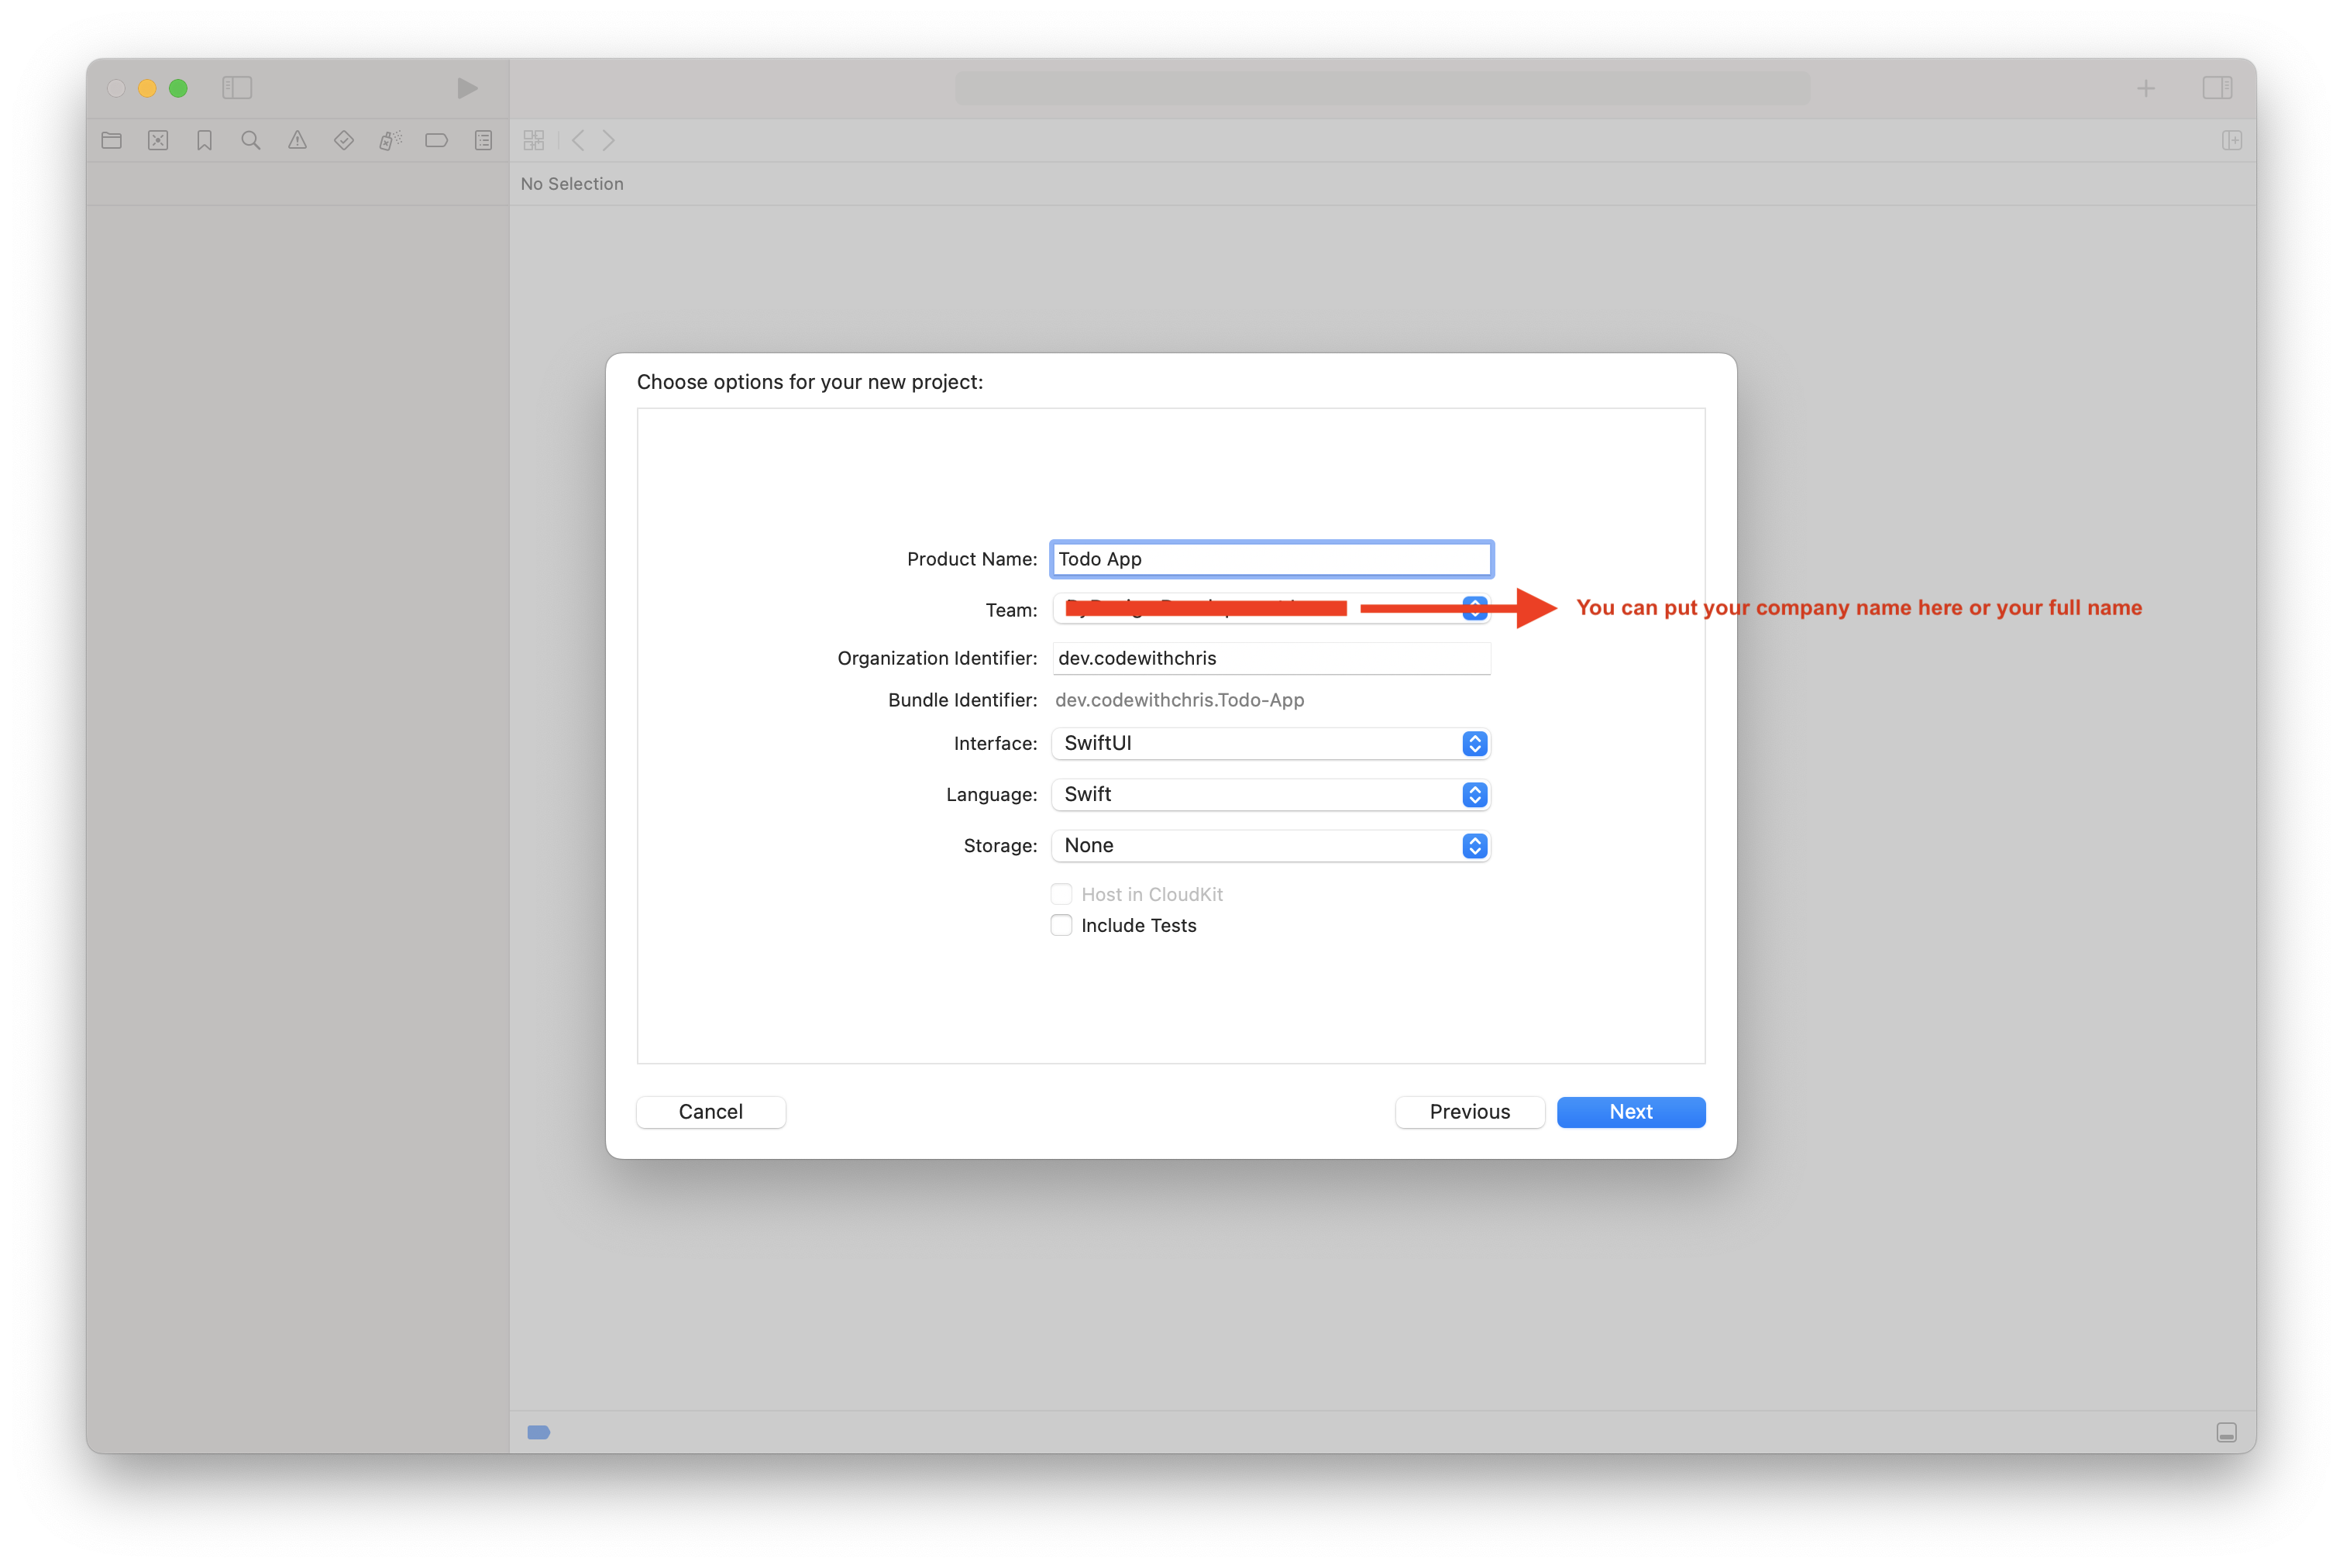
For our project, we’ll be working with an early version of a todo list app. Feel free to choose any name for your project, but just to give you an idea, here’s what I named mine.
Creating the ToDo Model
The first step is to create a model for our ToDo items. In SwiftData, we use the @Model attribute to denote a Swift class as a data model. Our ToDo class has three properties: id, name, and note.
The id is a unique identifier for each ToDo item, and we’ve decorated it with the @Attribute(.unique) attribute to enforce uniqueness. The name and note fields are simple strings to hold the task’s title and additional notes respectively. We also have an initializer to help us create ToDo instances easily.
@Model
final class ToDo: Identifiable {

    @Attribute(.unique) var id: String = UUID().uuidString
    var name: String
    var note: String

    init(id: String = UUID().uuidString, name: String, note: String) {
        self.id = id
        self.name = name
        self.note = note
    }
}
Creating a New ToDo Item
AddToDoListItemScreen is a SwiftUI View that allows us to create a new ToDo item. It has two @State properties for our text fields, and it retrieves the ModelContext from the environment. This context will allow us to insert and save our new ToDo items.
In our body, we have a Form with two TextFields for the name and the notes. We also have a Button that, when clicked, creates a new ToDo instance, inserts it into the ModelContext, and saves the context. If the save operation is successful, the view is dismissed and the new ToDo item is persisted.
struct AddToDoListItemScreen: View {

    @State private var name = ""
    @State private var noteDiscription = ""

    @Environment(\.modelContext) private var context
    @Environment(\.dismiss) private var dismiss

    private var isFormValid: Bool {
        !name.isEmptyOrWithWhiteSpace && !noteDiscription.isEmptyOrWithWhiteSpace
    }

    var body: some View {
        NavigationStack {
            Form {
                TextField("Enter Title", text: $name)
                TextField("Enter your notes", text: $noteDiscription)
                Button("Save") {
                    let todo = ToDo(name: name, note: noteDiscription)
                    context.insert(todo)
                    do {
                        try context.save()
                    } catch {
                        print(error.localizedDescription)
                    }
                    dismiss()
                }.disabled(!isFormValid)
            }
            .navigationTitle("Add todo item")
            .toolbar {
                ToolbarItem(placement: .topBarTrailing) {
                    Button("Close") {
                        dismiss()
                    }
                }
            }
        }
    }
}
Viewing ToDo Items
The ToDoListView displays all of our ToDo items in a List. It takes an array of ToDos as a parameter, and it also retrieves the ModelContext from the environment.
In our List, we iterate over each ToDo and create a NavigationLink for it. Each ToDo can be clicked to navigate to its detail view.
We also have an .onDelete modifier on our ForEach. This modifier takes a function that deletes the ToDo at the specified index from the ModelContext and saves the changes.
struct ToDoListView: View {

    let todos: [ToDo]
    @Environment(\.modelContext) private var context

    private func deleteTodo(indexSet: IndexSet) {
        indexSet.forEach { index in
            let todo = todos[index]
            context.delete(todo)

            do {
                try context.save()
            } catch {
                print(error.localizedDescription)
            }
        }
    }

    var body: some View {
        List {
            ForEach(todos, id: \.id) { todo in
                NavigationLink(value: todo) {
                    VStack(alignment: .leading) {
                        Text(todo.name)
                            .font(.title3)
                        Text(todo.note)
                            .font(.caption)
                    }
                }
            }.onDelete(perform: deleteTodo)
        }.navigationDestination(for: ToDo.self) { todo in
            ToDoDetailScreen(todo: todo)
        }
    }
}
Updating ToDo Items
The ToDoDetailScreen is a SwiftUI View that allows us to update a ToDo item. It takes a ToDo as a parameter, and it retrieves the ModelContext from the environment.
In our body, we have a Form with two TextFields for the name and the note, pre-populated with the current ToDo’s data. We also have a Button that, when clicked, updates the ToDo instance’s name and note, and then saves the ModelContext. If the save operation is successful, the view is dismissed, and the updated ToDo item is persisted.
struct ToDoDetailScreen: View {

    @State private var name: String = ""
    @State private var note: String = ""

    @Environment(\.modelContext) private var context
    @Environment(\.dismiss) private var dismiss

    let todo: ToDo

    var body: some View {
        Form {
            TextField("Name", text: $name)
            TextField("Note description", text: $note)

            Button("Update") {
                todo.name = name
                todo.note = note

                do {
                    try context.save()
                } catch {
                    print(error.localizedDescription)
                }

                dismiss()
            }
        }.onAppear {
            name = todo.name
            note = todo.note
        }
    }
}
Bringing It All Together
Finally, we have the ContentView, which is the root of our application. It presents the ToDoListView wrapped in a NavigationStack. It also has an Add button in the toolbar that presents the AddToDoListItemScreen when clicked.
The @Query attribute is used to retrieve all ToDo items from the ModelContext, sorted by id in reverse order. This array is passed to the ToDoListView.
struct ContentView: View {

    @State private var isPresented: Bool = false
    @Query(sort: \.id, order: .reverse) private var todos: [ToDo]

    var body: some View {
        NavigationStack {
            VStack {
                ToDoListView(todos: todos)
                    .navigationTitle("TODO App")
            }
            .sheet(isPresented: $isPresented, content: {
                AddToDoListItemScreen()
            })
            .toolbar {
                ToolbarItem(placement: .topBarTrailing) {
                    Button {
                        isPresented = true
                    } label: {
                        Image(systemName: "plus")
                    }
                }
            }
        }
    }
}
And that’s it! You’ve now seen a step-by-step explanation of how to create a simple ToDo app using SwiftData. It covers how to create, read, update, and delete data using SwiftData’s key features.
If you want to check the source code of the completed project and play around with it, you can download it here.
SwiftData: Your New Ally in App Development
SwiftData stands as a potent new addition to your arsenal for managing data, designed with an intrinsic understanding of Swift’s capabilities. It provides a code-centric approach that encourages a more direct and intuitive coding experience. With features such as persistence, undo and redo, iCloud synchronization, and widget development, SwiftData is a game-changer for your app development process.
If you’re just starting with iOS development, SwiftData and SwiftUI’s seamless integration offers an accessible entry point. Dive right in and start building high-performance, data-driven applications with SwiftData today.