Overview
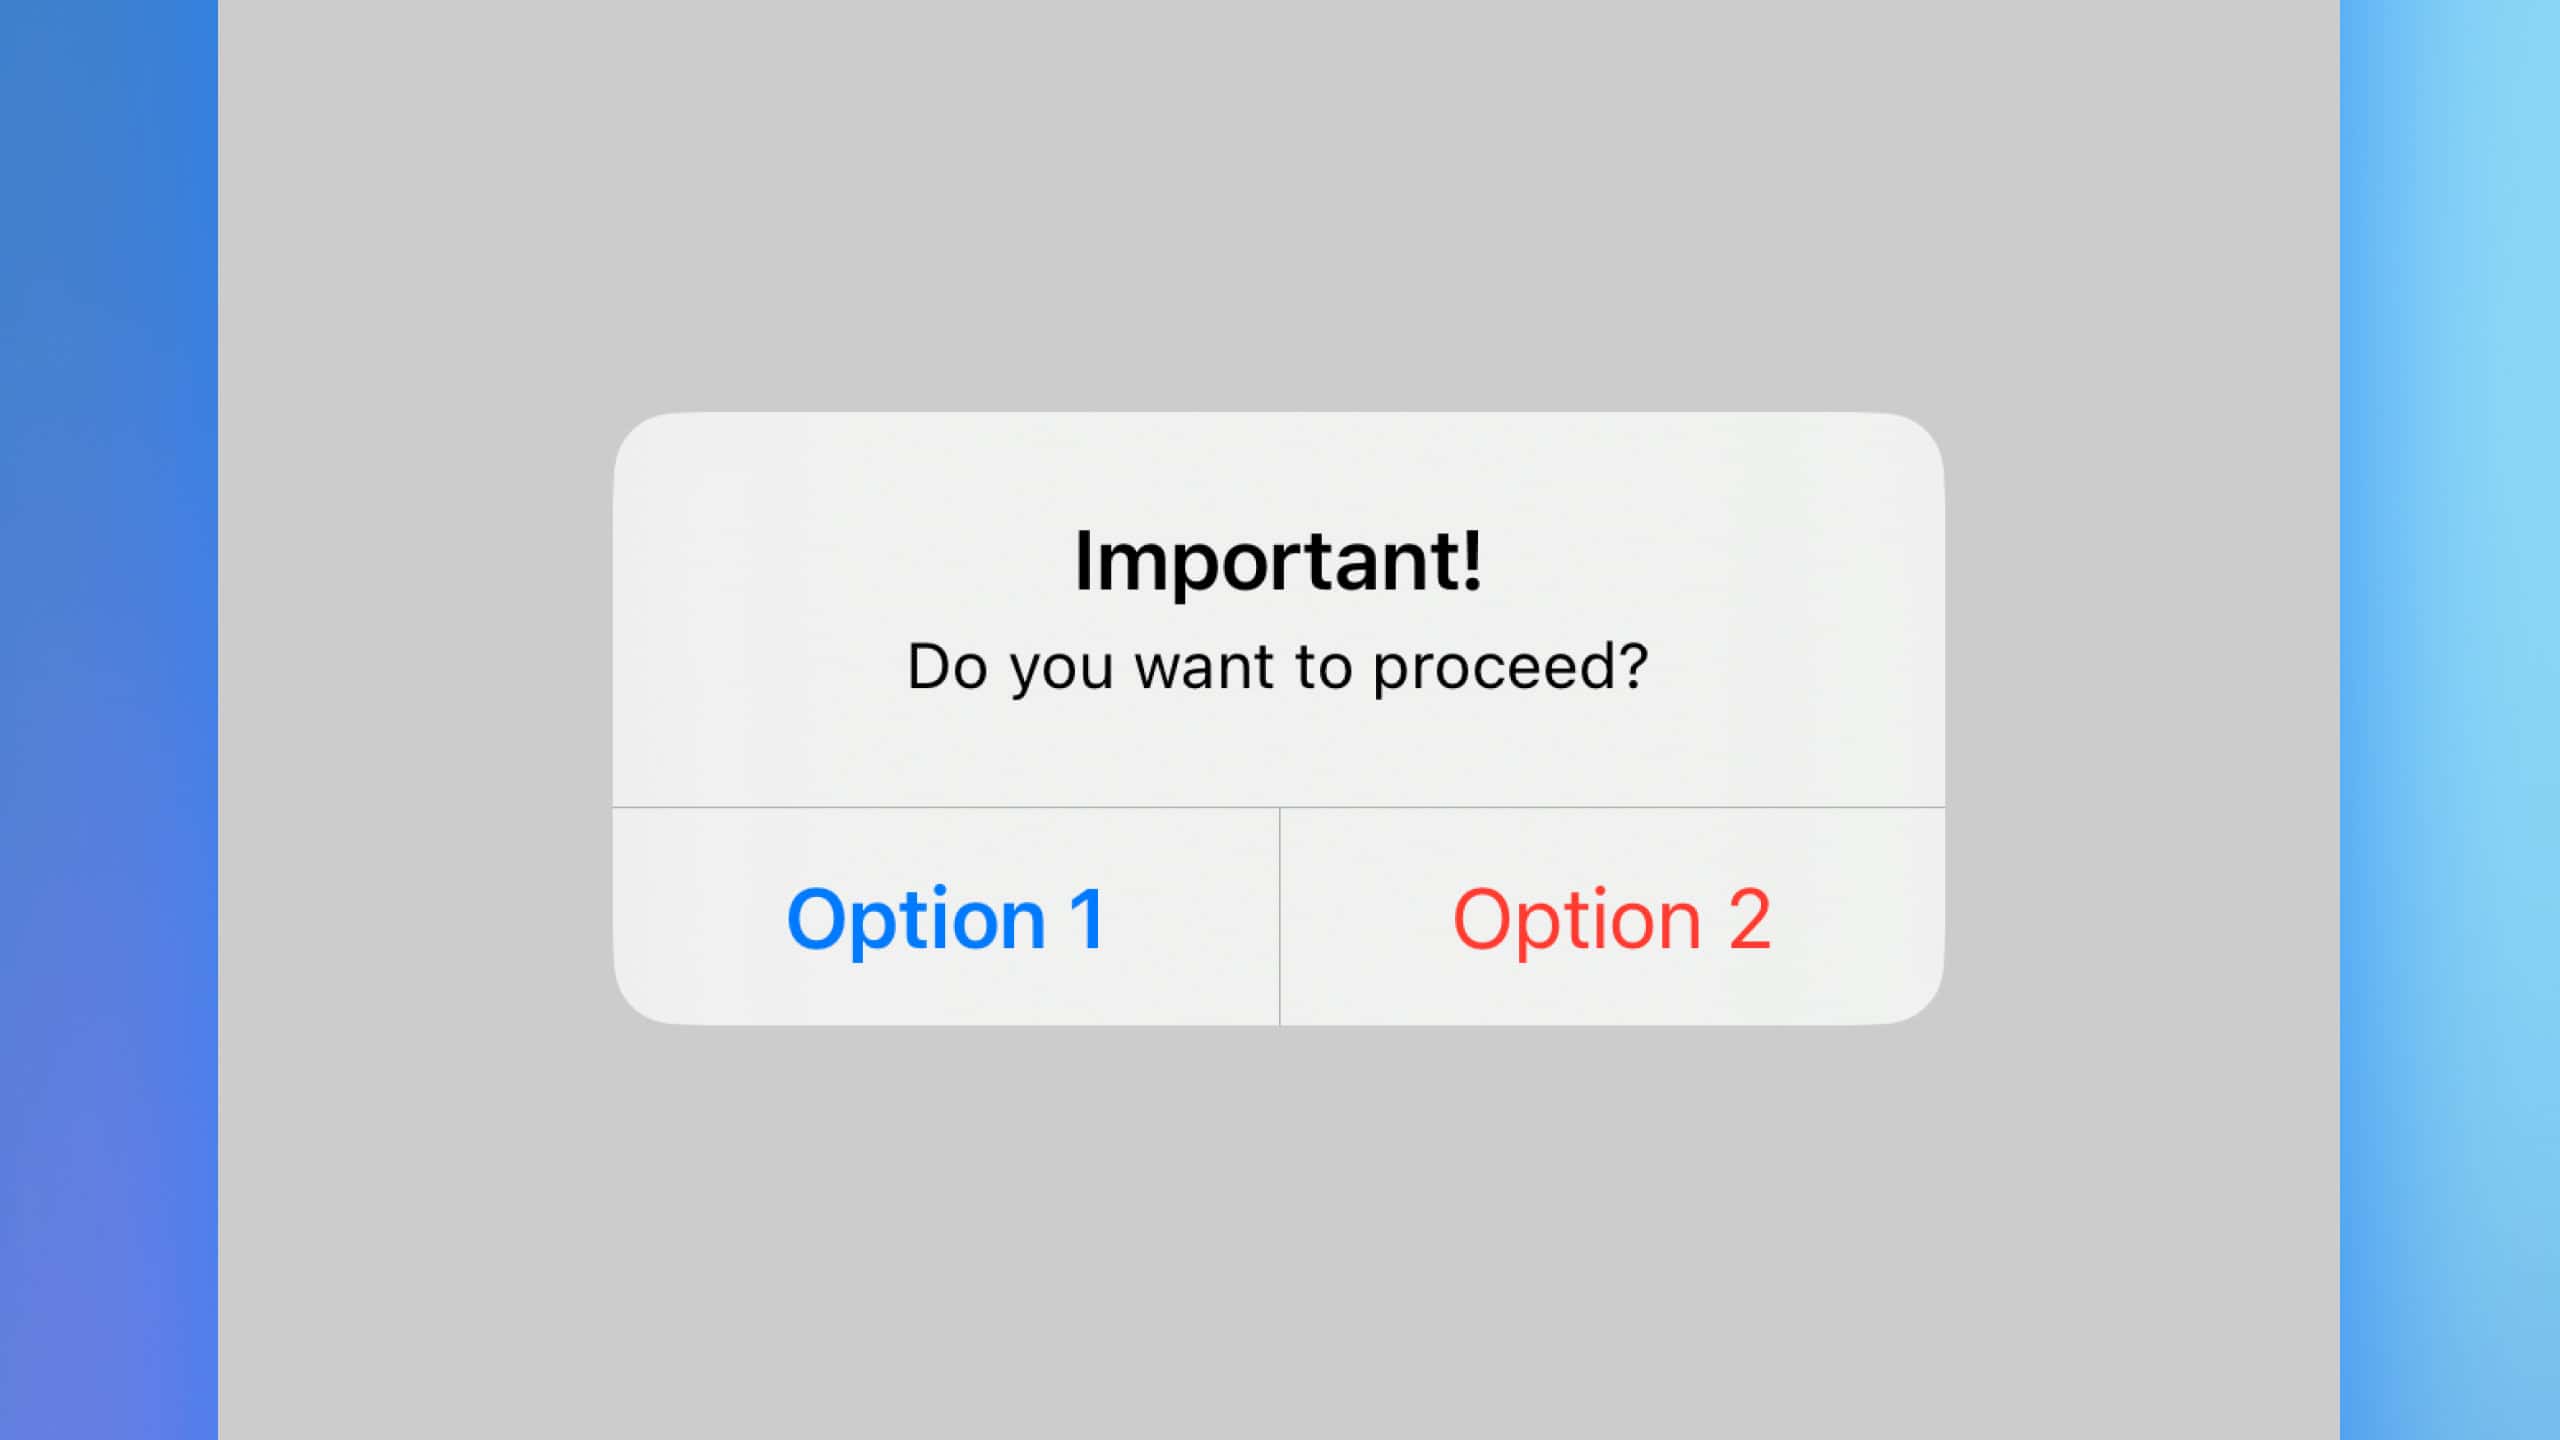
In SwiftUI, alerts are a fundamental component for presenting important information and choices to the user. Alerts can contain a title, message, and a set of actions. This article demonstrates how to implement alerts in SwiftUI, showcasing how to trigger an alert and customize its actions.

Code Snippet
import SwiftUI

struct AlertViewSample: View {
    @State private var showAlert = false

    var body: some View {
        VStack {
            Button("Show Alert") {
                showAlert = true
            }
            .alert("Important!", isPresented: $showAlert) {
                Button("Option 1", role: .cancel) { }
                Button("Option 2", role: .destructive) { }
            } message: {
                Text("Do you want to proceed?")
            }
        }
    }
}
Code Explanation
import SwiftUI: Imports the SwiftUI framework.@State private var showAlert = false: Declares a state variableshowAlertto control the visibility of the alert.VStack: A vertical stack layout to arrange views vertically.Button("Show Alert"): A button labeled “Show Alert”. When tapped, it setsshowAlertto true..alert("Important!", isPresented: $showAlert): Attaches an alert to the button, which is presented whenshowAlertis true."Important!": The title of the alert.Button("Option 1", role: .cancel) { }: Adds a button with the label “Option 1” and a cancel role, which indicates a non-destructive action to dismiss the alert.Button("Option 2", role: .destructive) { }: Adds a button with the label “Option 2” and a destructive role, which is visually distinct and indicates a critical action.Text("Do you want to proceed?"): The message displayed in the alert.
This example highlights how to create a simple alert with two actions, demonstrating the flexibility of SwiftUI alerts in presenting critical information and options to users.
Alerts in SwiftUI provide an easy and effective way to communicate important information and choices to the user. By leveraging state variables and the .alert modifier, you can create interactive and responsive alerts tailored to your application’s needs.


