


Overview
NavigationSplitView is a SwiftUI component that divides the screen into two sections: a master view (typically a list) and a detail view. This layout is commonly used in applications like Mail or Notes, where a list of items is displayed on one side and details about the selected item are shown on the other.
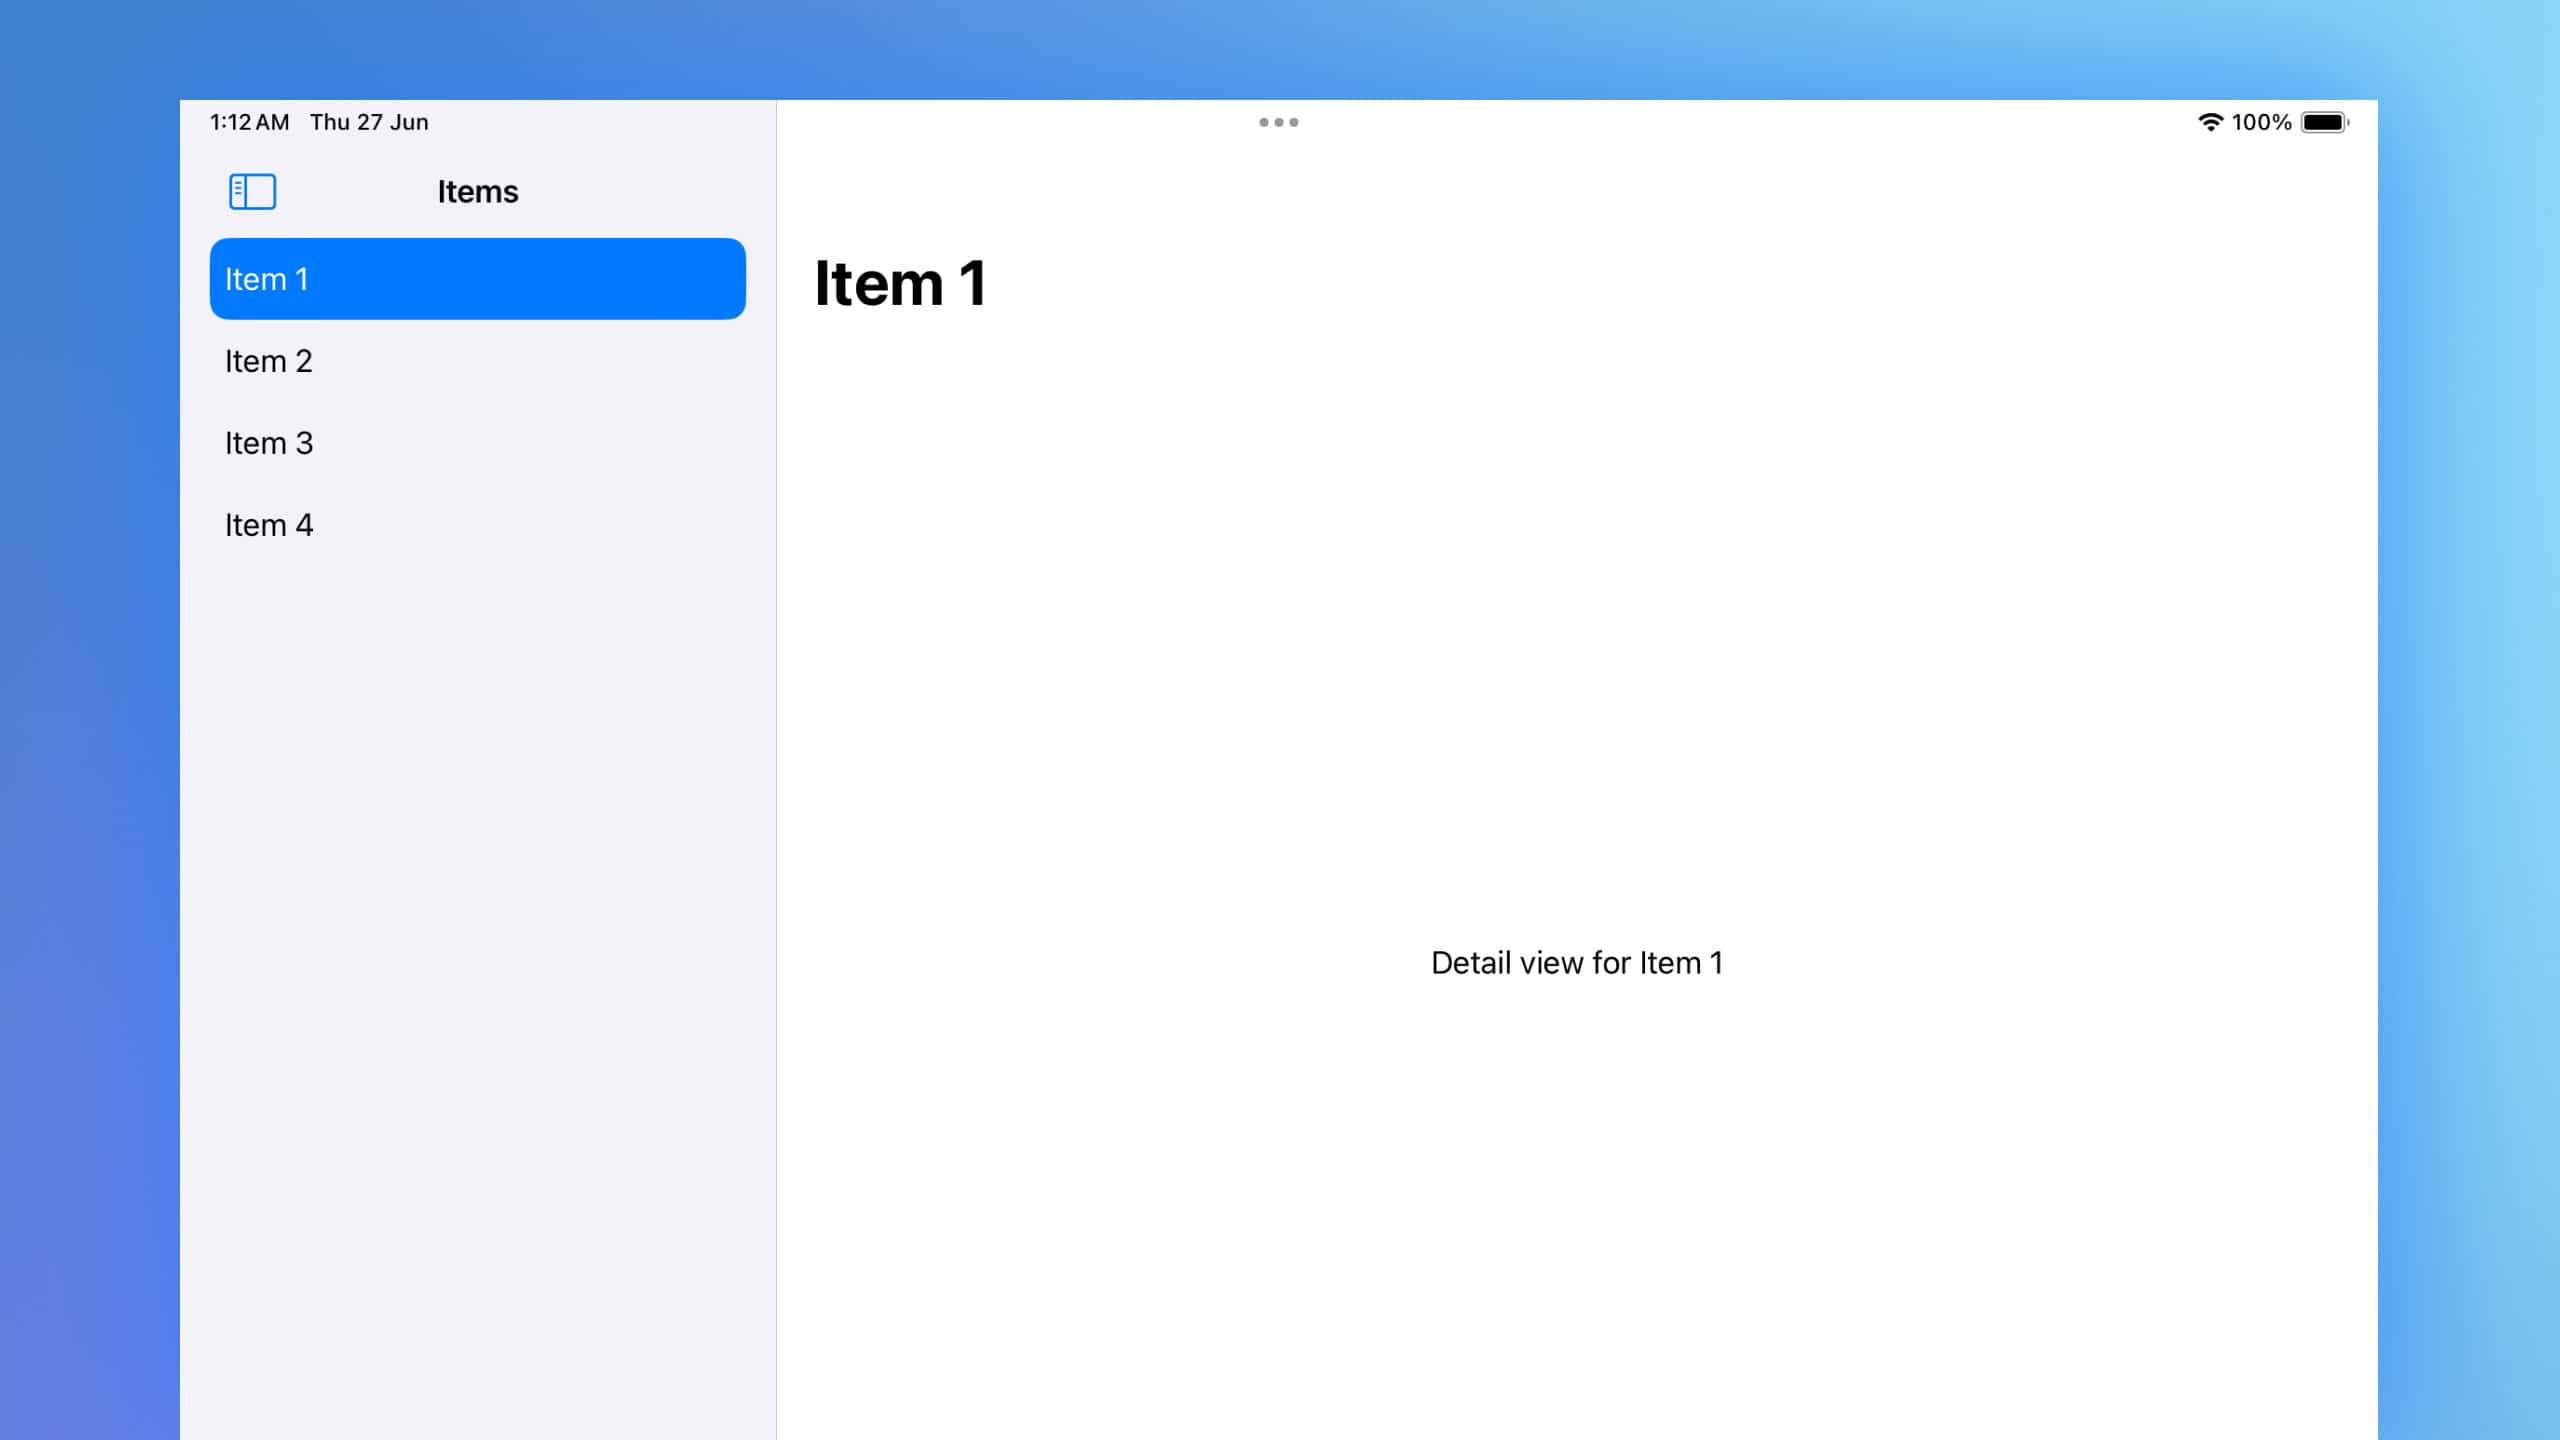
Let’s dive into the provided sample code snippet that illustrates a simple master-detail interface using NavigationSplitView.
Code Snippet
ContentView
struct ContentView: View {
    @State private var selectedItem: String?

    var body: some View {
        NavigationSplitView {
            MasterView(selectedItem: $selectedItem)
        } detail: {
            DetailView(selectedItem: $selectedItem)
        }
    }
}
MasterView
struct MasterView: View {
    @Binding var selectedItem: String?
    private let items = ["Item 1", "Item 2", "Item 3", "Item 4"]

    var body: some View {
        List(items, id: \.self, selection: $selectedItem) { item in
            Text(item)
                .onTapGesture {
                    selectedItem = item
                }
        }
        .navigationTitle("Items")
    }
}
DetailView
struct DetailView: View {
    @Binding var selectedItem: String?

    var body: some View {
        if let item = selectedItem {
            Text("Detail view for \(item)")
                .navigationTitle(item)
        } else {
            Text("Select an item")
                .navigationTitle("Details")
        }
    }
}
Code Explanation
-
ContentView:
- The
ContentViewstruct serves as the main view, containing theNavigationSplitView. - It declares a state variable
selectedItemto track the currently selected item. - The
NavigationSplitViewis composed of two parts: a master view and a detail view.
- The
-
MasterView:
- The
MasterViewstruct represents the master list of items. - It uses a
BindingtoselectedItemto reflect the selected item from the list in theContentView. - The list contains a few sample items, and tapping an item updates the
selectedItemvariable. - The list also has a navigation title “Items”.
- The
-
DetailView:
- The
DetailViewstruct displays details about the selected item. - It also uses a
BindingtoselectedItemto reflect changes. - If an item is selected, it displays the detail view for that item; otherwise, it prompts the user to select an item.
- The navigation title changes dynamically based on the selected item.
- The
The NavigationSplitView in the ContentView acts as a container that splits the screen into a master view (MasterView) and a detail view (DetailView). When an item is tapped in the master view, the selectedItem state variable is updated, and this change is propagated to the DetailView, which updates its content accordingly.
SwiftUI’s NavigationSplitView is a powerful tool for building master-detail interfaces, allowing for a clean and efficient way to manage and display related content. By following the structure of the provided sample code, you can easily implement a similar interface in your own applications, enhancing user experience with intuitive navigation and detailed views. Whether you’re building a simple list or a complex data-driven app, NavigationSplitView simplifies the process, making SwiftUI an even more compelling framework for iOS development.