


Images serve as a critical element of user interface in virtually all iOS mobile applications. An Image View specifically, acts as a visual display that can present a singular image or, in certain cases, animate a sequence of images.
The functionality and adaptability of the Image View in SwiftUI are particularly remarkable. Not only does it have the ability to display custom images drawn from the asset catalog, accommodating rich image data in various formats, like PNG, JPEG, and PDF, but it also enables the representation of SFSymbols. This results in an effortless and intuitive process for managing and manipulating images, thereby boosting design possibilities and creative flexibility. Whether it’s stretching, scaling, fitting to a specific size, or pinning an image to a particular location, Image View in SwiftUI can handle it all.
It should be noted, however, that typically, Image Views are not interactive.
Let’s go over the steps on how to use an Image View in SwiftUI.
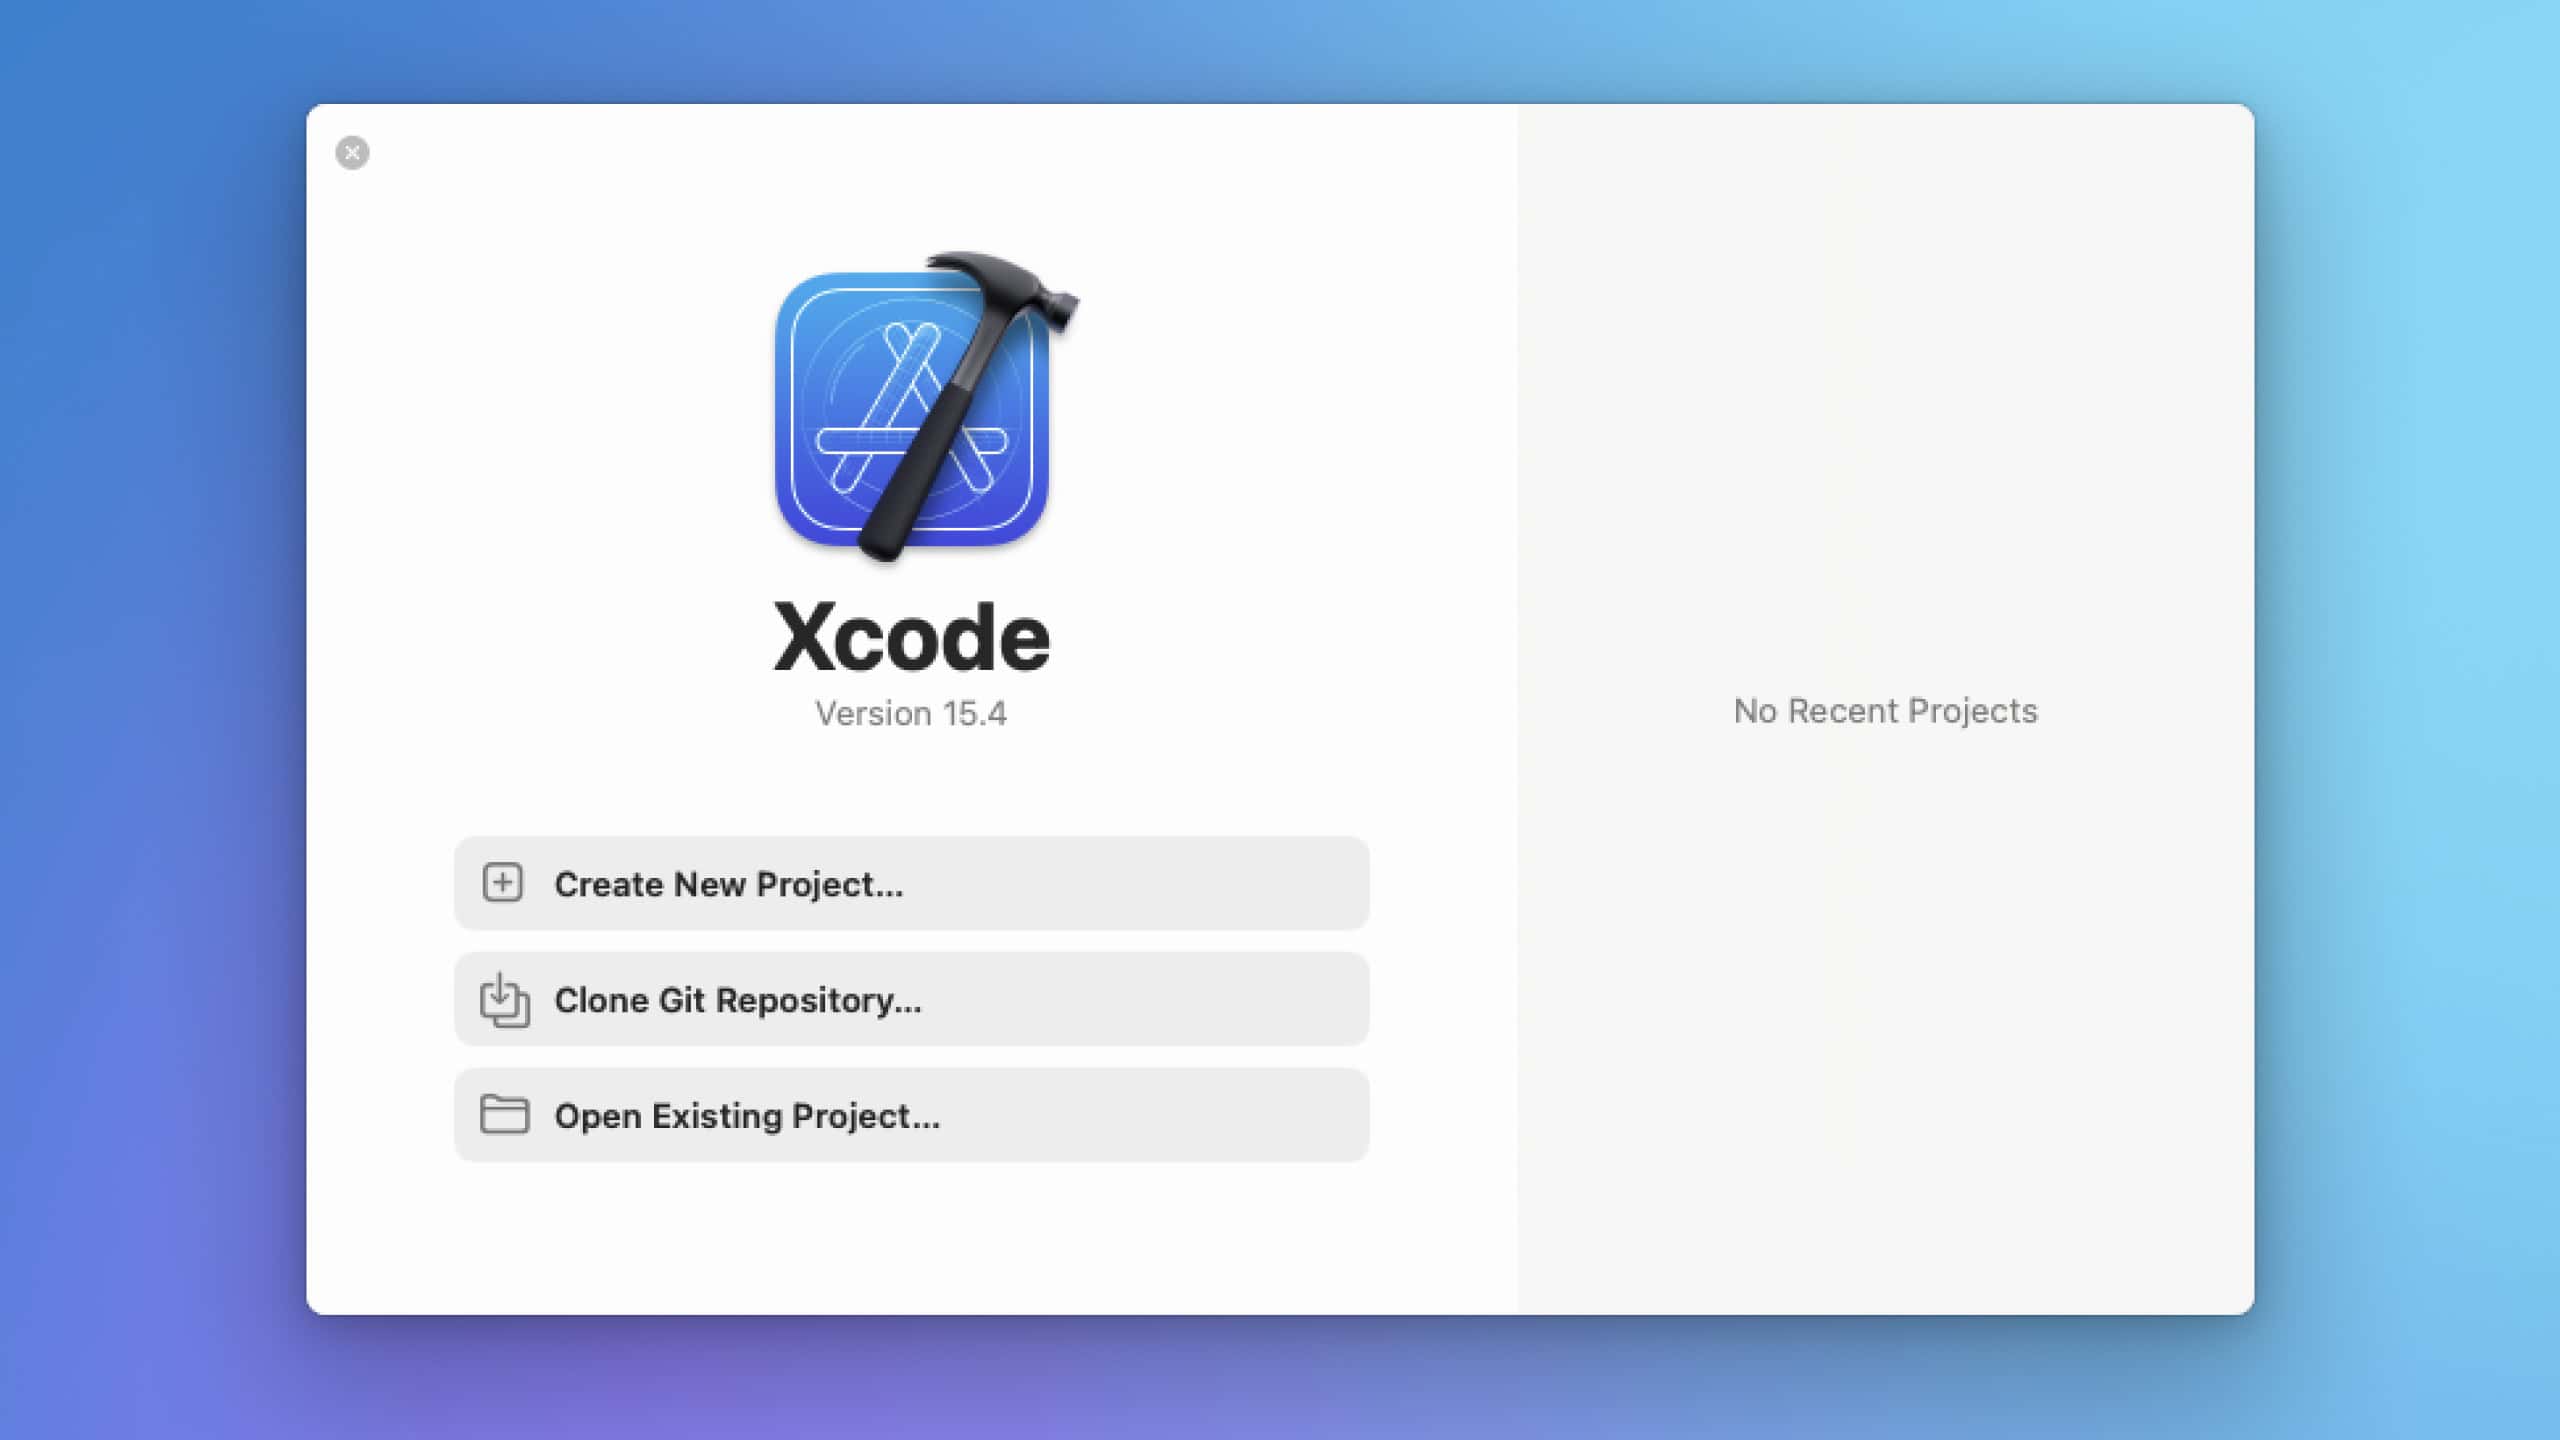
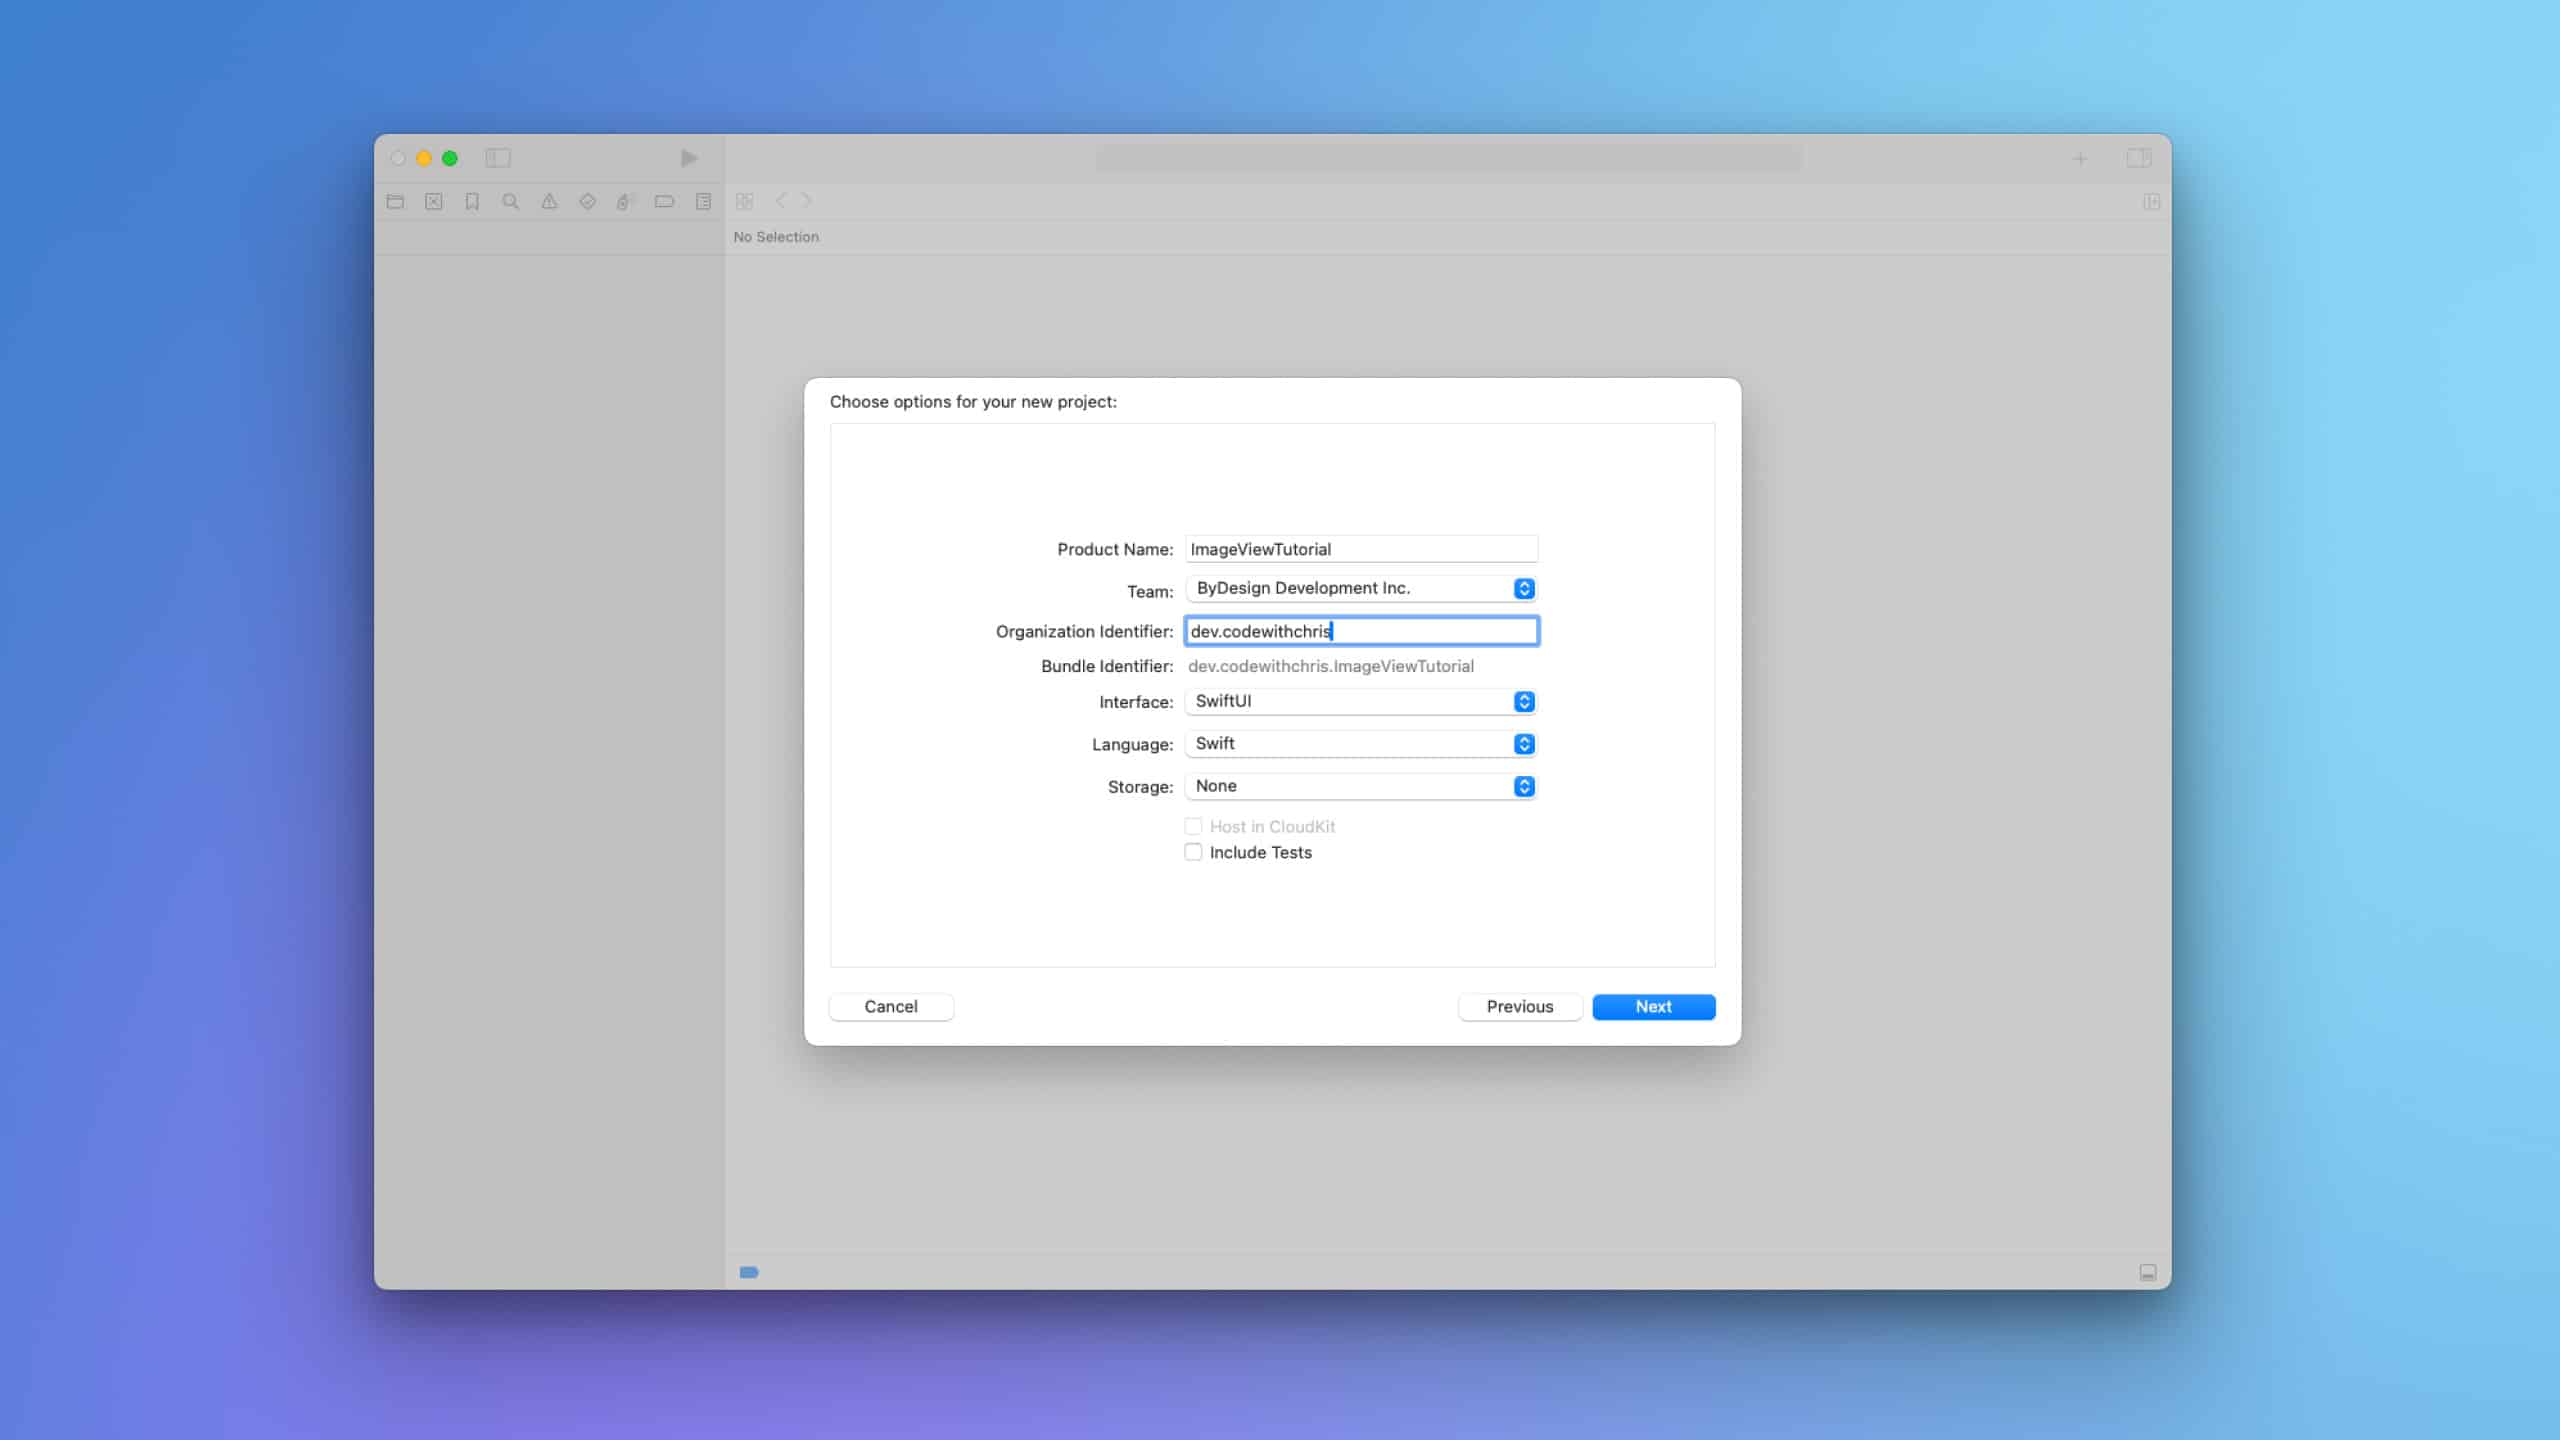
1. Create a new SwiftUI Project
Launch Xcode and create a new SwiftUI project. Name it accordingly, e.g., ImageViewTutorial.
2. Prepare your image
Place your image inside the Assets.xcassets folder. You can do this by dragging and dropping your image file directly into the Assets.xcassets in Xcode.

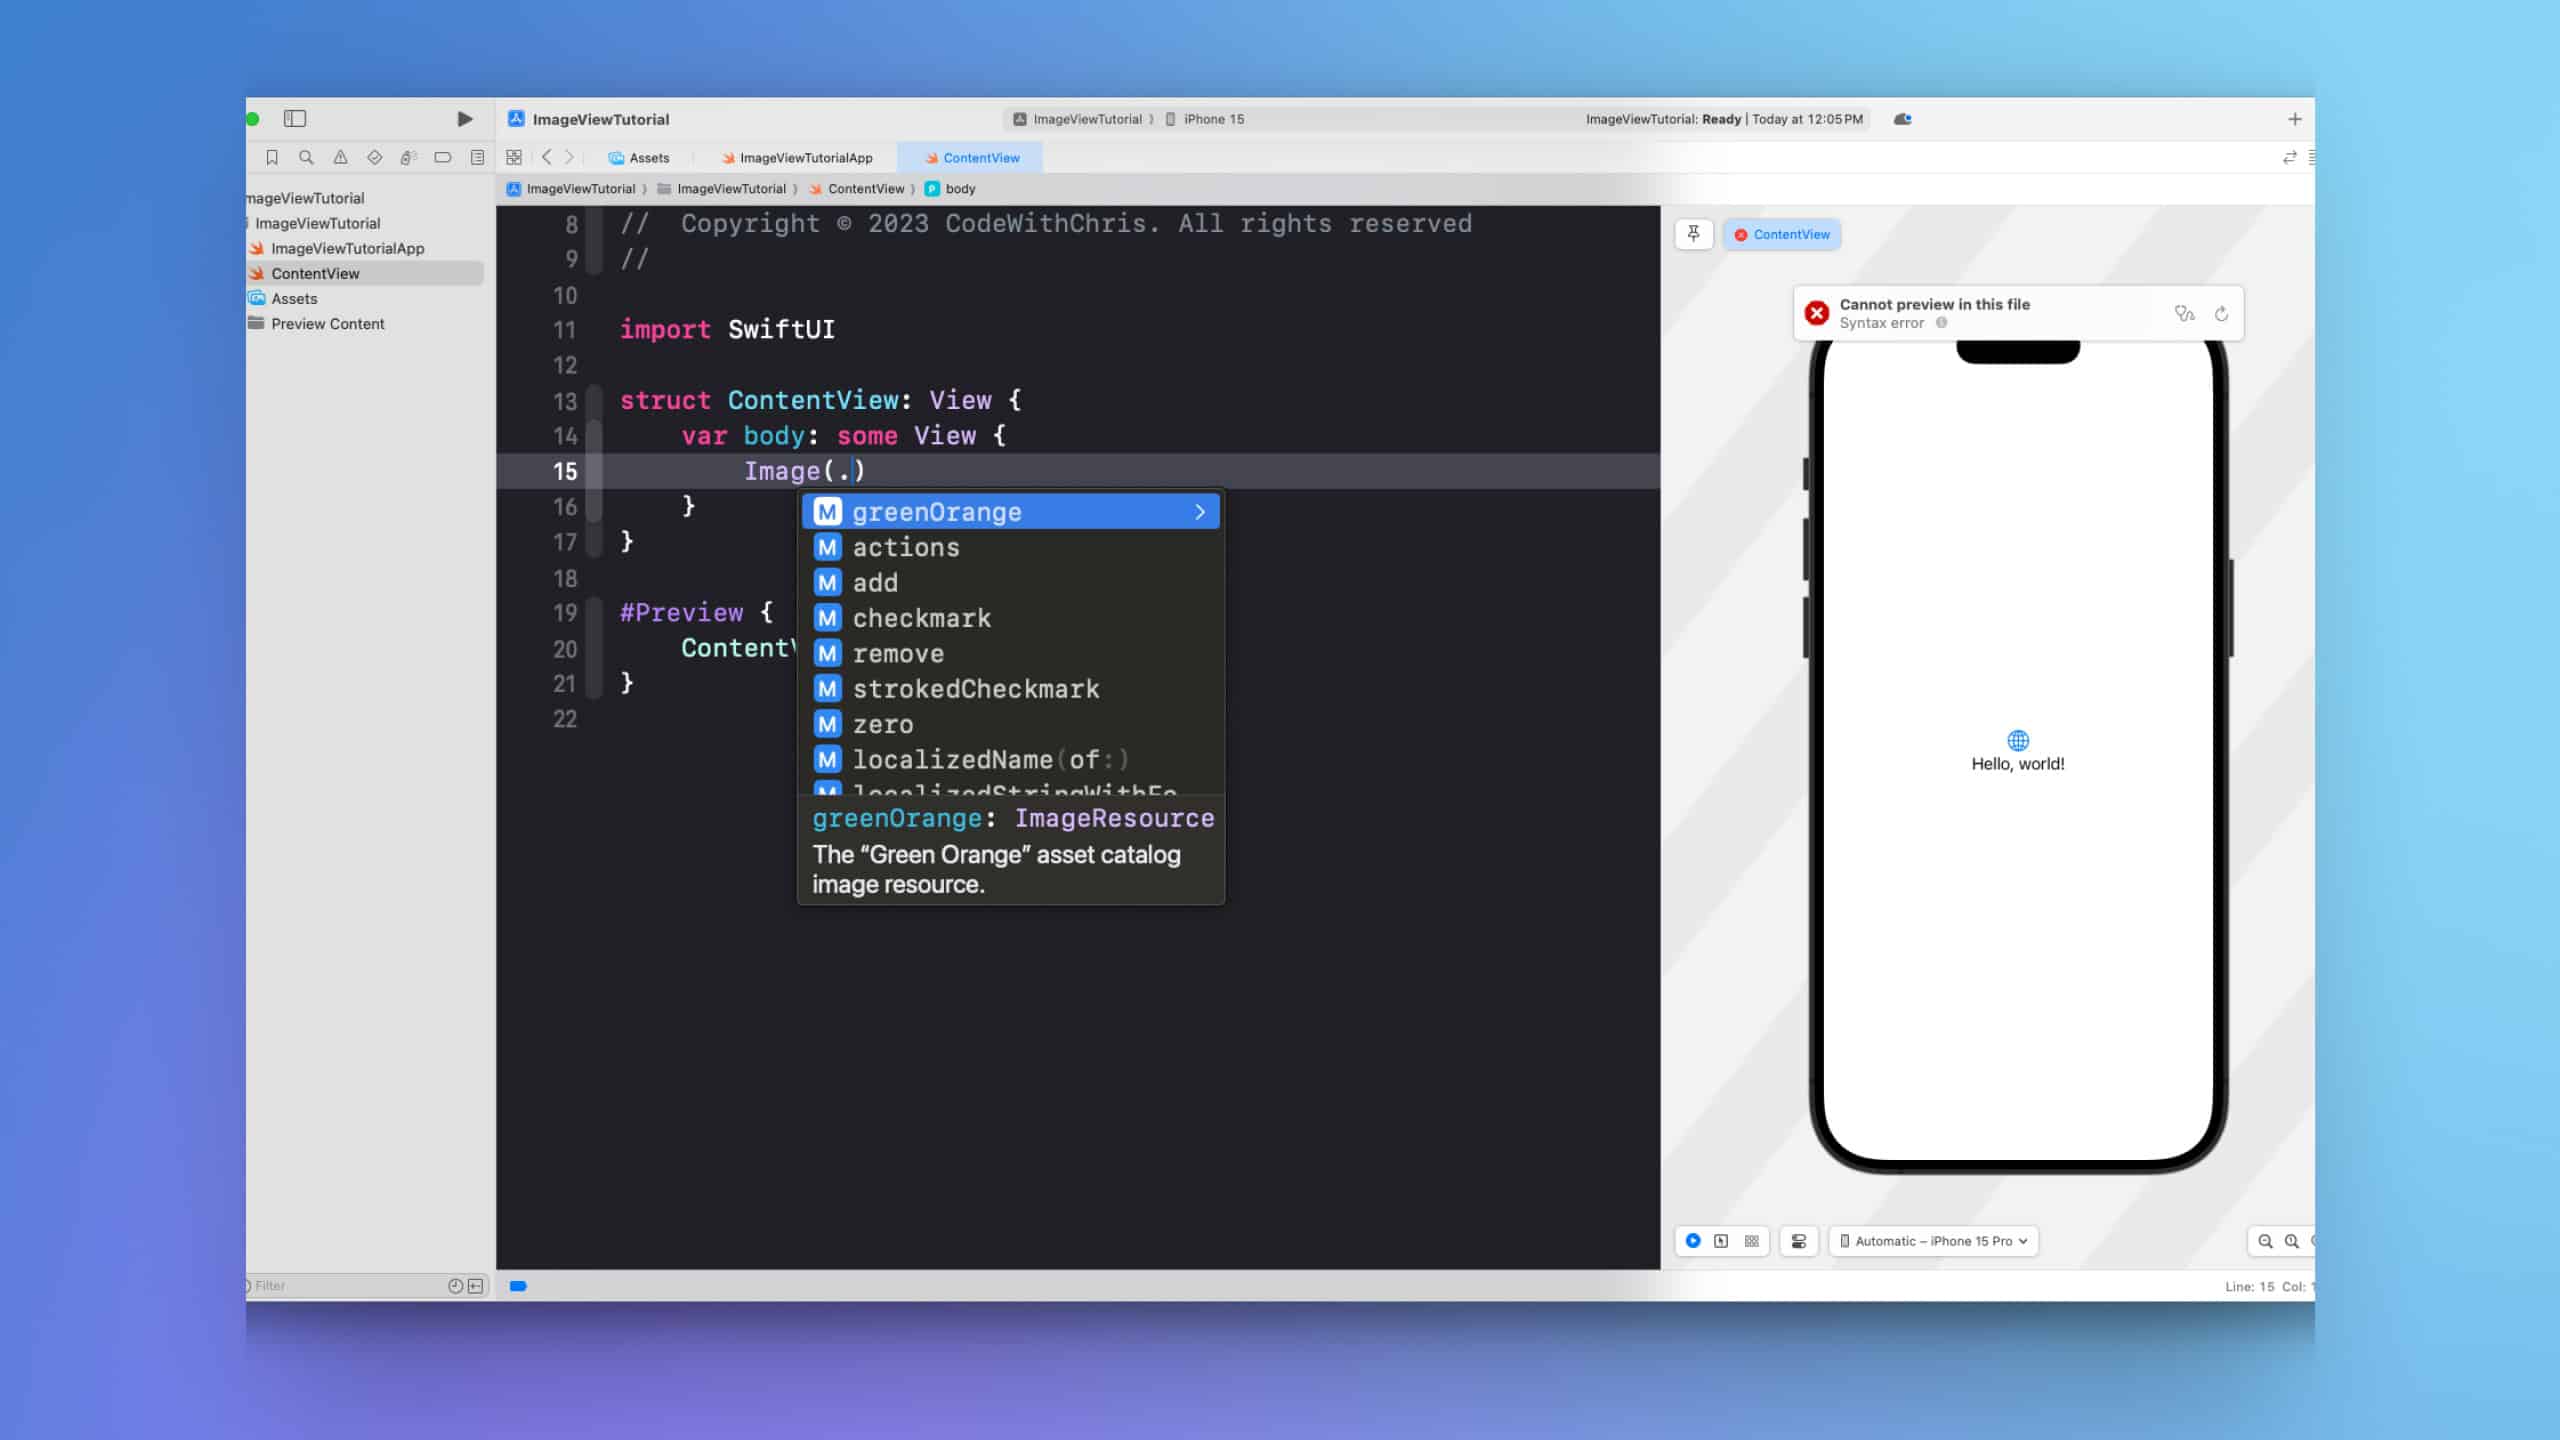
3. Add an Image View
Open your ContentView.swift file. You can add an Image View to your SwiftUI view by adding the Image view to your body property. In Xcode 15 and later, images in your asset catalog are backed by Swift symbols which improve type safety and enable code completion. This means you can reference images using these generated symbols instead of using string names.
import SwiftUI

struct ContentView: View {
    var body: some View {
        Image(.greenOrange) // Replace `.greenOrange` with your image's Swift symbol
    }
}
This significantly reduces the risk of runtime issues caused by incorrect image names as any issues will be caught during compilation. If the image name is changed in the asset catalog, you’ll be notified of an issue in your code where this image is referenced, and you can conveniently correct it using code completion. This feature offers a high level of safety, ensuring you don’t have to worry about any unexpectedly missing images at runtime.
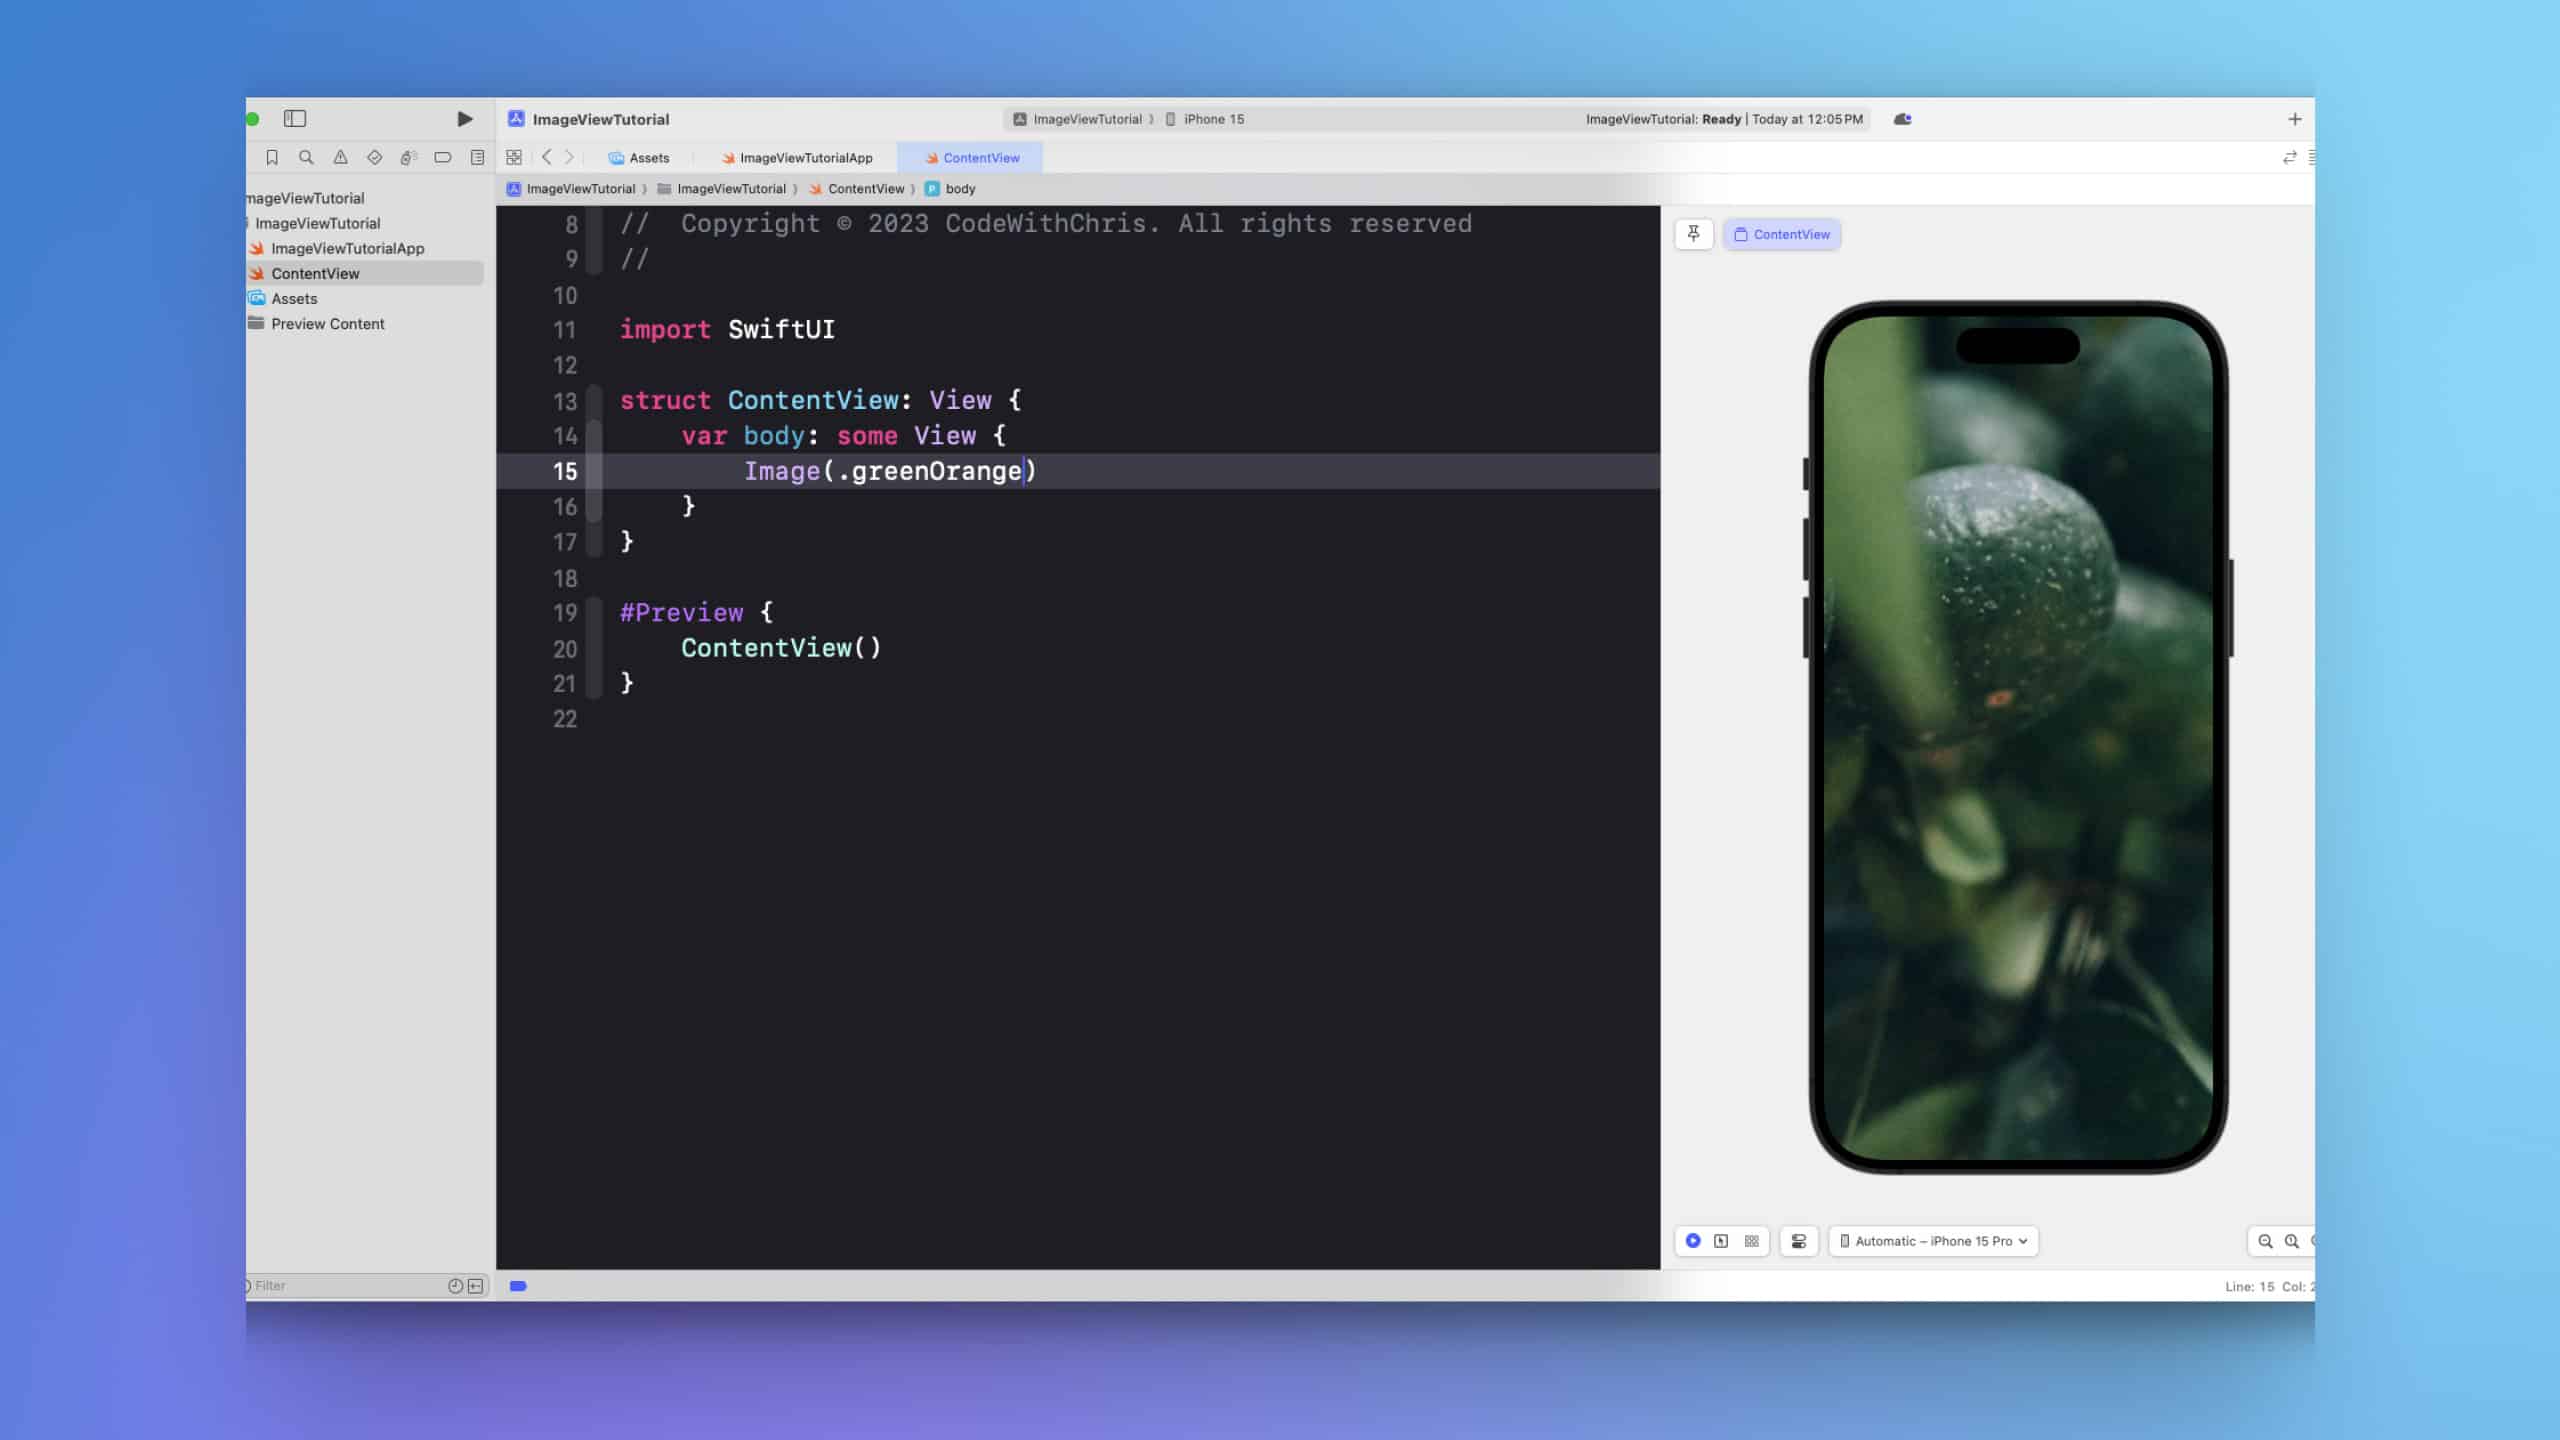
4. Run your app
You should now see your image displayed on the screen. Try running your app in the simulator or on your device to verify this.
5. Customize your image view
The Image view also provides several modifiers that you can use to customize how your image is displayed:
resizable(): Allows your image to be resized.aspectRatio(contentMode: .fit): Maintains the aspect ratio of your image while resizing it to fit within its frame.clipShape(RoundedRectangle(cornerRadius: 25)): Rounds the corners of your image view.padding(): Adds space around your image view.
Here’s an example of using these modifiers:
import SwiftUI
struct ContentView: View {
var body: some View {
Image(.greenOrange) // Replace `.building` with your image's Swift symbol
.resizable()
.aspectRatio(contentMode: .fit)
.clipShape(RoundedRectangle(cornerRadius: 25))
.padding()
}
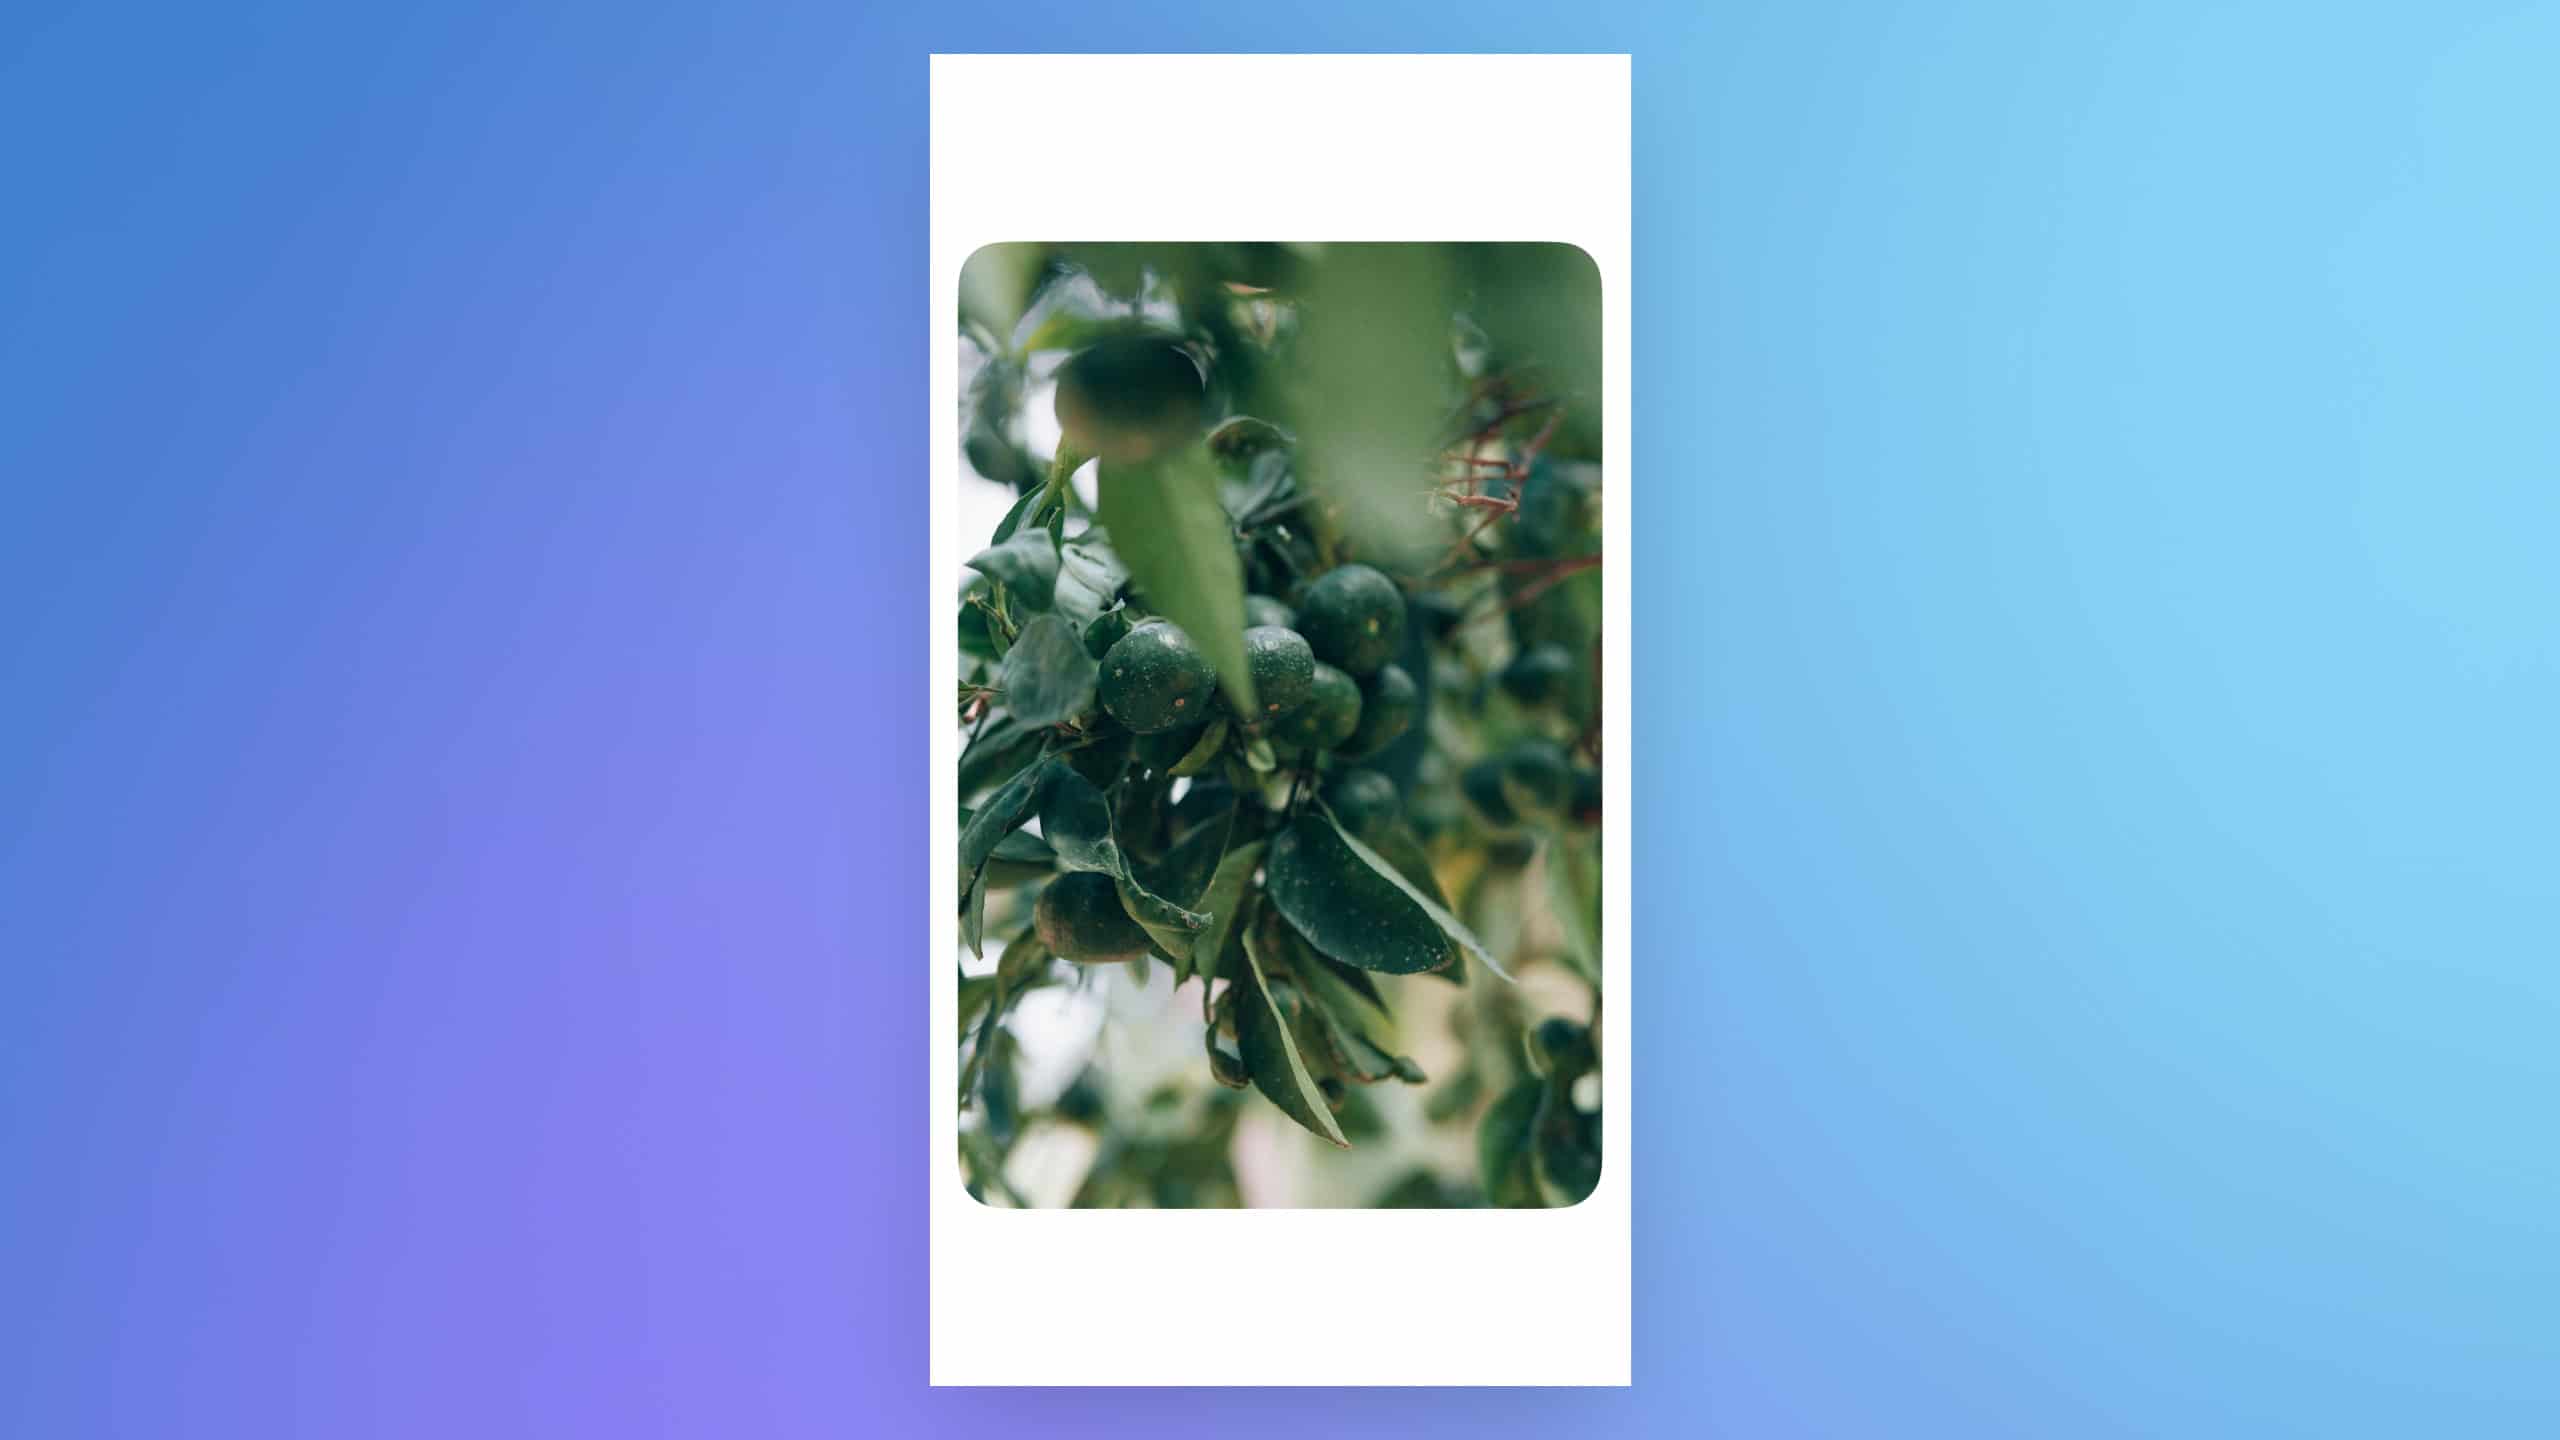
}This will display your image with its aspect ratio preserved, rounded corners, and a padding around it.

6. Run your app again
Your image should now be displayed as per the defined modifications. It will be resizable, fitting the given aspect ratio, corners rounded, and padded within its container.
Other modifiers
SwiftUI provides numerous additional modifiers for fine-tuning how your image is displayed:
Aspect Ratio of Images:
You can control the aspect ratio of your image with the scaledToFit() and aspectRatio(contentMode: .fit) modifiers, which resize the image to maintain its original aspect ratio and fit within its frame. The scaledToFill() and aspectRatio(contentMode: .fill) modifiers also resize the image, but they ensure that the image fills its entire frame, potentially cropping the image in the process.
Frame Images:
The frame modifier can be used to explicitly set the dimensions of your image view. It takes parameters for width and height, and an optional alignment parameter that determines how the image is aligned within the frame. If you use the frame modifier without resizable(), the image view will not be resized, but rather, the display of the image will be cropped.
Shape of Images:
If you want to change the shape of your image, you can use the clipShape modifier. For instance, passing in Circle() as the parameter will clip your image to a circular shape. If you want to round the corners of your image, you can use the clipShape modifier and specify the desired roundness.
Using System Symbols:
If you want to use an SF Symbol instead of an image asset, you can create your image view with Image(systemName: "Symbol Name"), replacing "Symbol Name" with the name of the SF Symbol you want to display.
Here are some examples using these modifiers:
import SwiftUI

struct ContentView: View {
    var body: some View {
        // Aspect ratio
        Image(.greenOrange)
            .resizable()
            .scaledToFit()
            .aspectRatio(contentMode: .fit)

        // Frame
        Image(.greenOrange)
            .resizable()
            .frame(width: 300, height: 300, alignment: .bottom)

        // Shape
        Image(.greenOrange)
            .resizable()
            .clipShape(RoundedRectangle(cornerRadius: 5))

        Image(.greenOrange)
            .resizable()
            .clipShape(Circle())

        // System Symbol
        Image(systemName: "cloud")
            .font(.largeTitle)
    }
}
Continue experimenting with different combinations of modifiers to get your image looking exactly how you want it.
This step-by-step process provides a basic introduction to using images in SwiftUI. It’s worth noting that SwiftUI offers a multitude of other modifiers for you to discover and incorporate into your designs. As always, remember that the best way to learn is by doing. Happy coding!