The MapAnnotation class is utilized as an annotation object that ties itself to a specified point on the map. We can use it to load a create pins with notes on our map!
Pre-requisites
Creating a MapAnnotation for your Map requires two parts. First is the array of locations that you want to add to the Map, second is the design or content of the MapAnnotation.
First step is to create a structure (struct) that will be used as the basic skeleton of our map locations. Start by adding a new file (File -> New -> File…) then select Cocoa Touch Class. It will then ask for the name of the class and the subclass of the file, in this sample we set the class name to MapLocation and set the subclass to Identifiable. make sure that Target is checked so it will be integrated properly to your project and finish up.
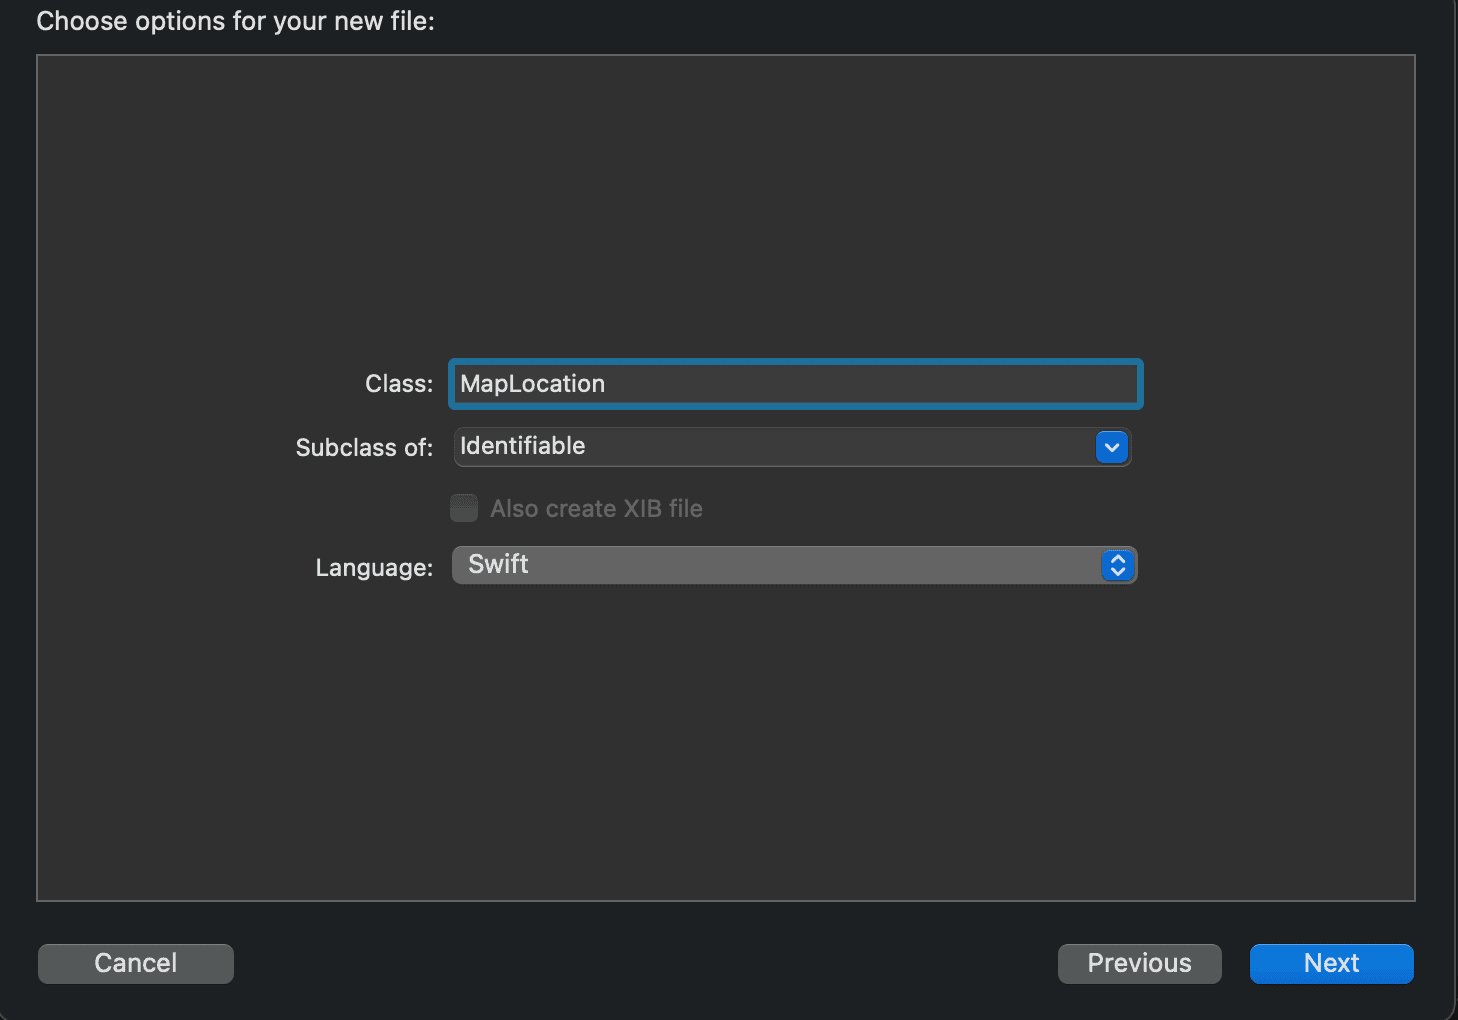
Doing so will create our MapLocation class. However, we don’t really need to it be a class its fine to just set it as a structure so just go ahead and change class to struct. Make sure to import MapKit as well we will need it in a bit.
struct MapLocation: Identifiable {
//code here
}
The very basic requirement that a MapAnnotation needs is just coordinates or more specifically CLLocationCoordinate2D, which is just the latitude and longitude of the location, we can decide to add a name if we want if you want to label it.
For this sample we added a name, latitude, and longitude attribute to our structure which looks like this:
struct MapLocation: Identifiable {
    let id = UUID()
    let name: String
    let latitude: Double
    let longitude: Double
}
Since its Identifiable it requires a UUID which is automatically managed so don’t worry about it.
However, notice how i said that the basic requirement needs a CLLocationCoordinate2D. Well, there a few ways to go about this, if we only have the latitude and longitude as separate values we can just make the coordinate later on by doing CLLocationCoordinate2D(latitude: latitude, longitude: longitude)
Or we can change the attribute and change it to coordinate directly and it will look like this:
struct MapLocation: Identifiable {
    let id = UUID()
    let name: String
    let coordinate: CLLocationCoordinate2D
}
Doing this will also require that we do a CLLocationCoordinate2D(latitude: latitude, longitude: longitude) when setting the attribute.
However, there is another more interesting step and is much more user friendly. latitude and longitude was selected as the attribute names because they are easier to understand and would be more straightforward. We can then opt to set our coordinate by doing a computed property which will automatically process the values of our latitude and longitude and have it ready as a CLLocationCoordinate2D instantly!
struct MapLocation: Identifiable {
    let id = UUID()
    let name: String
    let latitude: Double
    let longitude: Double
    var coordinate: CLLocationCoordinate2D {
        CLLocationCoordinate2D(latitude: latitude, longitude: longitude)
    }
}
Doing it this way means we can just create our MapLocation using the basic name, latitude, and longitude and later on we will be able to access the coordinate immediately for ease of use.
With this we are done in creating our structure, next step would be to prepare an array of MapLocation that we will use to feed to our MapAnnotation.
Go back to your ContentView.swift and create the data array manually for now, of course later on you are free to modify it if you want the locations coming from an API or a file. Here is a sample array that we built:
let MapLocations = [
        MapLocation(name: "St Francis Memorial Hospital", latitude: 37.789467, longitude: -122.416772),
        MapLocation(name: "The Ritz-Carlton, San Francisco", latitude: 37.791965, longitude: -122.406903),
        MapLocation(name: "Honey Honey Cafe & Crepery", latitude: 37.787891, longitude: -122.411223)
        ]
Given all that we are now ready to feed our array to our Map. If you are not using the user’s location you can simply do Map(coordinateRegion: MKCoordinateRegion, annotationItems: RandomAccessCollection, annotationContent: (Identifiable) -> MapAnnotationProtocol)
Here is a sample:
 Map(
   coordinateRegion: $region,
   annotationItems: MapLocations,
   annotationContent: { locations in
      MapAnnotationProtocol
   }
)
However, in this sample we used overload version of the Map which also tracks and follows the user, it looks like this:
Map(
   coordinateRegion: $manager.region,
   interactionModes: MapInteractionModes.all,
   showsUserLocation: true,
   userTrackingMode: $tracking,
   annotationItems: MapLocations,
   annotationContent: { location in
     MapAnnotationProtocol
   }
)
MapAnnotationProtocol is a class that is used to provide the design and housing of your annotation.
There are two basic pre-built designs that conform to MapAnnotationProtocol created by apple which is the MapPin and the MapMarker. All three of them just requires the coordinates of the MapAnnotation that you want to do.
There is also the more custom one which is the MapAnnotation class itself.
Creating a MapPin or MapMarker is easy and both works the same way, only difference between the two is how the design looks on the map
Here is how to set MapAnnotations with MapMarker or MapPin:
Map(
   coordinateRegion: $manager.region,
   interactionModes: MapInteractionModes.all,
   showsUserLocation: true,
   userTrackingMode: $tracking,
   annotationItems: MapLocations,
   annotationContent: { location in
     MapPin(coordinate: location.coordinate, tint: .red)
   }
)
How MapPin looks:

How MapMarker looks:
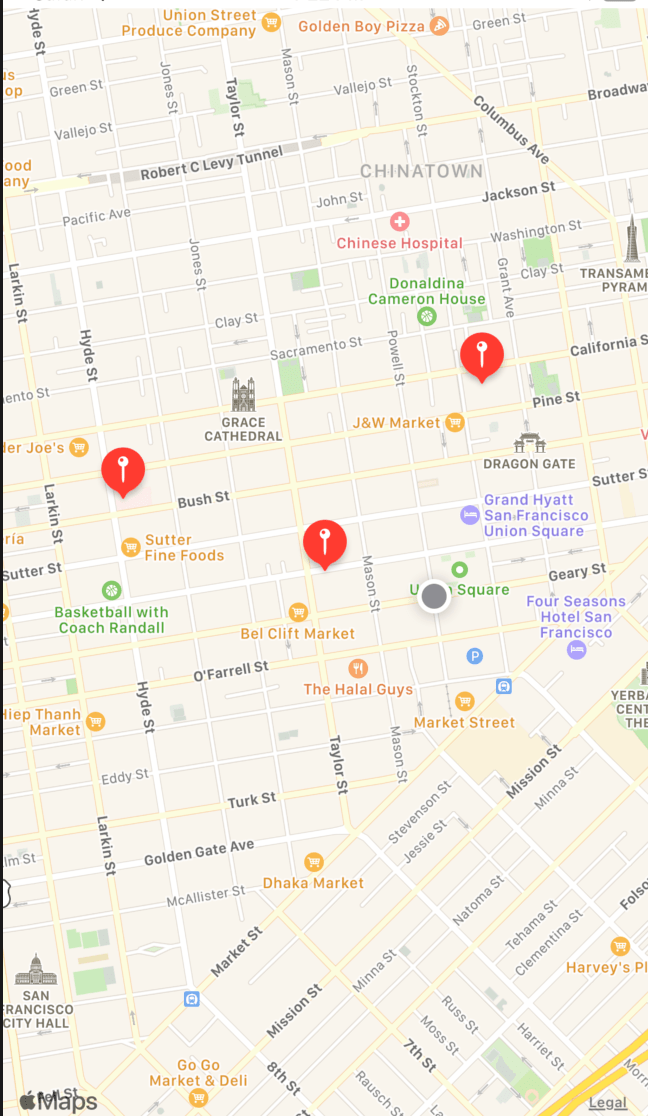
It is all relatively easy to use but notice that there is no label. Thus, we can’t really identify from afar whats on those points of interest, we didn’t even get the chance to use our name attribute!
This is where MapAnnotation shines because it gives you the option to design the annotation to your preference.
Creating a MapAnnotation is easy and looks like this:
MapAnnotation(
   coordinate: location.coordinate,
   content: {
    //design here
   }
)
Given the opportunity we decided to display the name attribute using Text() and showed a marker by doing an Image using an sfsymbol. Code looks like this:
MapAnnotation(
coordinate: location.coordinate,
content: {
Image(systemName: "pin.circle.fill").foregroundColor(.red)
Text(location.name)
}
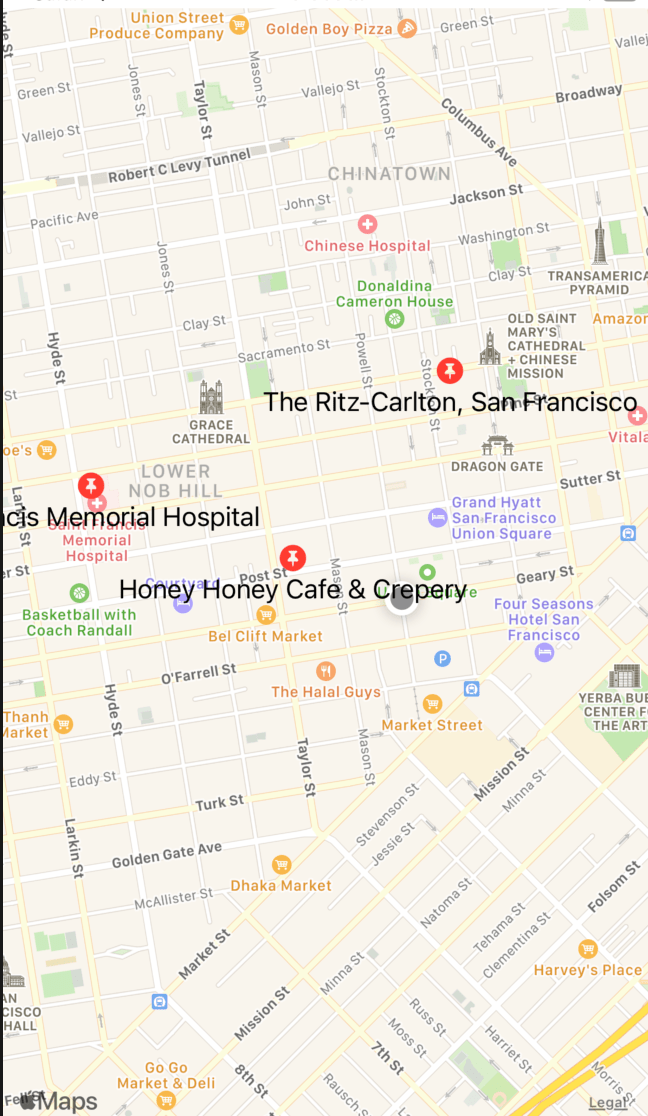
)This is how our custom MapAnnotation looks like:
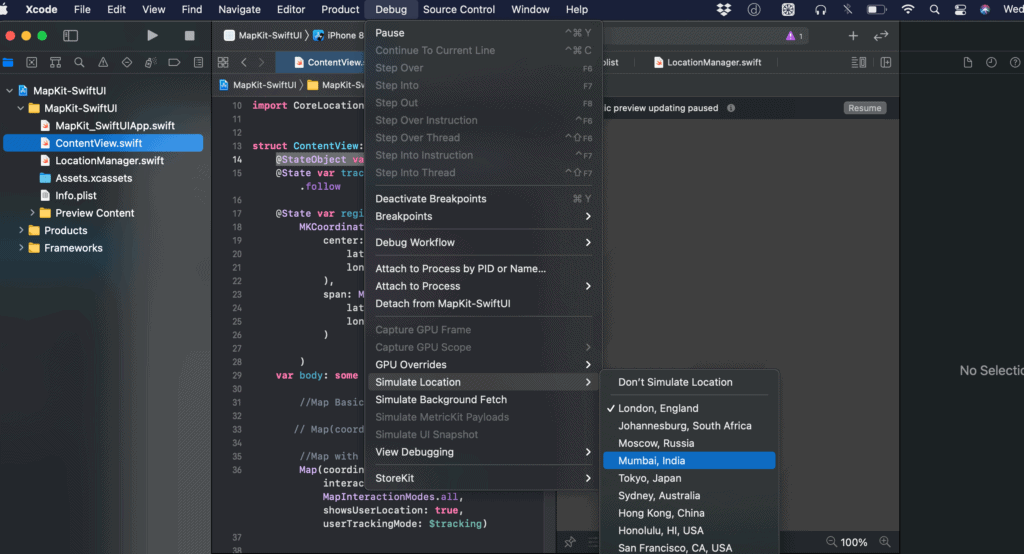
Simulate Location
Simulating location on SwiftUI is a bit different compared to its UIKit counterpart. In UIKit you. needed to set the simulated location at the Scheme, now in SwiftUI you can easily change simulated location on the fly even while your simulator is running.
First just select the Swift file that will show the map in your project, for our case its the ContentView.swift file. Then just simply navigate to Debug -> Simulate Location -> Select a location