
In this tutorial we’ll be going through how to set up Bitrise for an Xcode project and GitHub repository. Bitrise is a great Continuous Integration (CI) and Continuous Deployment (CD) platform that can help automatically build your projects, execute tests, and check for any issues.
Setting up the Project and Repository
To begin, we’ll create an Xcode project and a GitHub repository for it. If you already have an Xcode project and GitHub repository set up, feel free to skip to the next section.
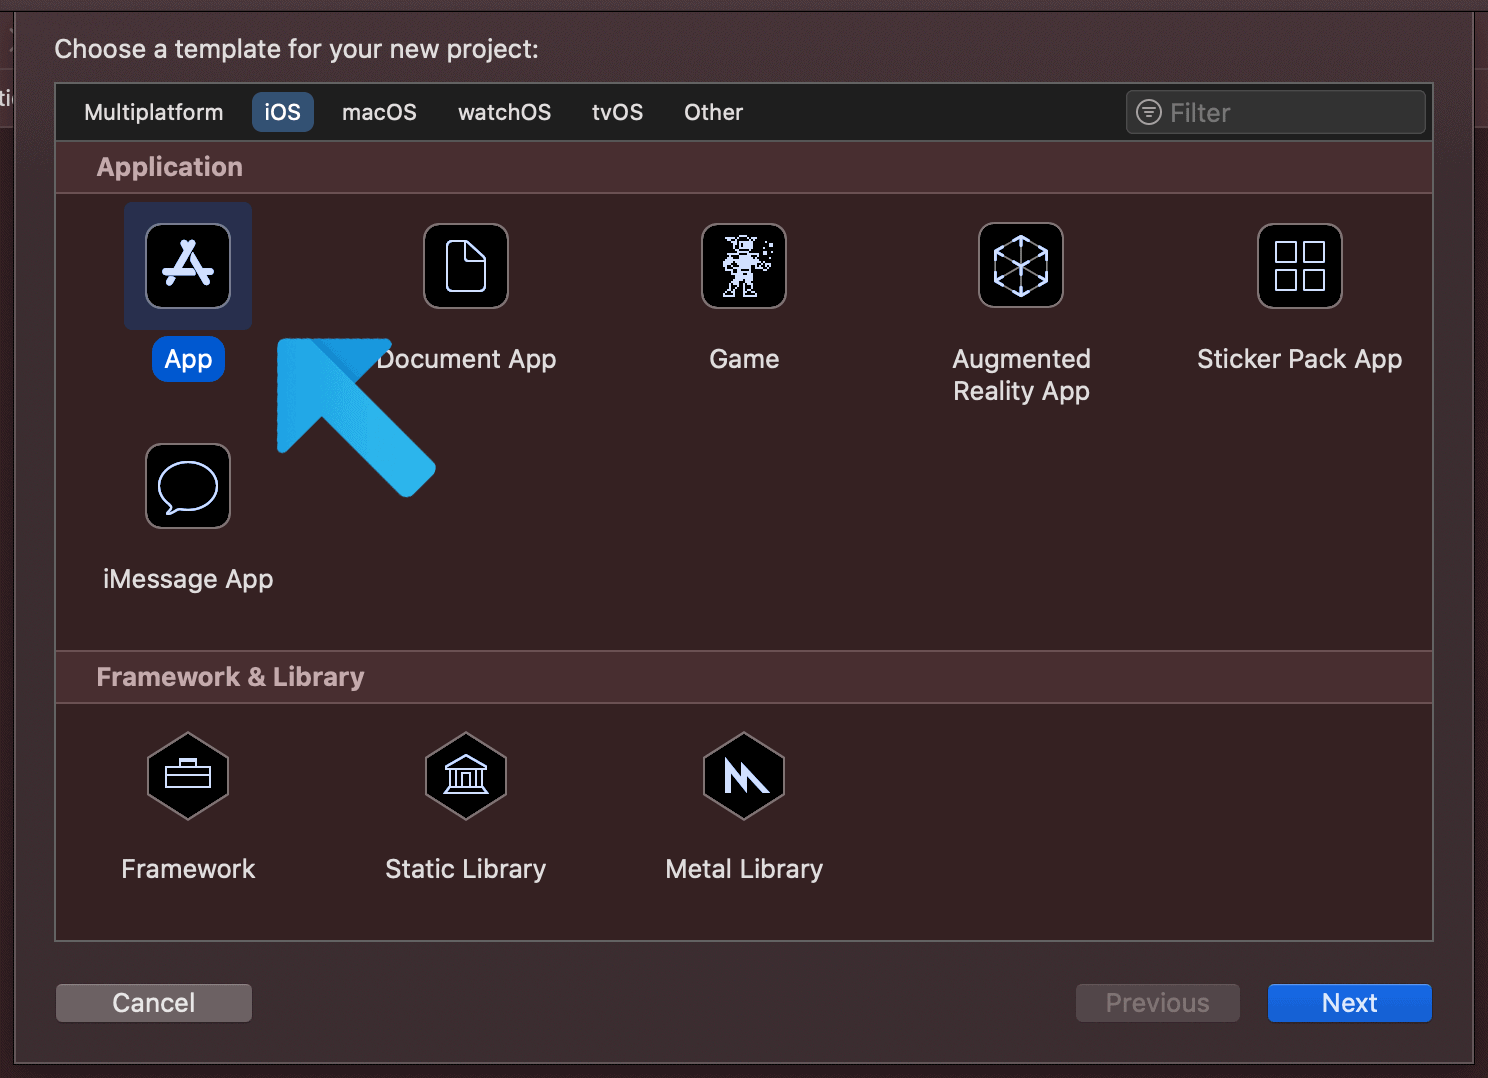
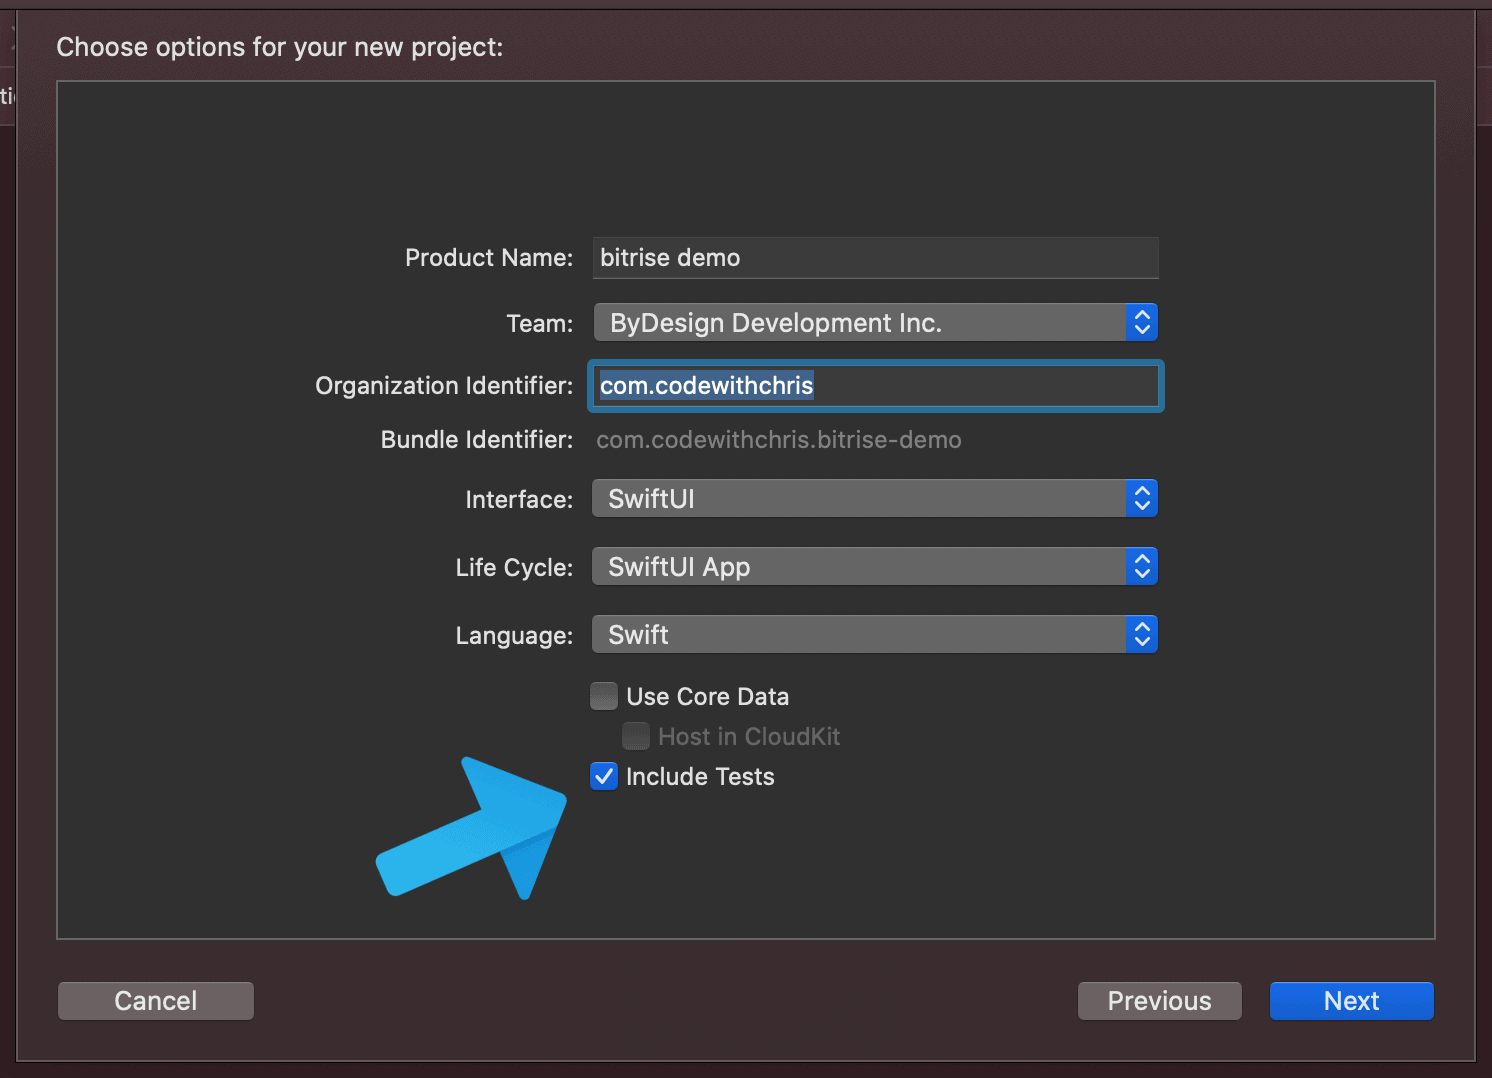
We’ll create a new Xcode project, we’ll use the name ‘bitrise demo’ for this tutorial. We’ll also want to ‘Include Tests’ for our project.
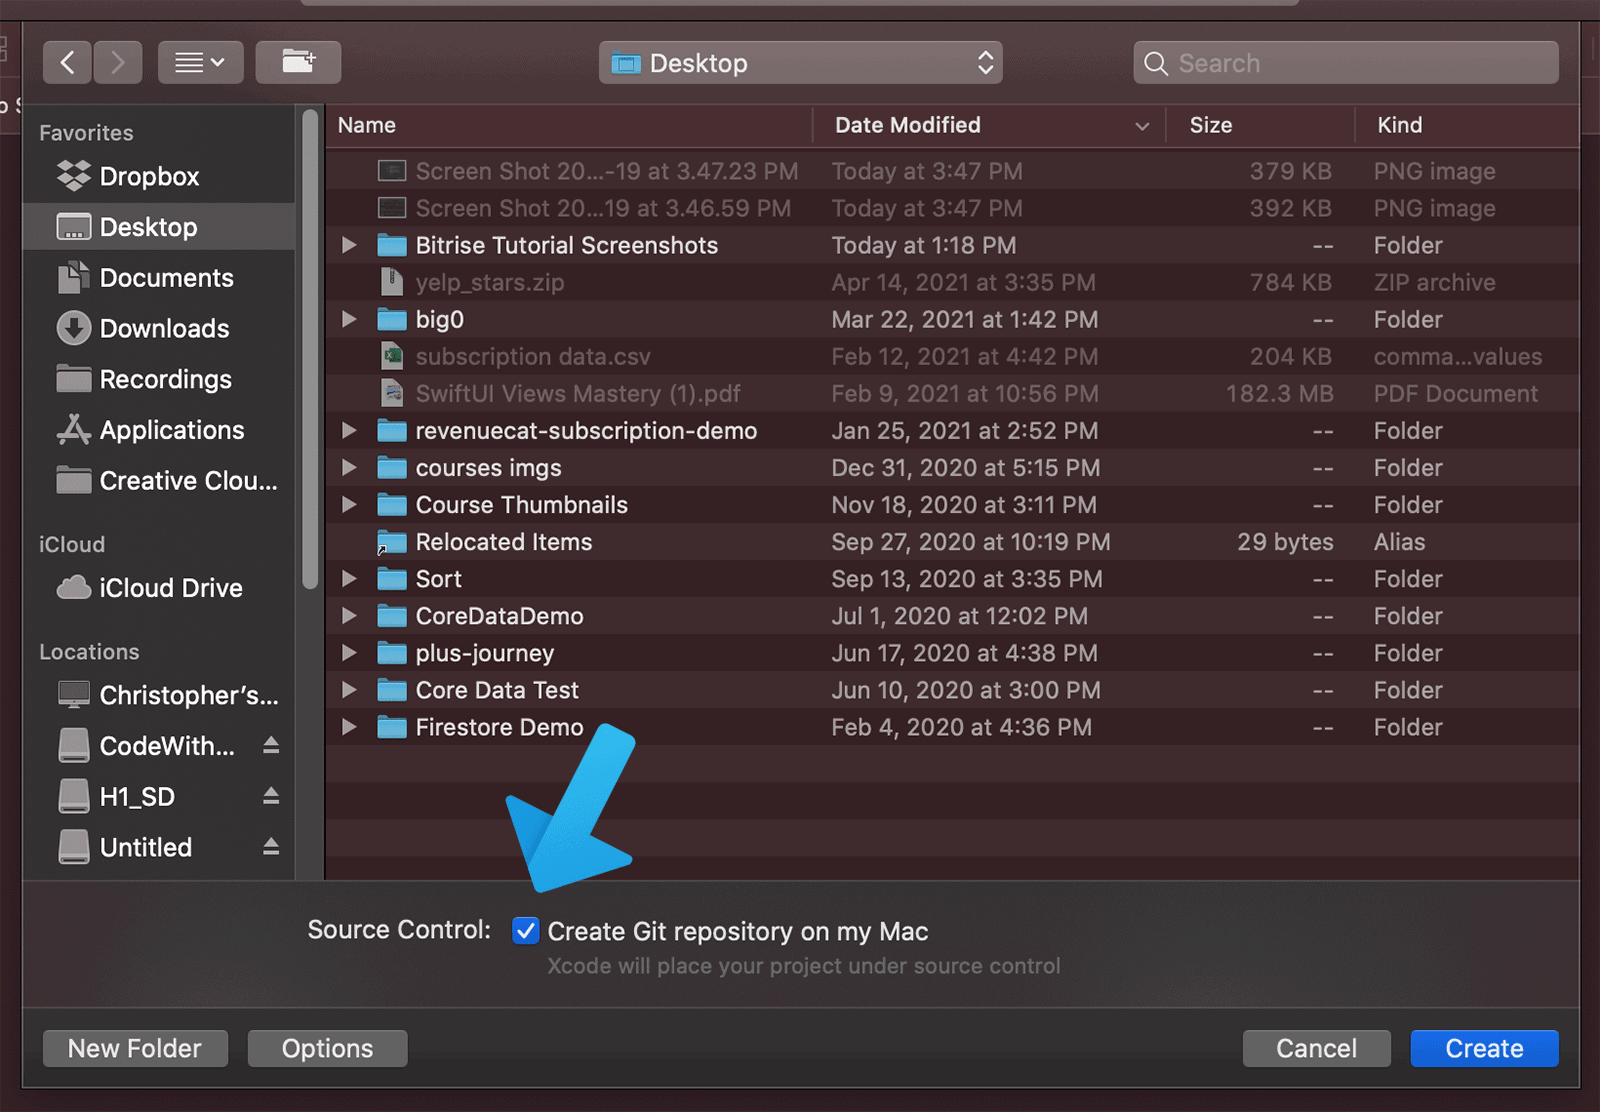
Make sure to check the box for ‘Source Control:’ when creating your project, which is shown in the screenshot below.
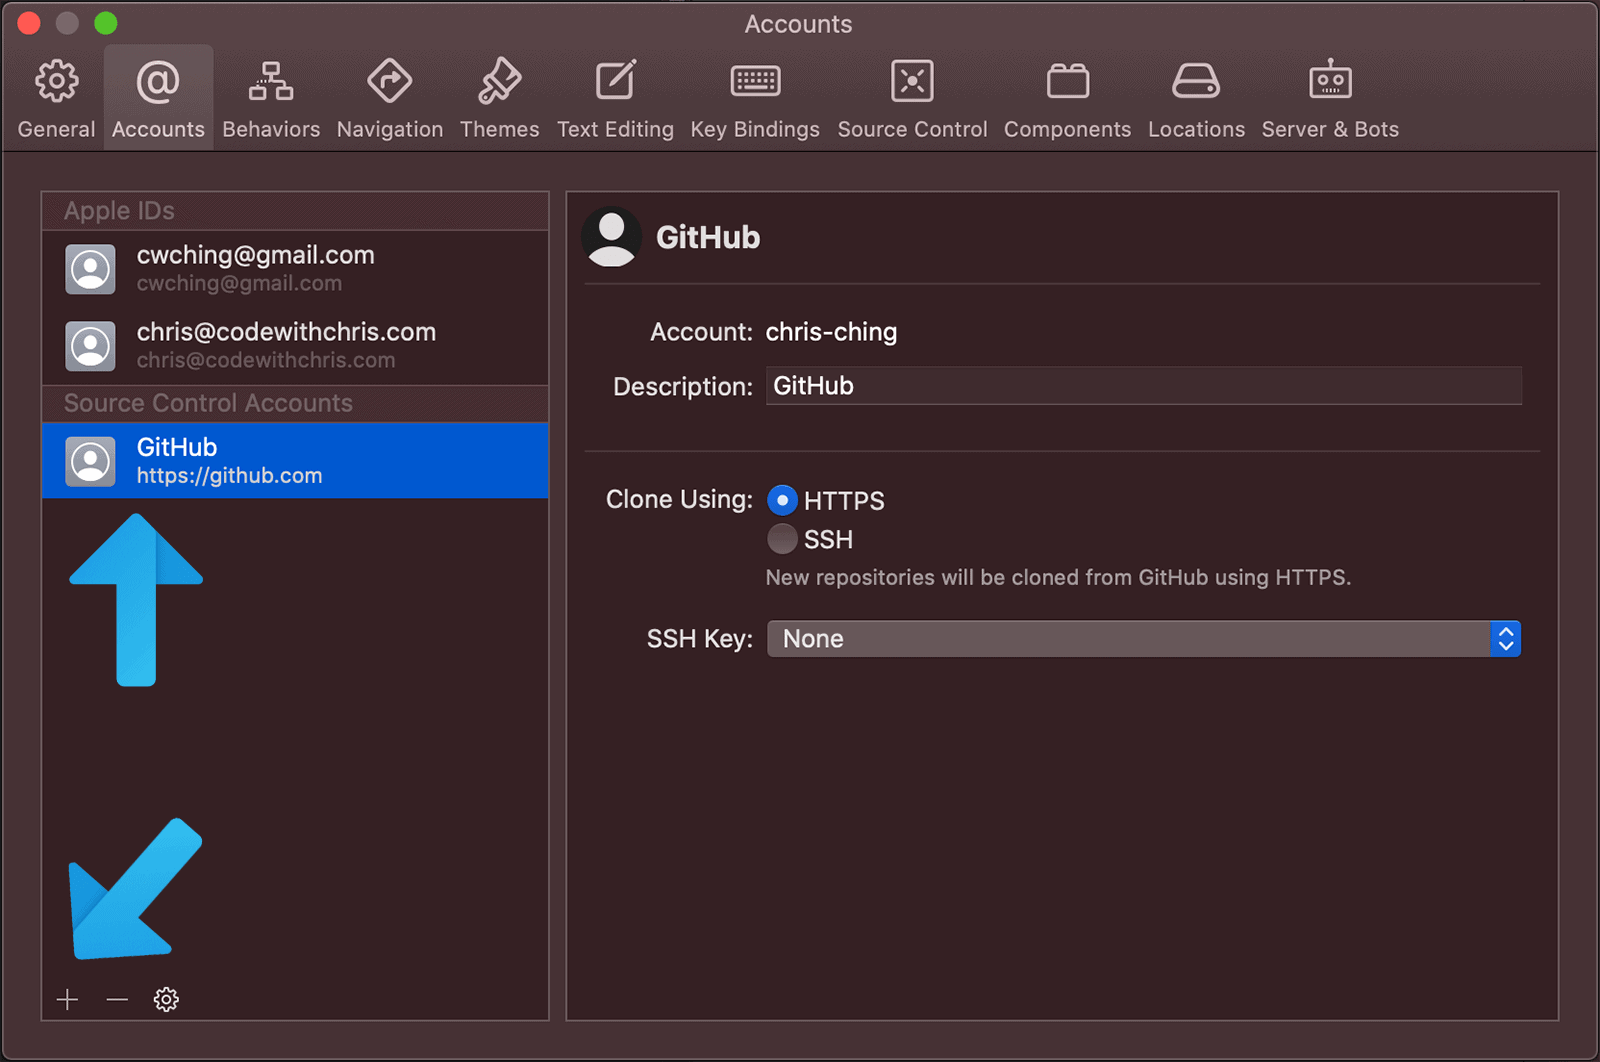
Next we’ll connect our GitHub account to Xcode. We’ll click on Xcode in the top menu bar, and go to Preferences. Then we’ll select Accounts, and we’ll add the GitHub account we want to use. If you don’t have a GitHub account, you can sign up for free at github.com.
With our GitHub account connected, we can now create a repository on GitHub for our project. We’ll click on the Source Control Navigator on the left, and we’ll right click our project to create a ‘New “bitrise demo” Remote’. We can double check on github.com if our repository has been created.

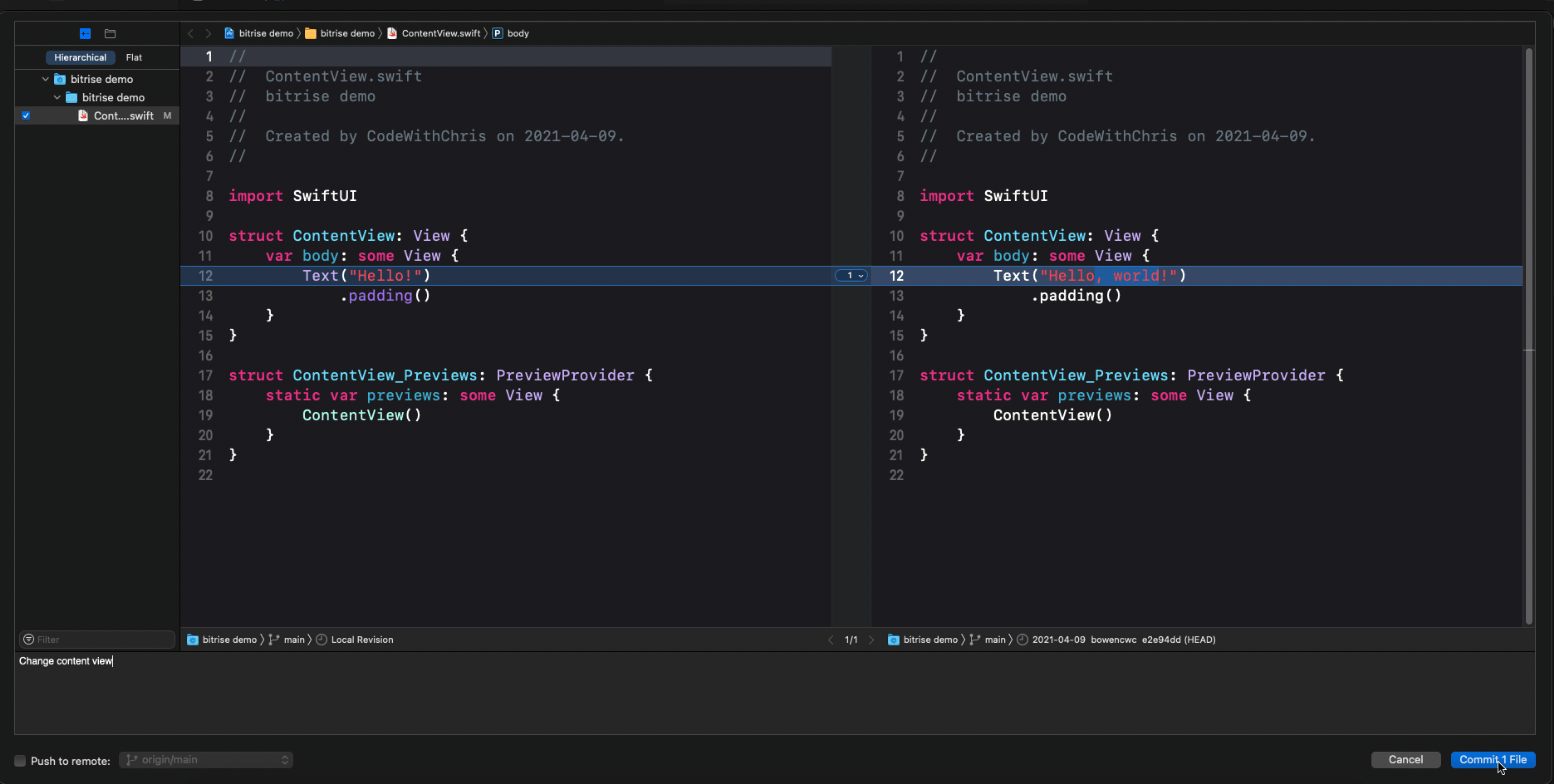
Then we can make changes to our project, and commit & push them to our repository using the Source Control option on the Xcode top menu bar.
Creating a Bitrise Account and Connecting to GitHub
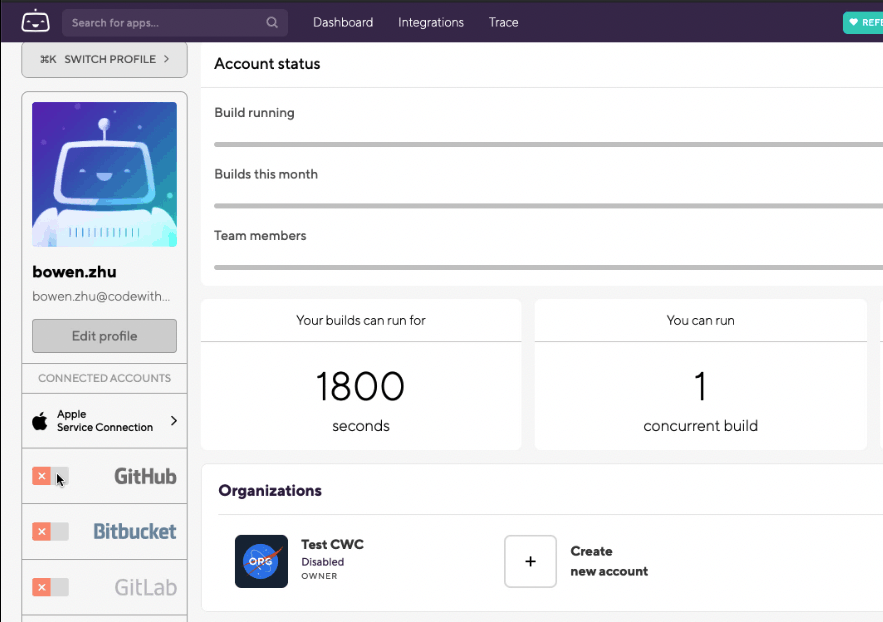
Go to Bitrise.io to create a Bitrise account if you don’t already have one. After signing in, go to ‘Account Settings’ to connect your GitHub account. Check the box for GitHub in your settings and authorize Bitrise. Now we’re ready to create a Bitrise app for our demo repository!
Bitrise Basics: Making an App for a Repository
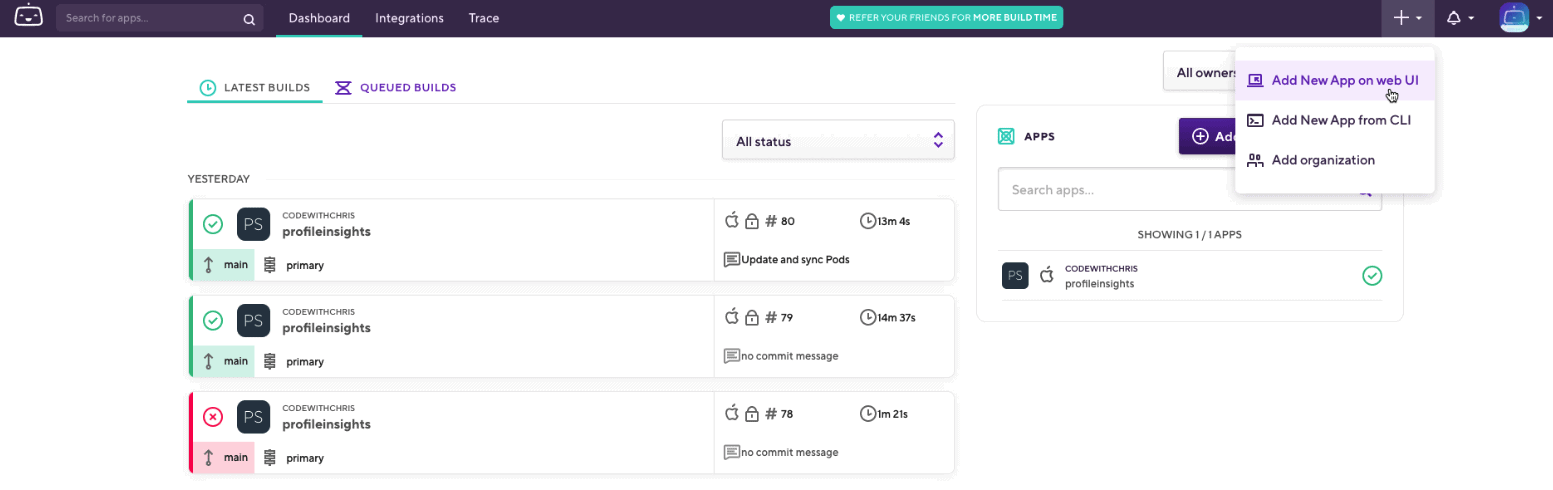
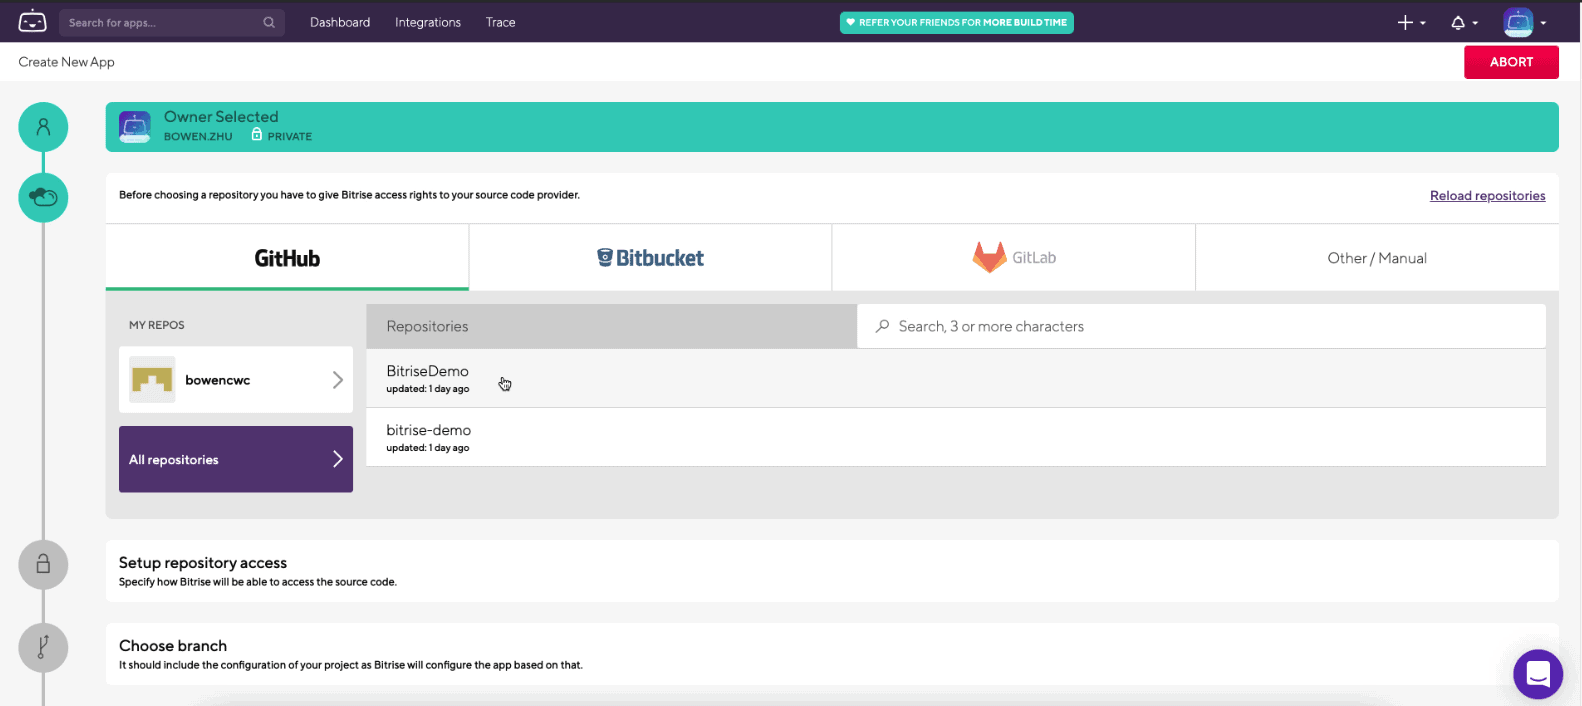
We’ll sign into Bitrise and go to our Dashboard to create a new Bitrise app. Click the plus icon on the top right to ‘Add New App on web UI’. Then we’ll follow the steps to select the repository and the branch we want to connect the app with. Proceed through the rest of the steps to setup your Bitrise app and have it ready to build!
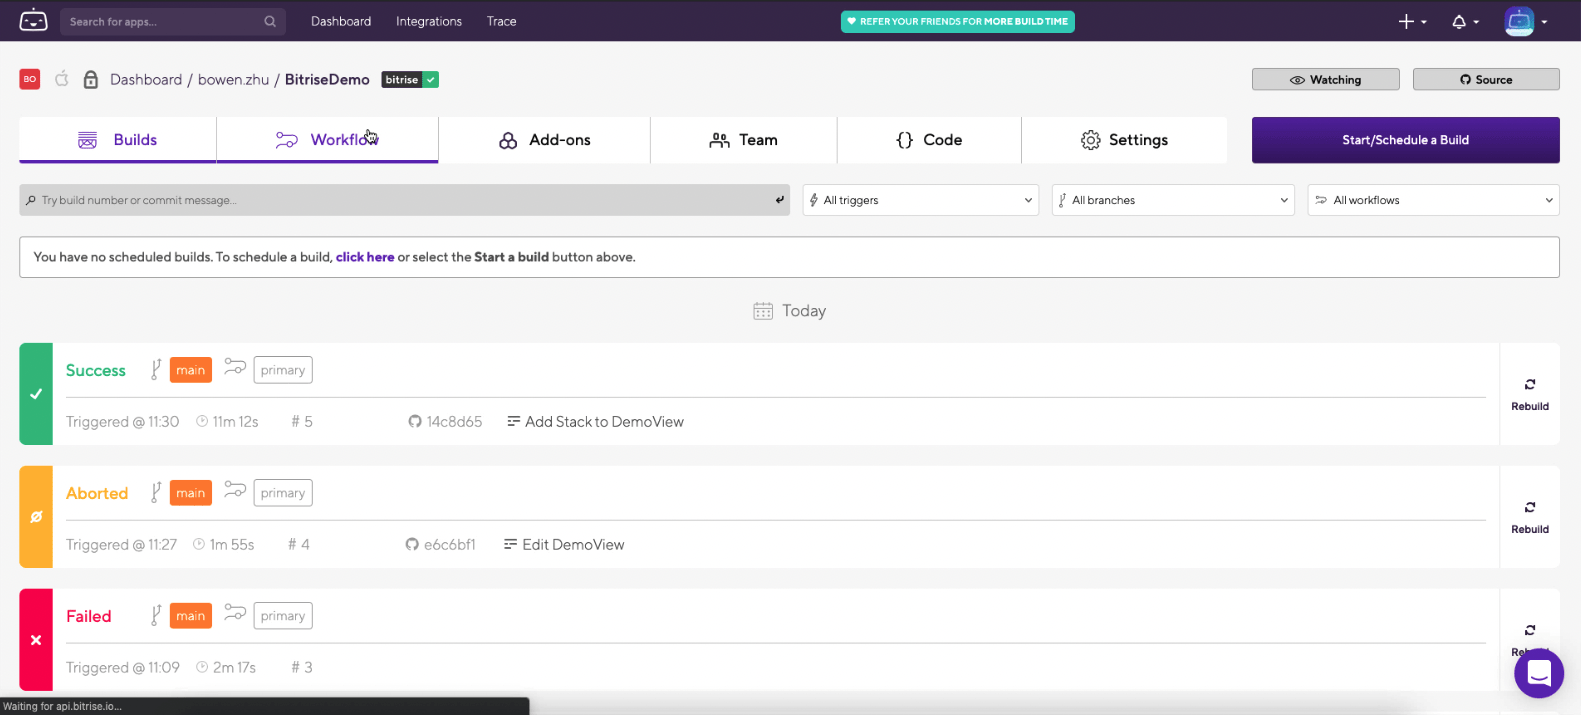
If we go to Dashboard we can navigate to the app we just made. Inside the app, we’ll see a history of all our builds as well as any currently running builds. We can click on a build to get more details and look at the build logs.
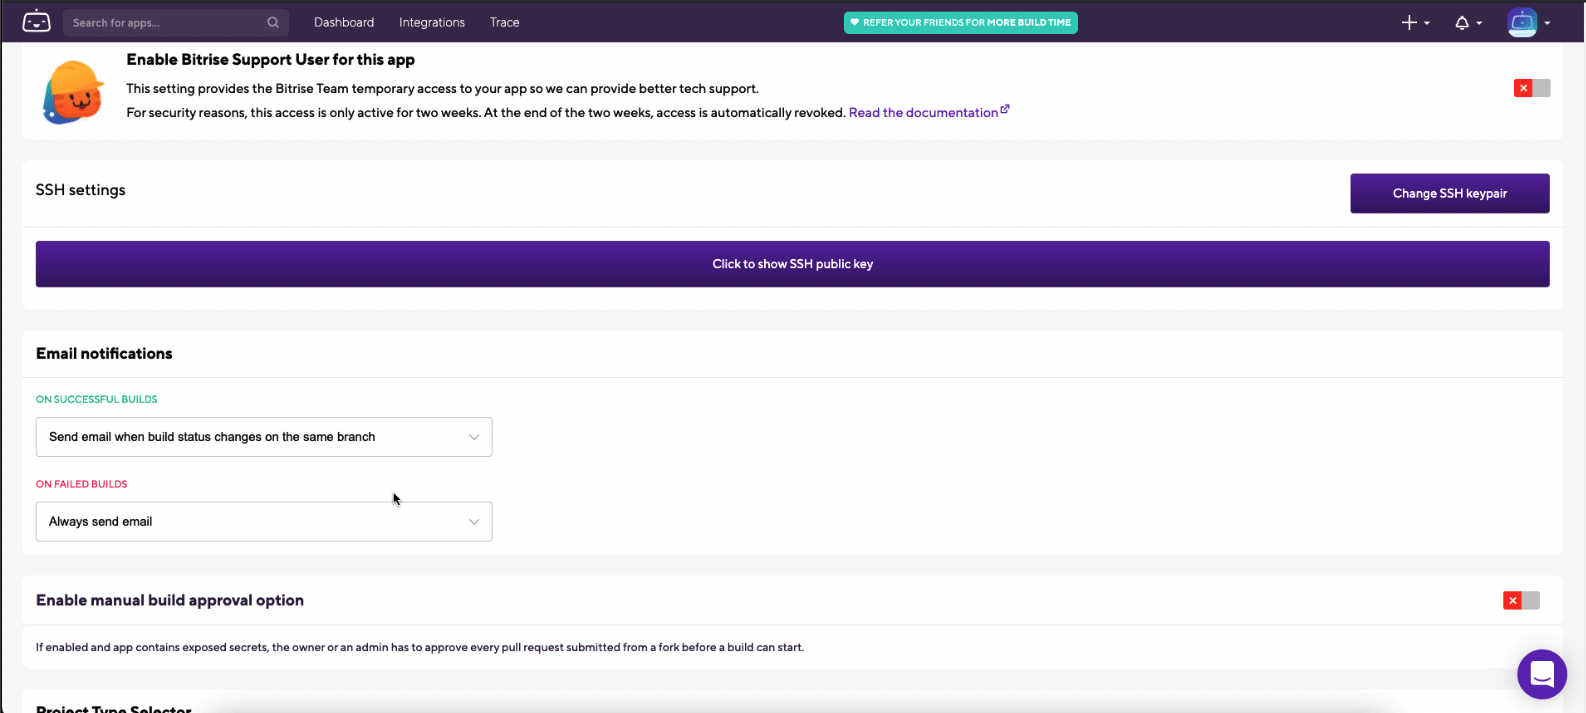
We can go to the Settings tab of the app to modify the branch and repository URL, as well as other settings like email notifications.
Building using Bitrise
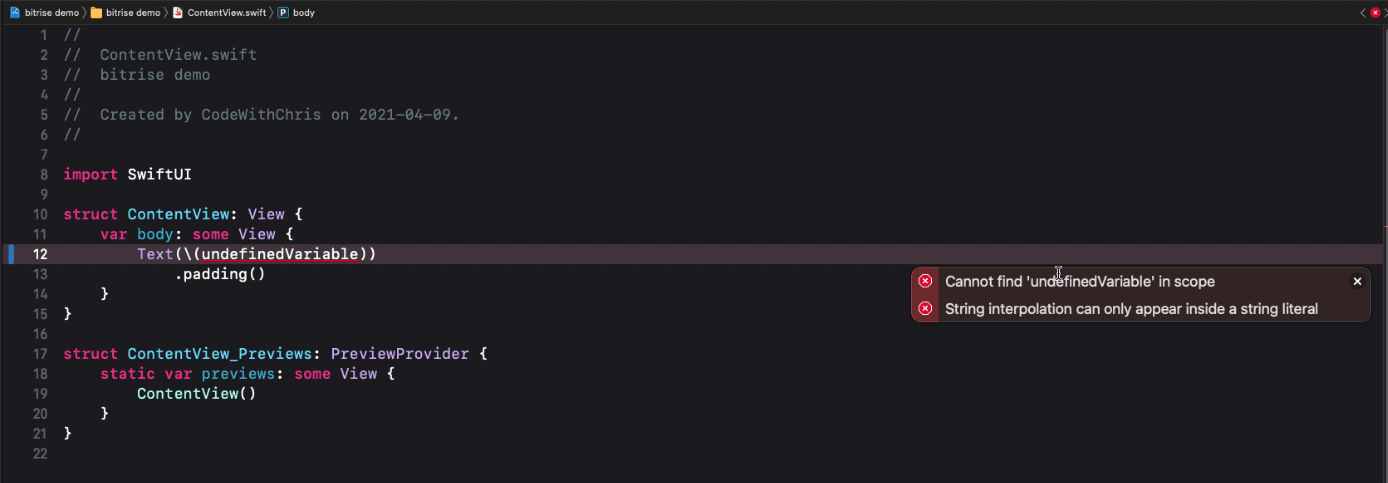
Now we’ll go back to our Xcode project to make changes to our code and push them to our repository. In the screenshot below, we try using an undefined variable, which will cause an error when building the app.
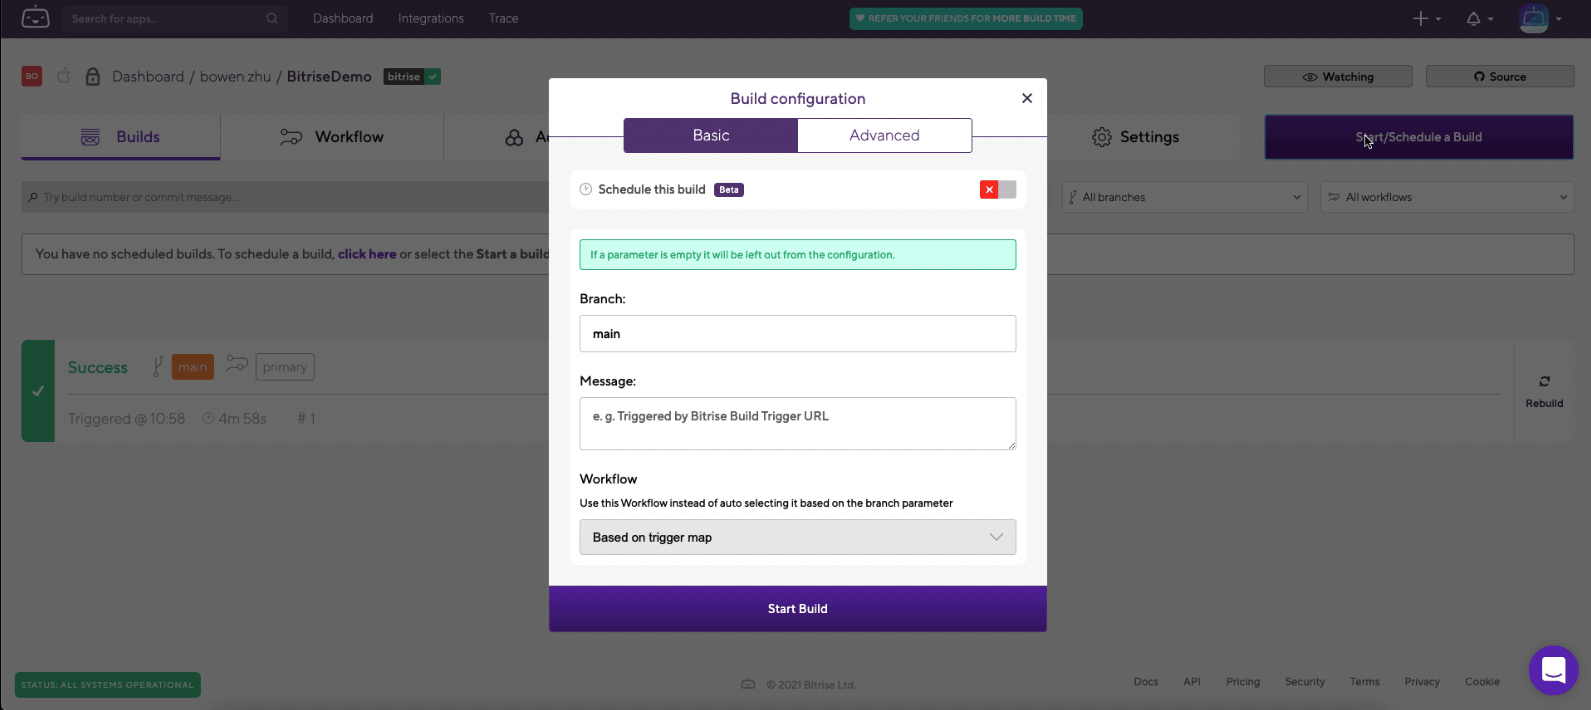
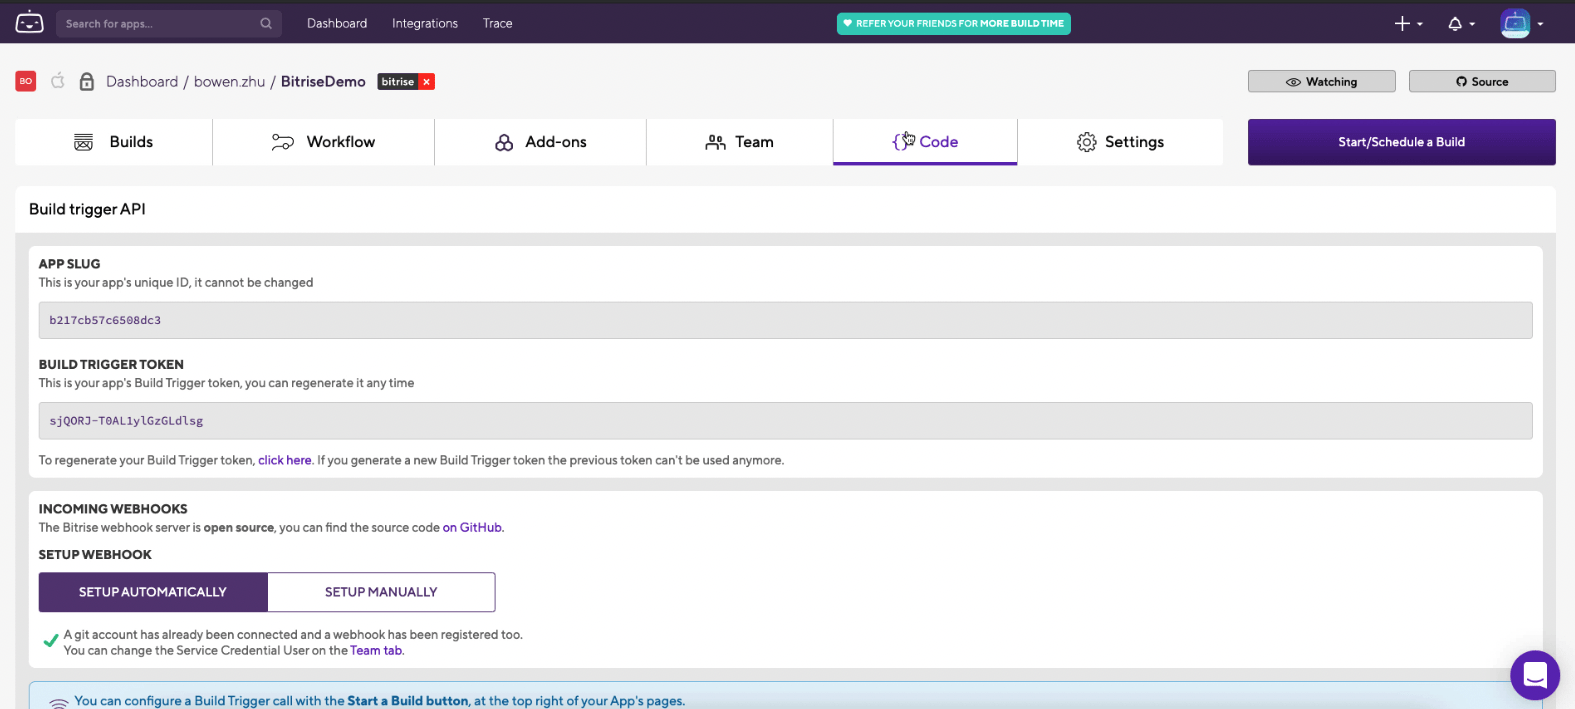
With the error pushed, we can start or schedule a new build in the app page. Alternatively, if we want to automatically run a build whenever the repository is updated, we can go into the ‘Code’ section and enable a webhook to GitHub.
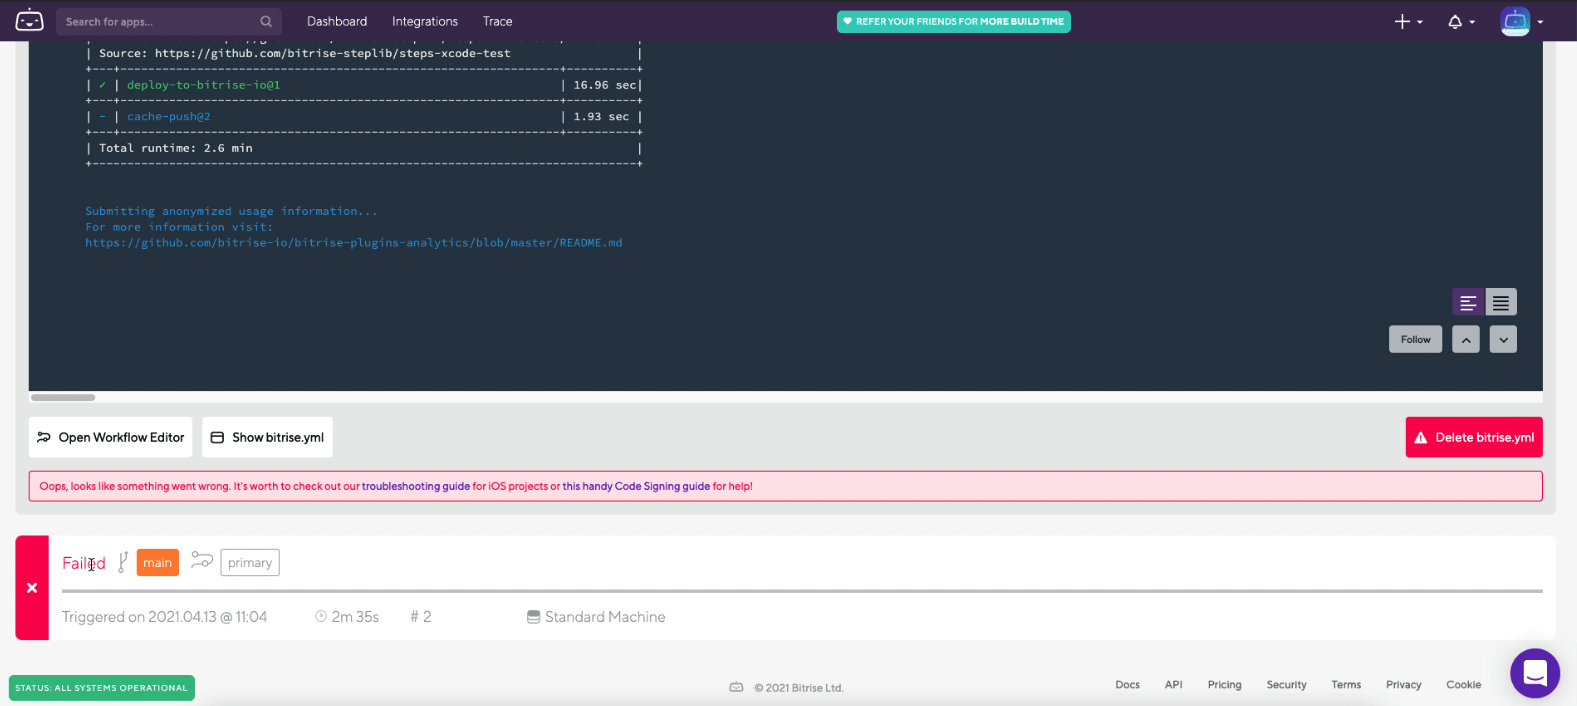
We’ll see that the build has a Failed status, and we can identify the issue of the undefined variable inside the build logs.
Customizing Bitrise app Builds with Workflow
Now we’ll look into the ‘Workflow’ section of the Bitrise app. In the Workflow Editor, we’re able to view and modify the steps executed for each build. The default workflow includes basic steps like Git Clone Repository, Certificate Installation, etc. We can create multiple workflows to choose from when running a build.
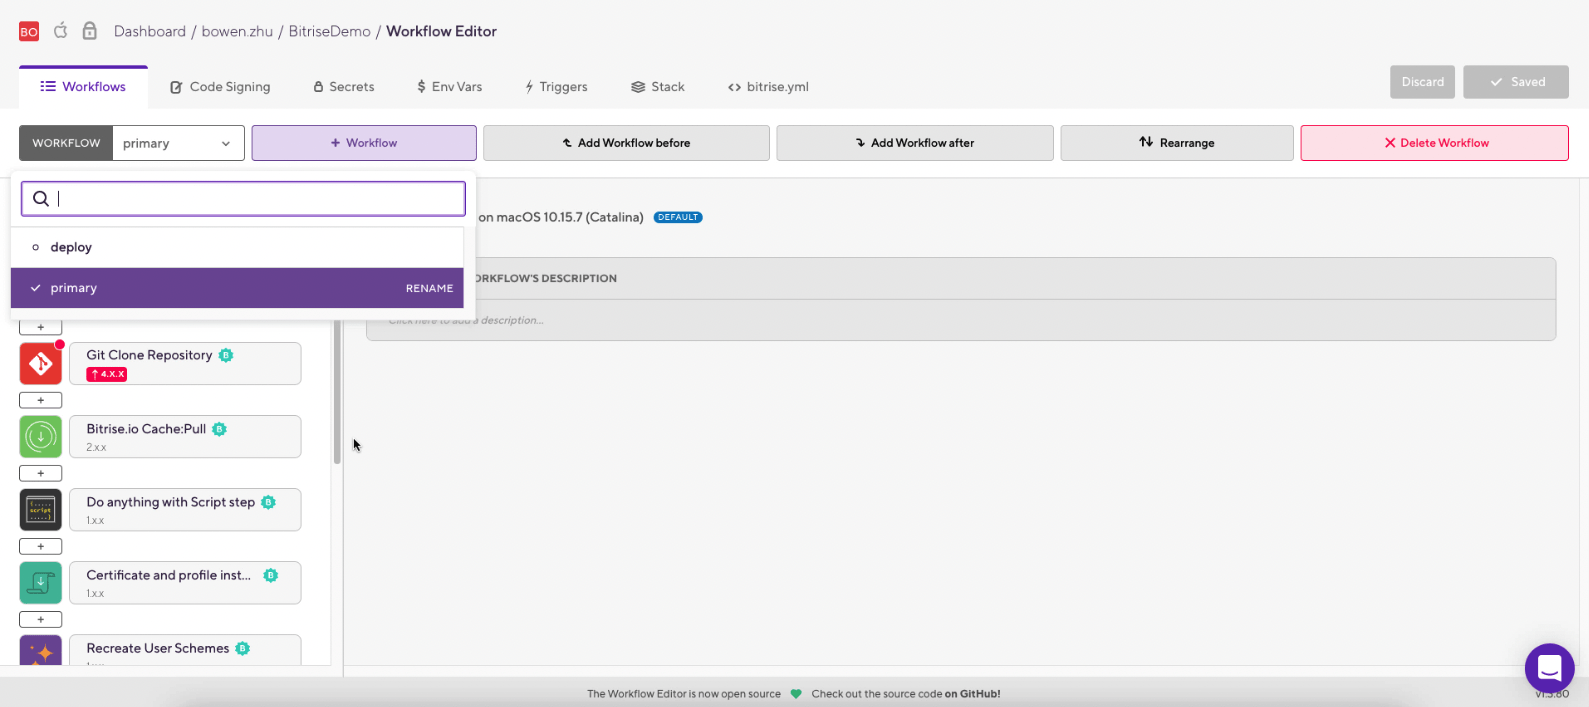
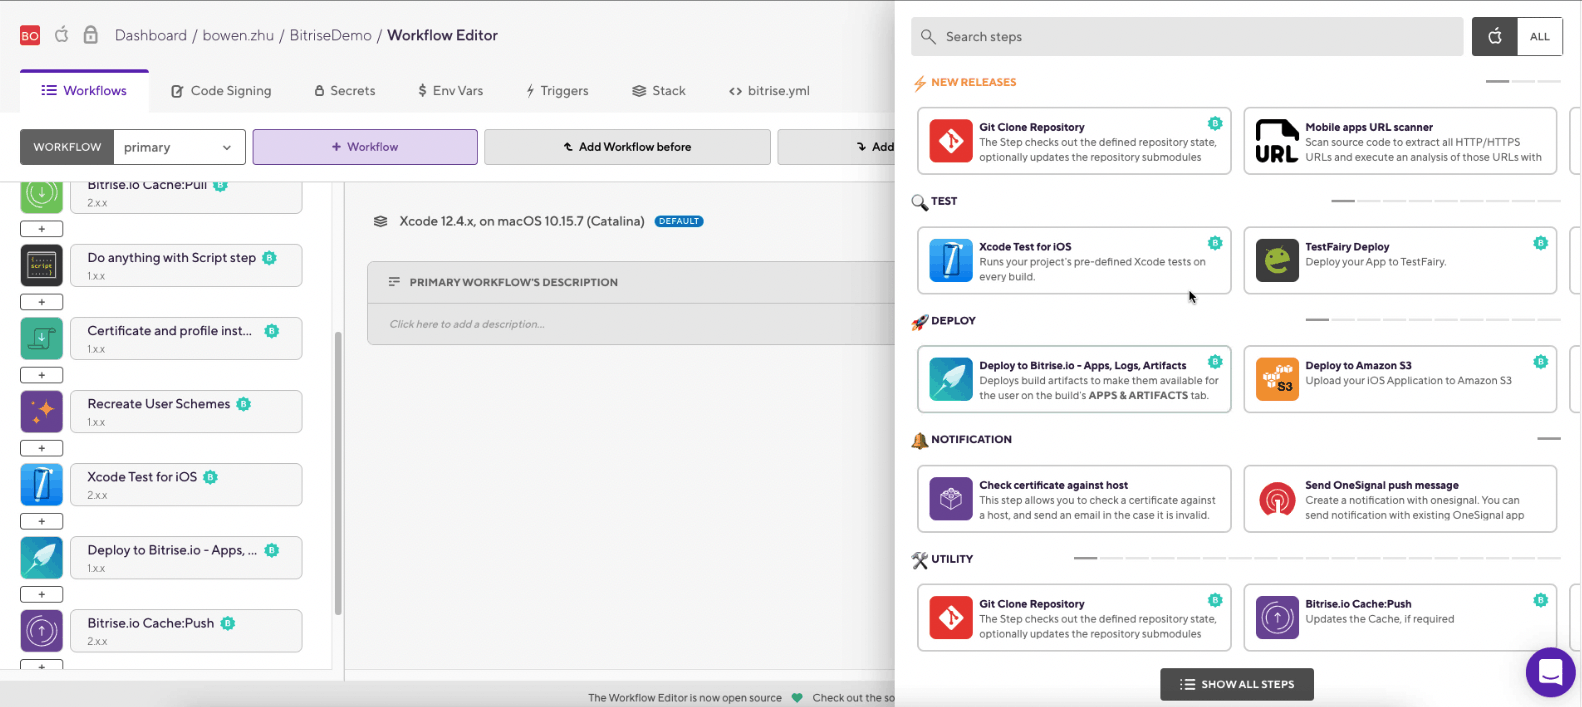
We can add steps to our Workflow depending on what we want to do, such as if we want to deploy or test our app. Other steps include Installing Pod dependencies, which is useful if your app has a Podfile. Simply click on the plus icon in the Workflow Editor to add steps. We can also click on an existing Workflow step and modify or delete it. Finally, we can drag the steps to rearrange the order of execution.
Xcode Test Bitrise Integration
In our Workflow, we can have an Xcode Test for iOS step to execute any tests we have in our Xcode project for each build. We can edit this Workflow step to specify options like the device and OS we want to test with.
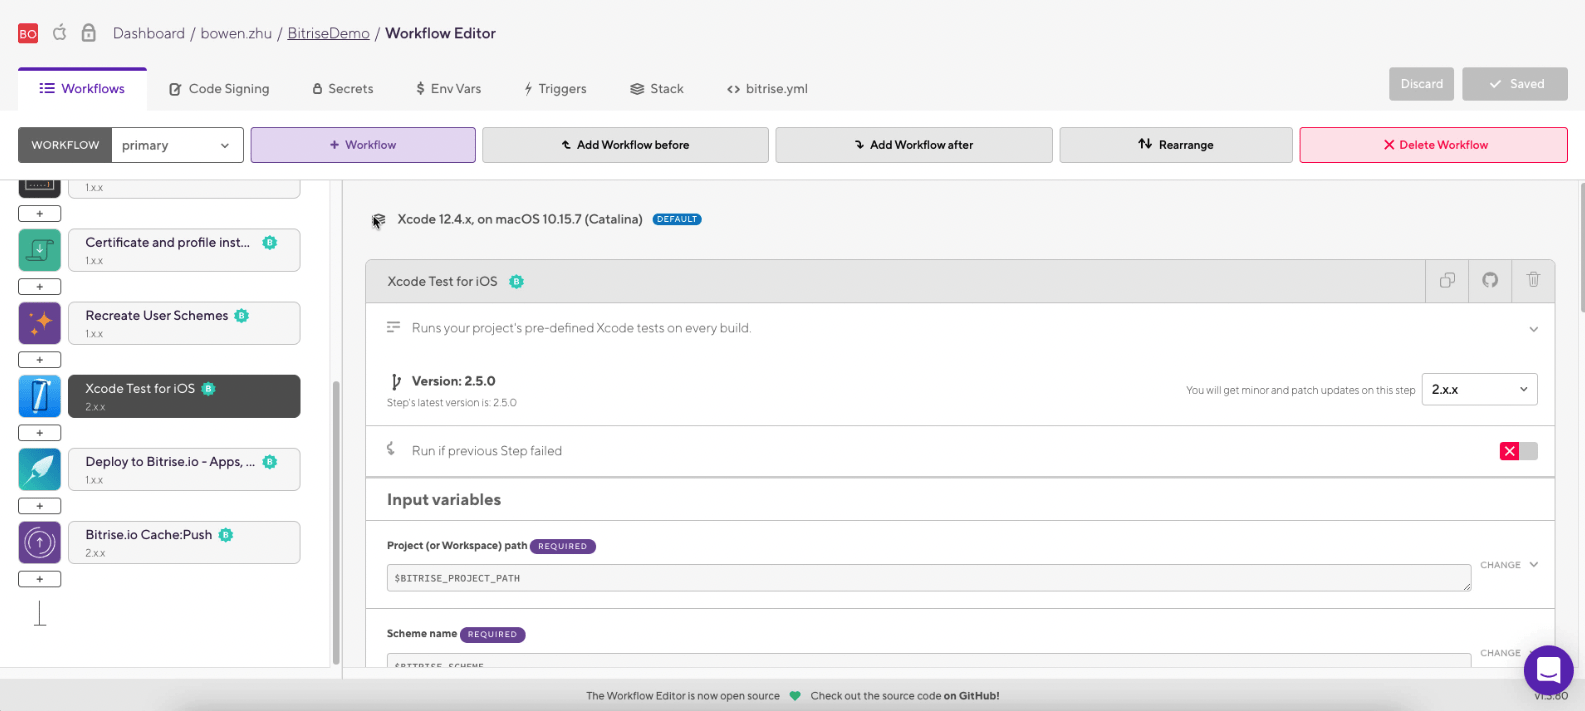
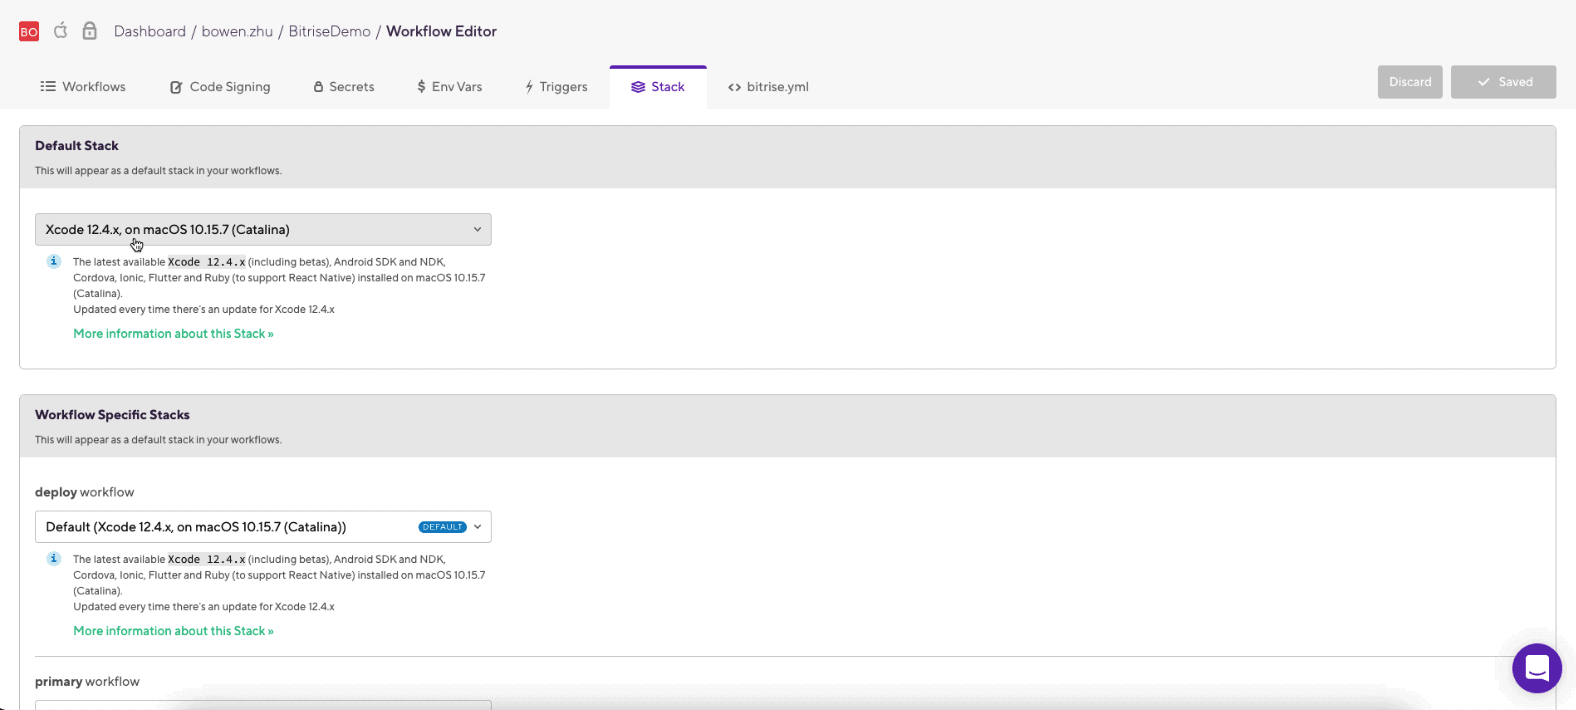
An important configuration setting to note is the stack that the test step is using, such as ‘Xcode 12.4.x, on macOS 10.15.7 (Catalina)’ in the screenshot. Make sure that this matches with the version of Xcode on your development device so that the test step works properly. We can update the stack by going into the Stack tab.
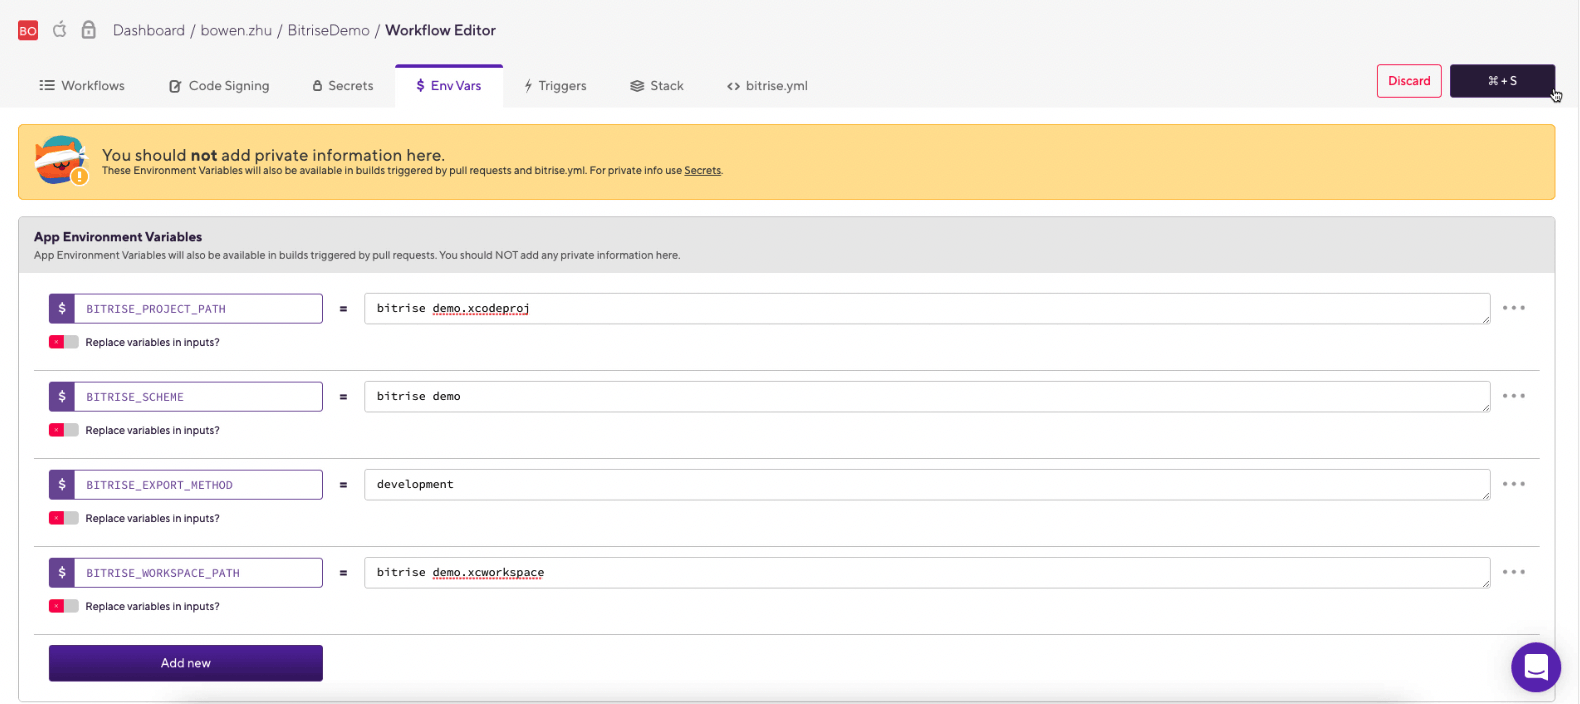
We can also edit variables each workflow step, such as the project path. We can create variables in the ‘Env Vars’ tab, as shown in the screenshot below. Note that if we’re using Pods in our project, you want to change the Input variables in the Xcode Test step to use your Workspace path to your .xcworkspace file rather than your .xcodeproj file.
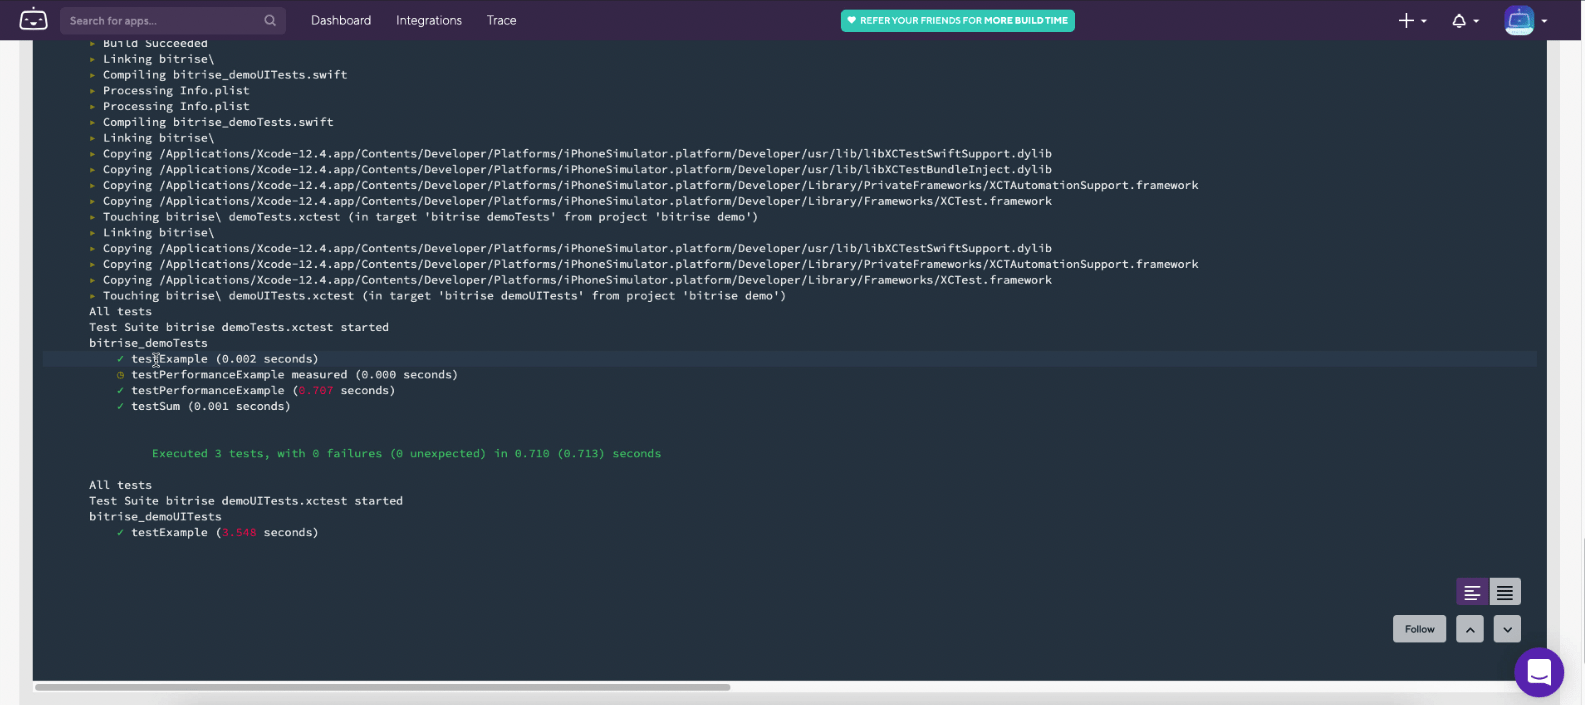
Now when we run builds, we’ll be able to see the results of any tests we have in our Xcode project in the build logs. The build will have a failed status if any of the tests fail.
Conclusion
Overall, Bitrise is a great tool to incorporate into your projects to save you time and worry. It’s easy to get started with and flexible to use. Bitrise also has an extremely supportive community and staff to help answer any questions or issues you may have when building your app. We hope that you’re able to use Bitrise in your own projects now that you’ve gone through this tutorial!