During your course of software development you will eventually encounter the term repository. What does it mean then? Simply, a repository is a central file storage location. It is used by version control systems to store multiple versions of files.
There are many repositories that can be configured on a local machine for a single user but eventually you want to be able to easily have access to your project and share it easily especially when working as a team.
Github comes into play as it is a repository that is stored on a server, which can be accessed by multiple users (or just yourself!) easily. Best of all Github is free to use and is used by millions of other users everyday!
This guide will help you in your first steps in setting up your own repository
Setting up
Step 1:
Go to https://github.com/ and create and/or log-in your account.

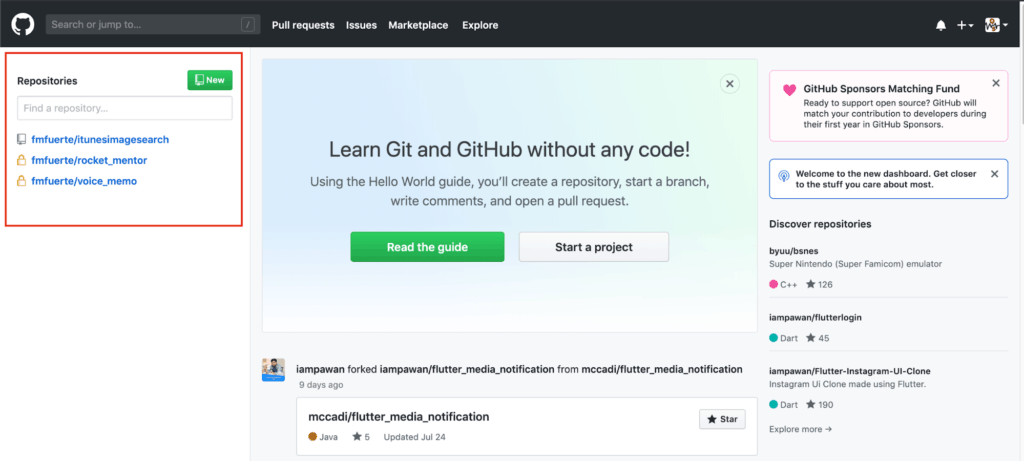
Once logged in it should look like this
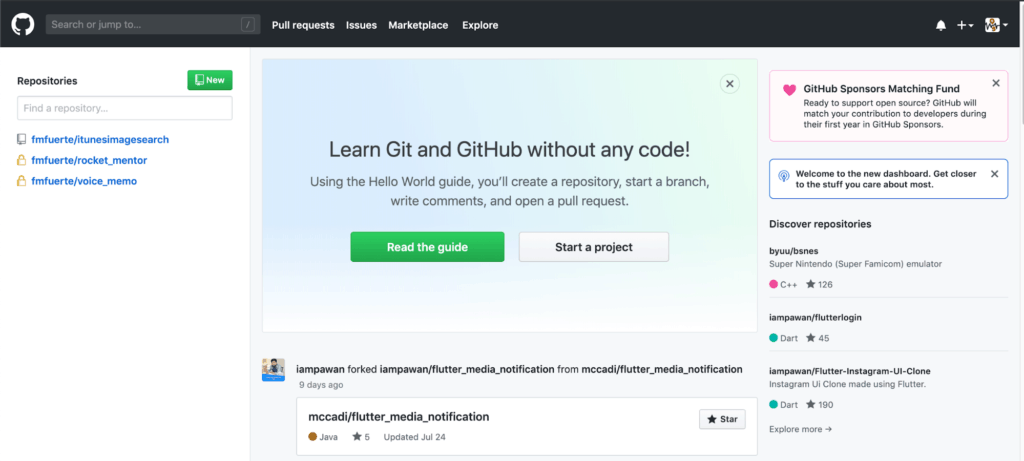
On the left side pane will be the repository for your projects, select new
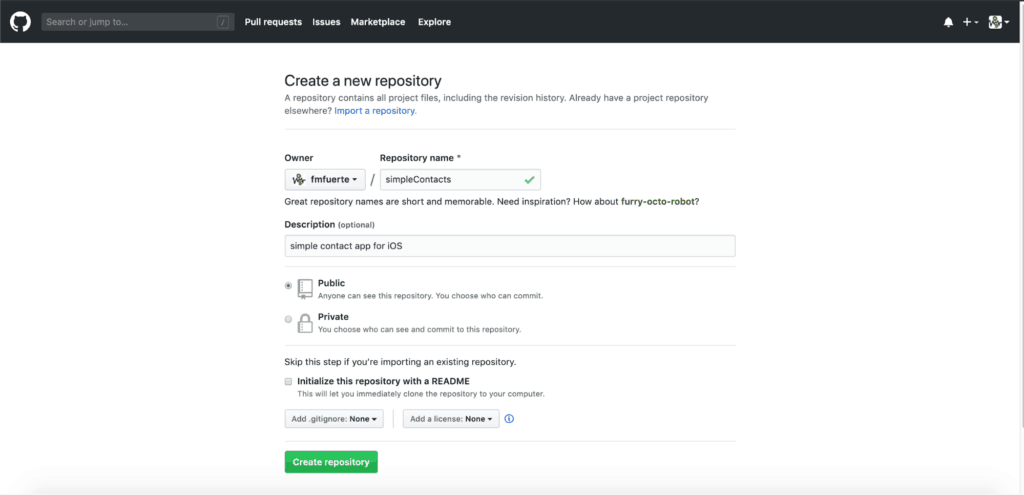
It should take you to a page where you can initialize your project, you can set the name of your project along with a description, you can also set here if you want your project to be private or public. An option is also given if you want to initialize the project with a README file.
Step 2:
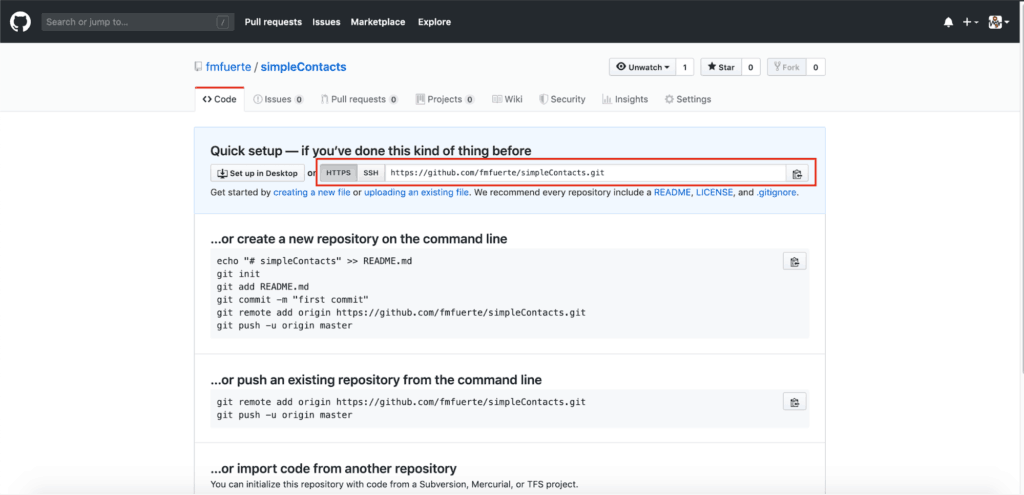
Once your repository is created it will take you to this blank repository page
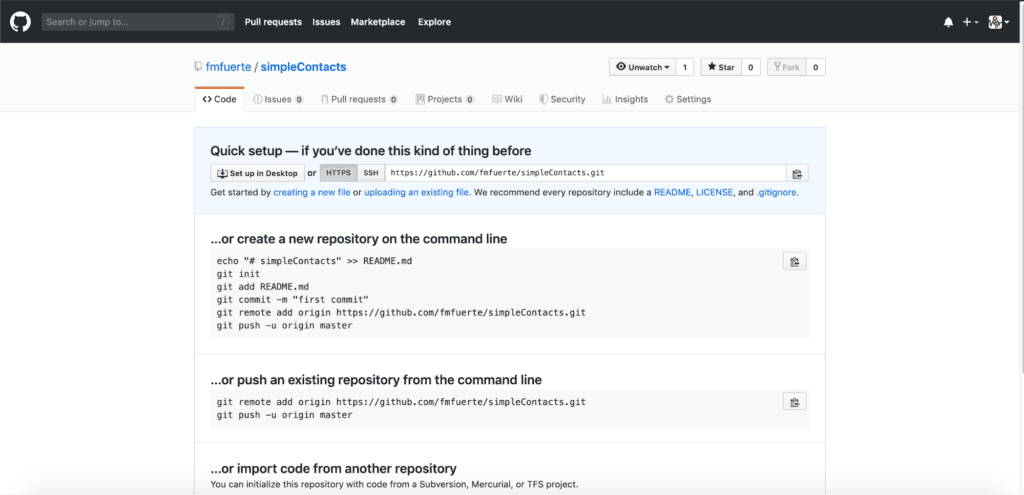
Take note of the address of your repository, which is needed to make changes to your repository
Next, open a Terminal window and check if you have git by typing git –version. It usually comes pre-installed with your Mac.

If it didn’t come pre-installed then it should prompt to install it after your checked for the version.
Step 3:
Go to the folder of the project you want to set the repository. In my case I saved my application in my Workspace folder. In order to navigate the terminal here are some simple commands you need to be aware of
pwd – to print the current location you are in
ls – to list the files on the current directory/folder
cd [folder] – to move to a folder of the current directory
cd .. – to move back 1 step from the current folder
open [file] – to open a specified fileclear – to clear/refresh the terminal if it gets to cluttered for you
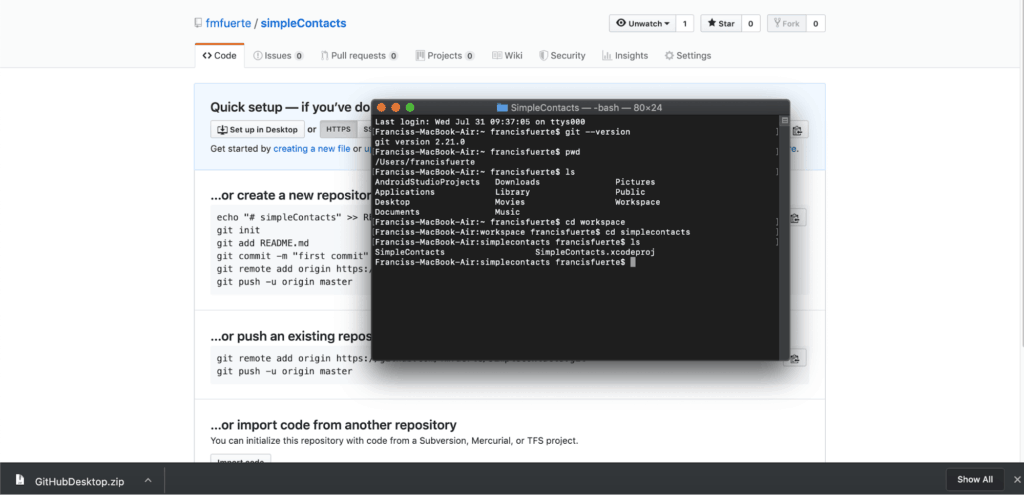
Once you are in your project folder type in git init, this should initialize your repository and be ready for git.
You can then add your file/files by typing in git add [file]. In our case we want to add all files so we type in git add [.]
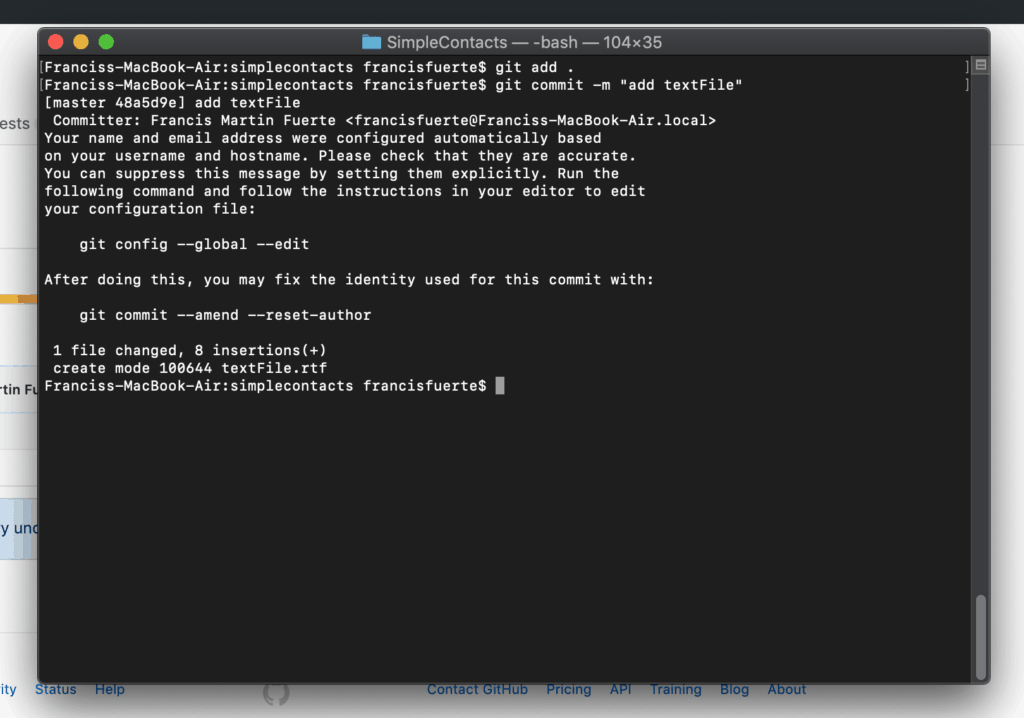
We are now ready to commit our changes. We can do this by typing in git commit. Additionally, we also want to add a short description of that we did so we type in git commit -m [“message”]
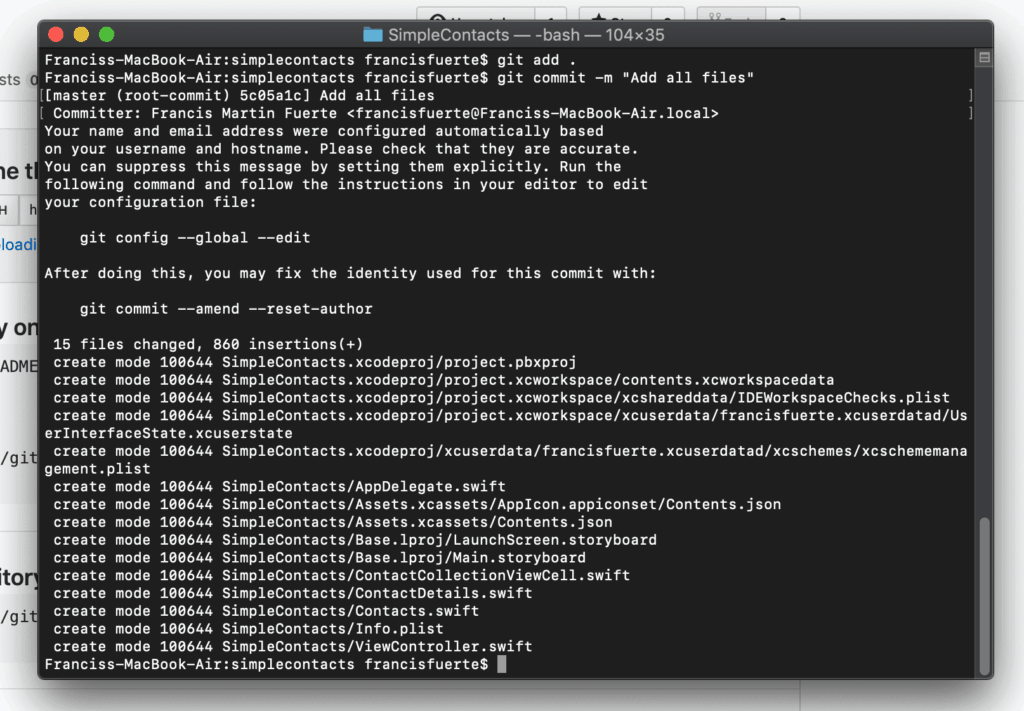
It will then show you how many files and how many lines were added to the repository.
But this didn’t affect our online repository yet! All of this is temporary until we push our changes. Yet, in order to do so our repository should know where to commit the changes
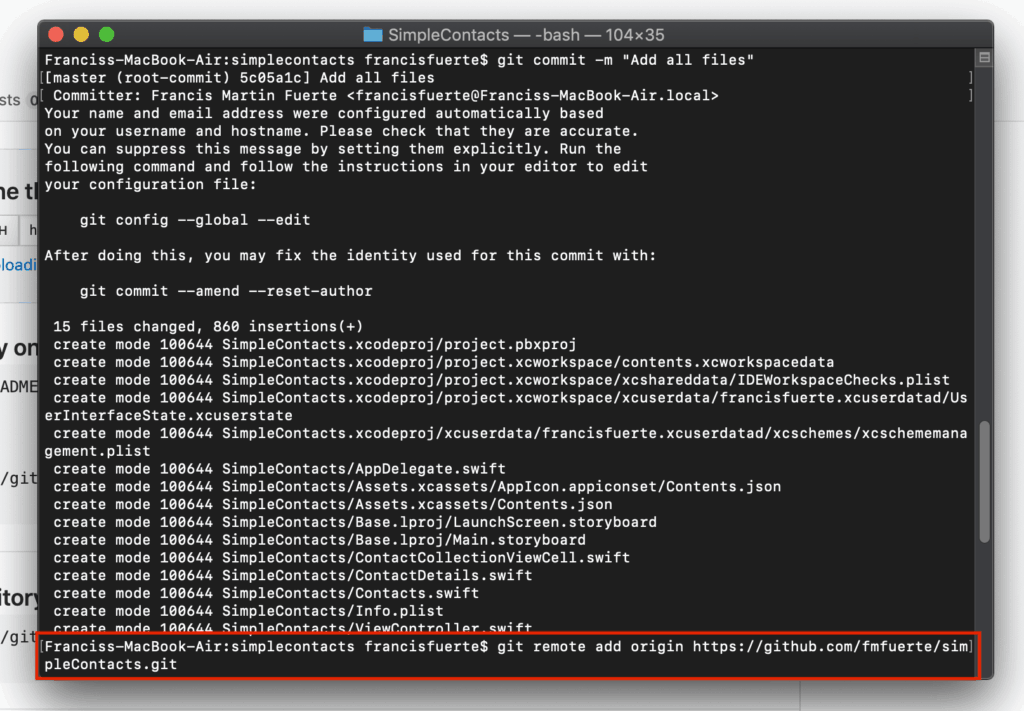
Thus, type in git remote add origin [repository address]. The repository address is what we took note of in Step 2.
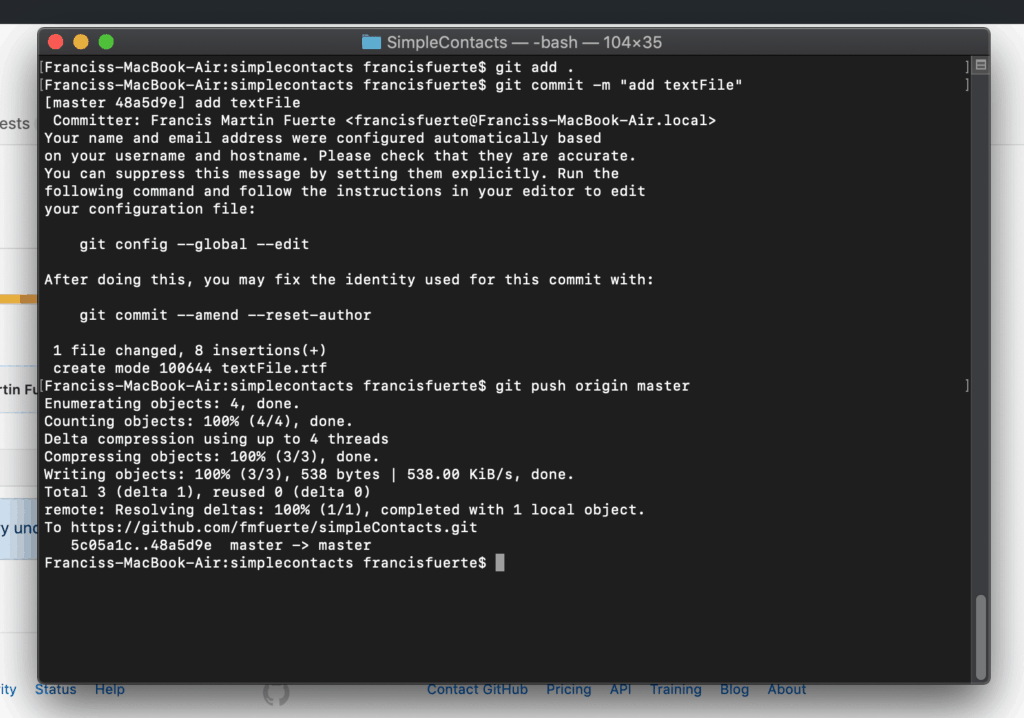
We are now ready to push our changes to the repository. Do so by typing in git push -u origin master. This simply means we want to push our changes to the main (master) branch of the project. It will ask for you github username and password if you haven’t used this git before.
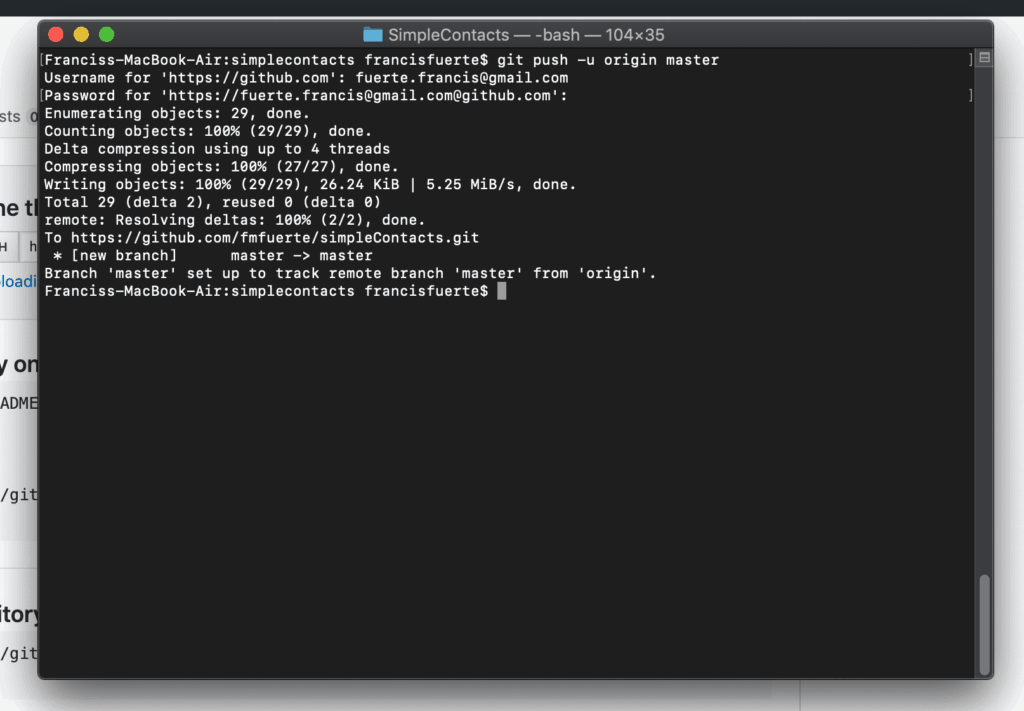
Once, its finished upload our project is now ready and saved in the server, check by refreshing the webpage.
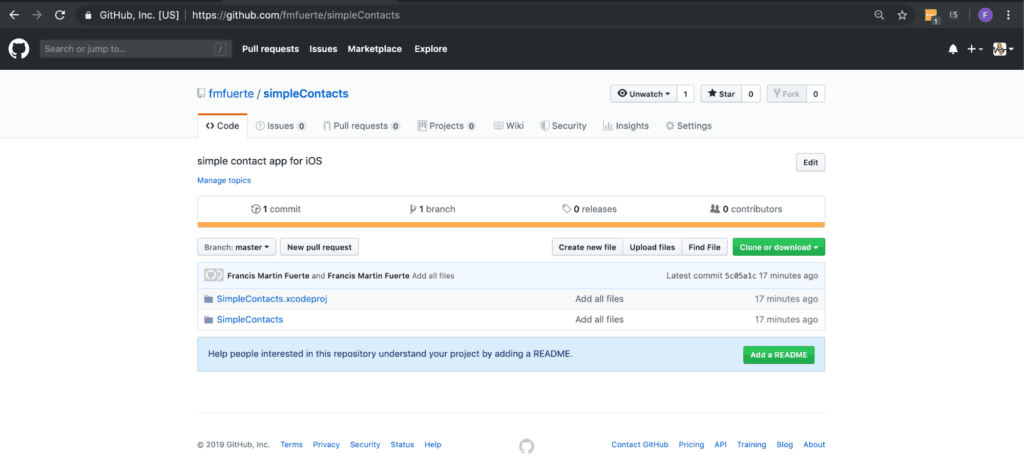
Congratulations your repository is finally done setting up!
Maintenance
Updates
Updating your repository works the same way with setting up. You still “add” files. Adding files in git is just a catch-all term referring to making changes. Thus, any modification of codes, deletion of files, adding of files, etc are “added” as changes to the repository.
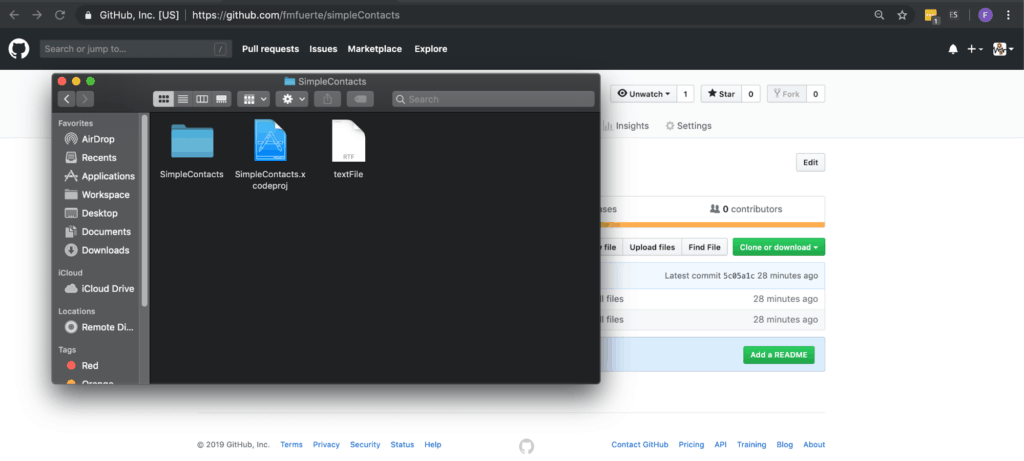
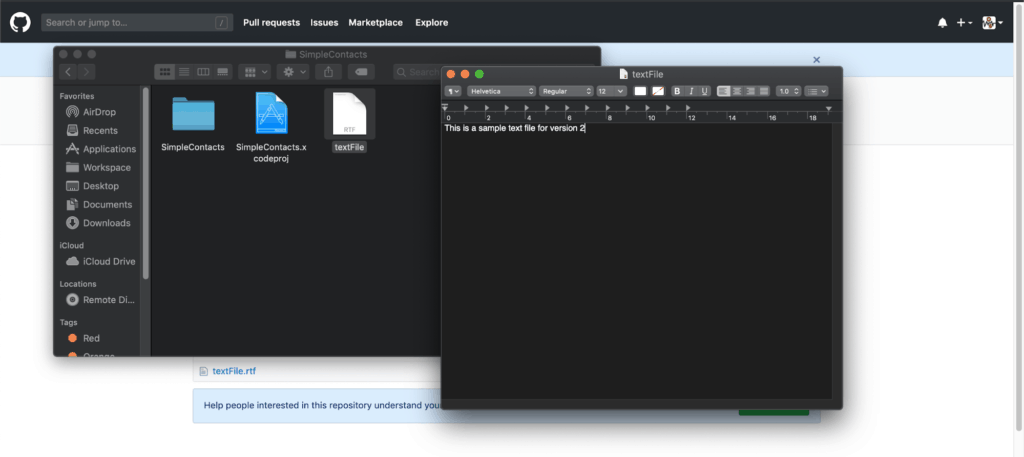
Let’s say I want to add a text file in my project. I just add it normally in the project folder like so.
Now, there are two ways to add these changes, one is to just add the individual file by typing in git add textFile or you can let git automatically check for changes in the whole folder by typing in git add [.]. Usually it is just easier to let git detect the changes.
Next, commit the changes like before and adding a short description by typing in git commit -m [“message”].
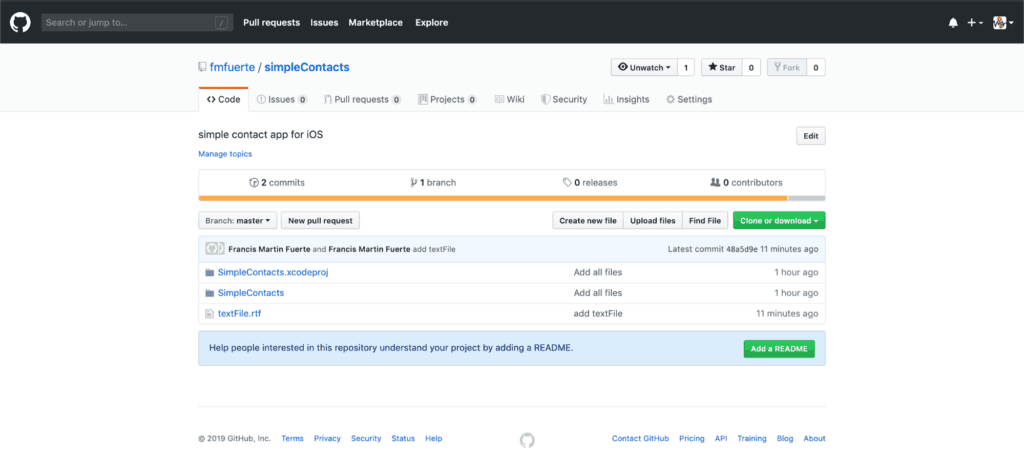
As you can see git detected that I added a text file.
Finally, push the changes so it gets uploaded to your repository. You don’t usually need to set the origin of the project anymore if you already set-it-up properly beforehand.
And that’s it. Pretty easy to maintain right? Check out the webpage to see your changes.
Branches
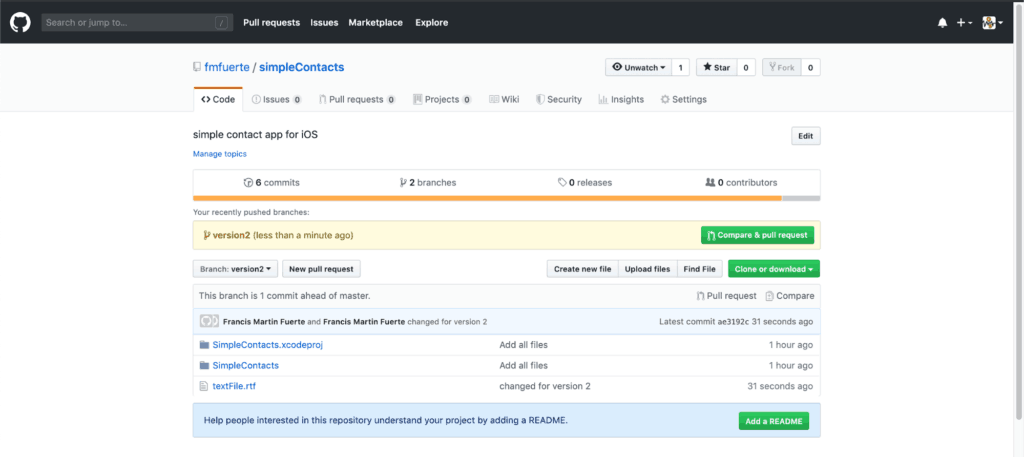
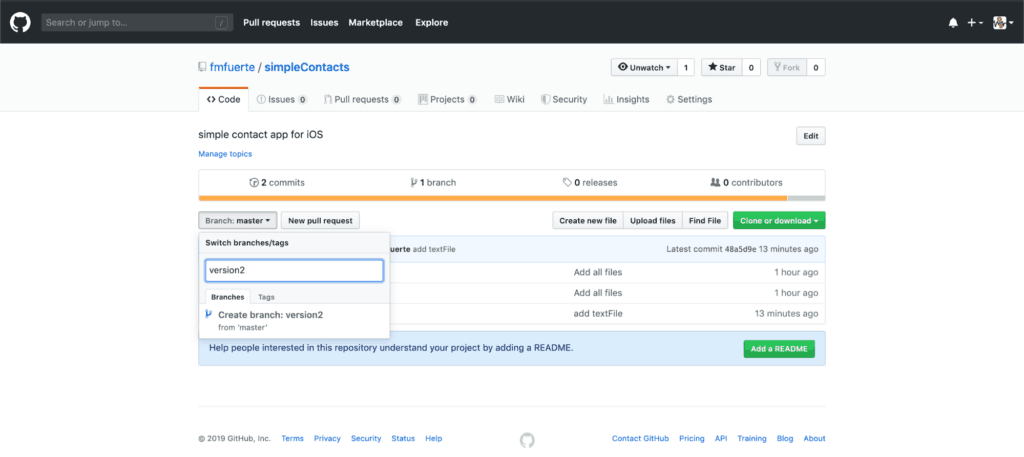
A new branch in git is a “copy” of your master branch. This way your master branch is preserved and you will have a clean copy of it when needed. Why not try out to create a new branch and name it version2
Next, lets just simply edit the textFile so we can make an update to version2 of our repository
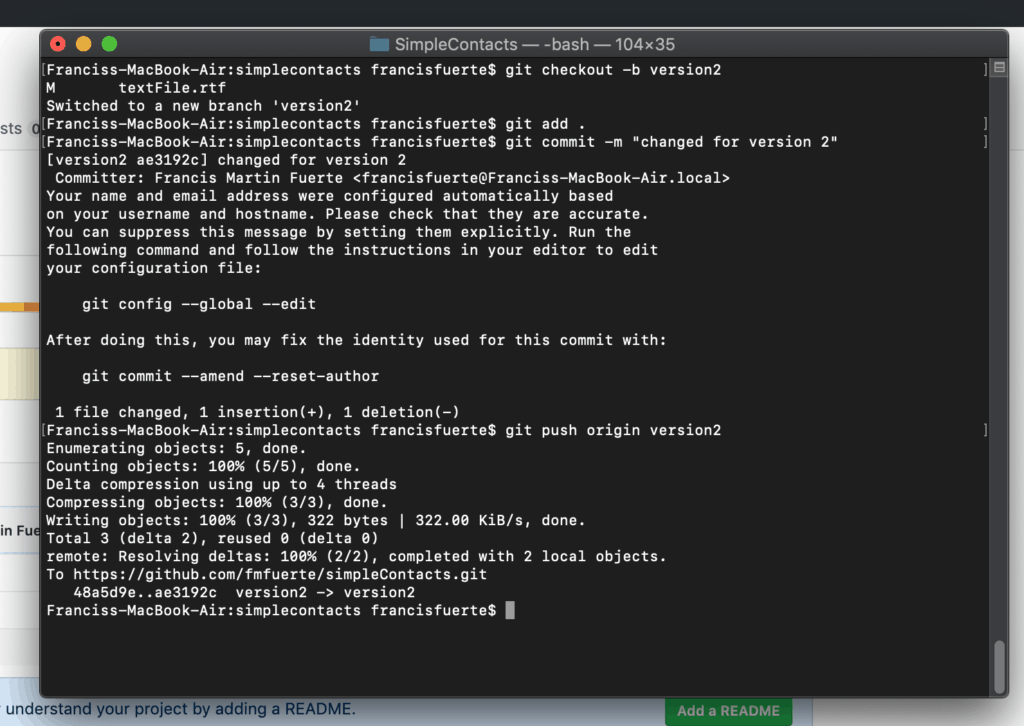
First, checkout the branch you want to commit to by typing in git checkout -b [branch name]
And as usual just add -> commit -> push. The only difference is that we now push the changes to version2 instead of master.
And that is it you successfully used a branch in git! Refresh the page to see the changes