
This tutorial will show you how to start an Xcode project to build an iPhone app with a tab bar along the bottom of the screen.
In most of my tutorials and demos, we start with a Single View Application Xcode project which is a basic and versatile starting point.
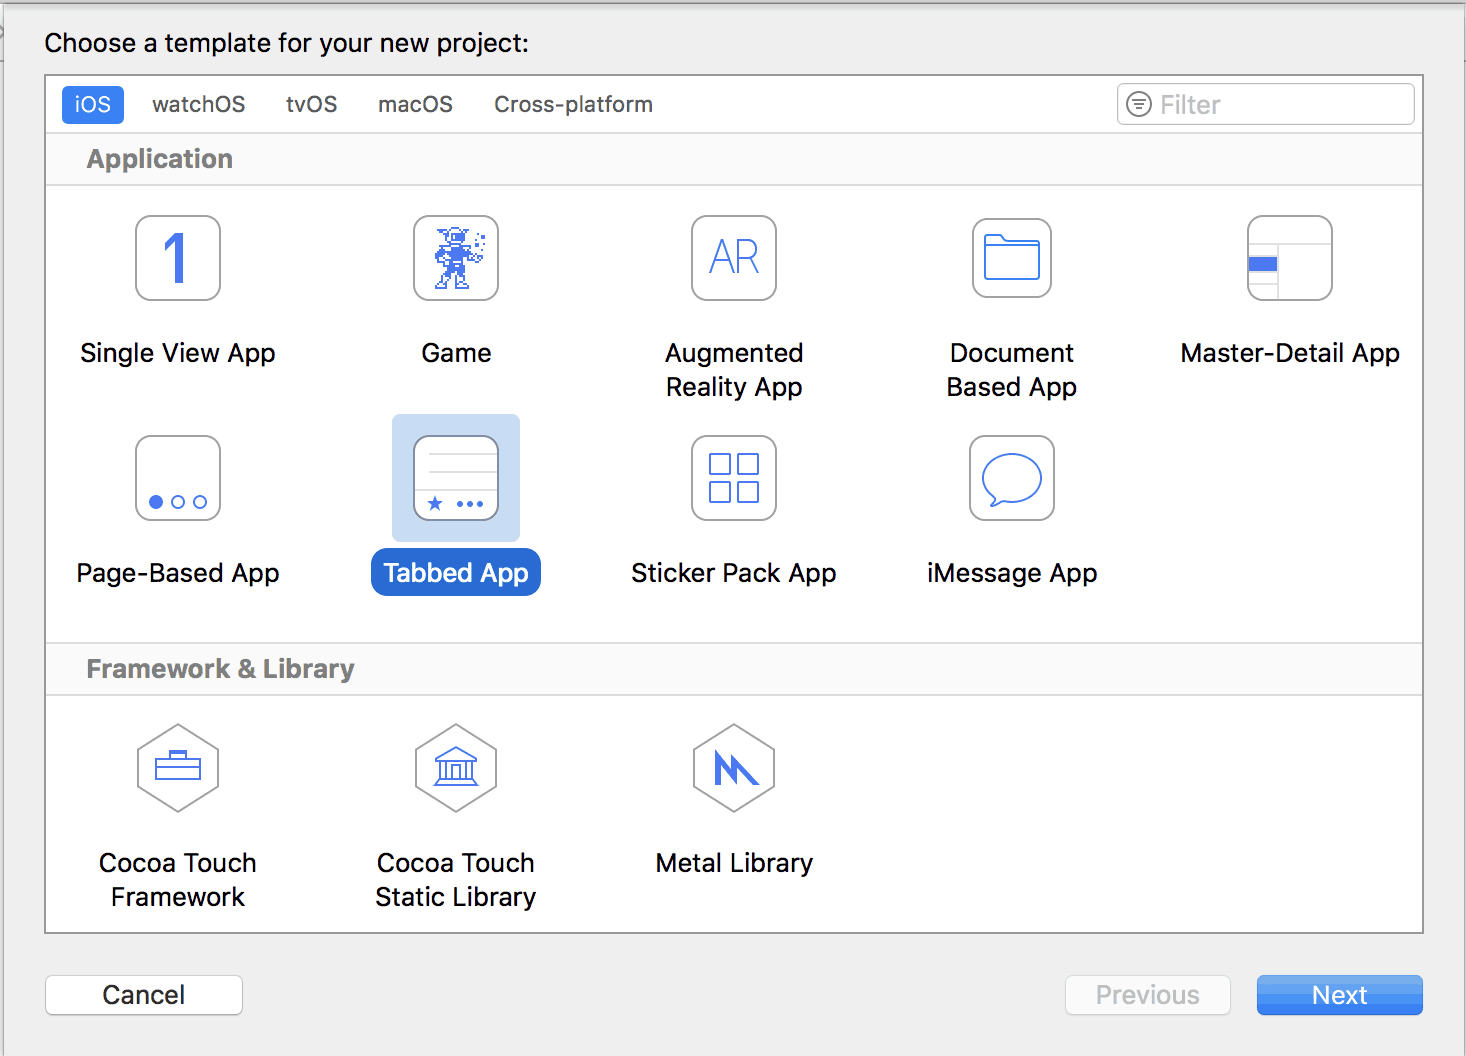
However, if your intention is to create a iOS tab bar application, there’s another Xcode project template that provides a better starting point and that’s the Tabbed Application project template.
Essentially this starts you off with a UITabBarViewController and two view controllers representing two tabs as you’ll see soon.
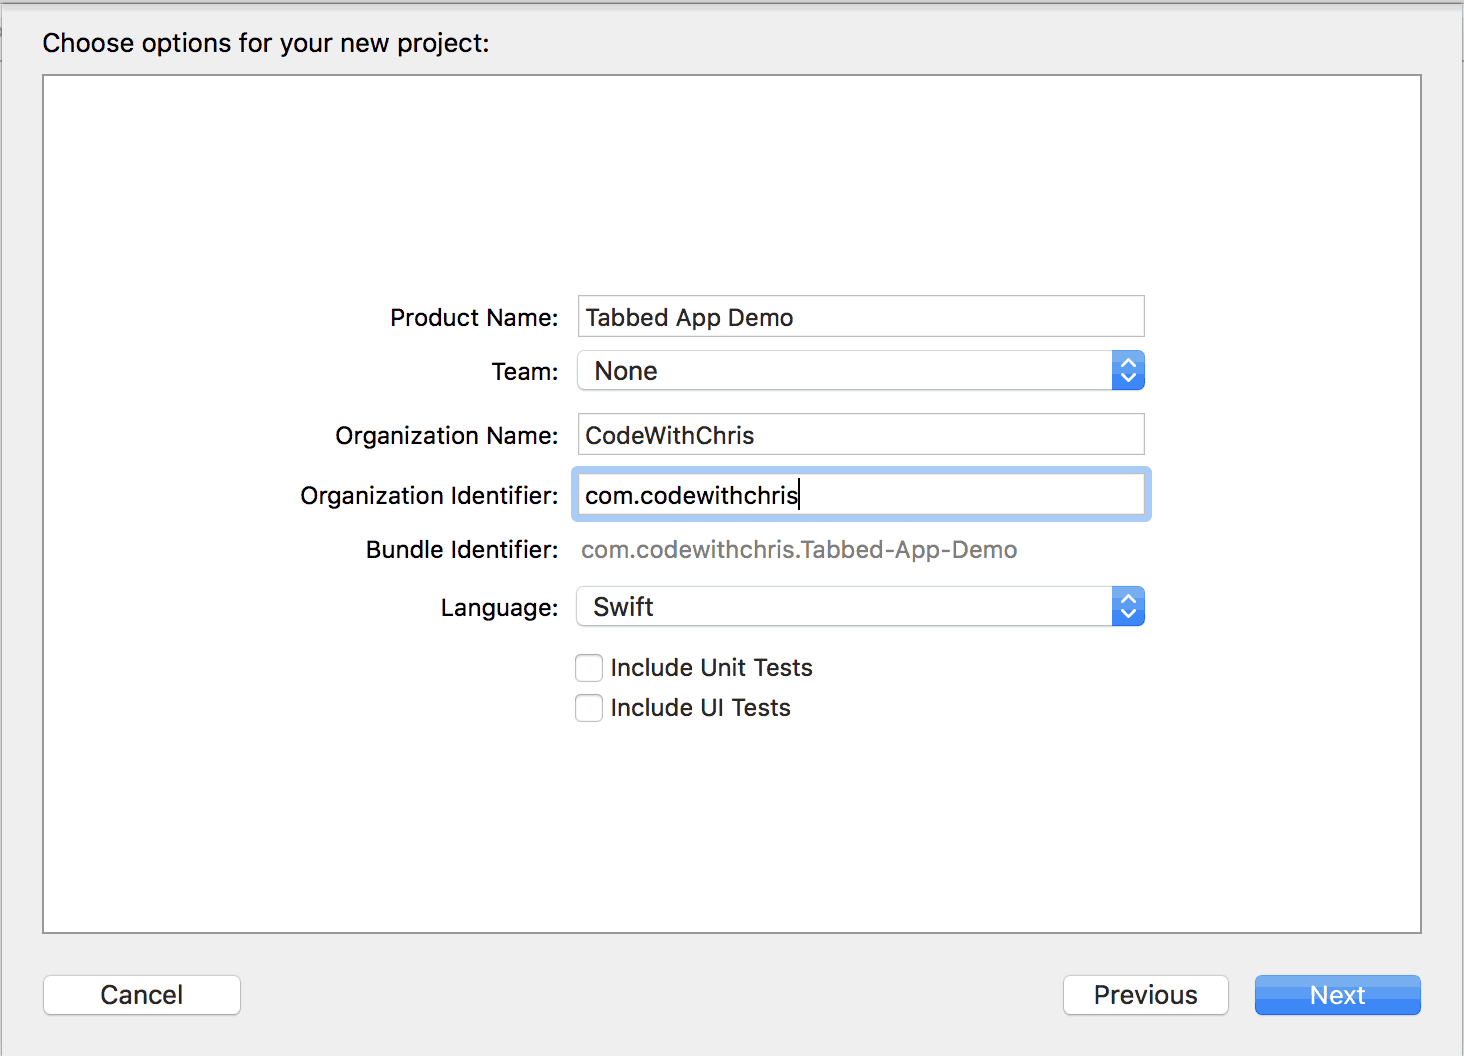
Select that template as your starting point and click next. On the next dialog, you can enter some project settings but it doesn’t matter too much since it’s a demo:
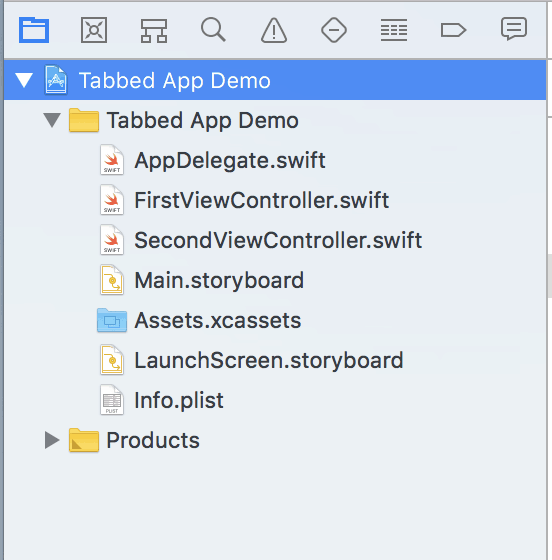
After that, you’ll have a brand new Tabbed App Xcode project! Check out the file navigator pane on your left and you’ll see something like this:
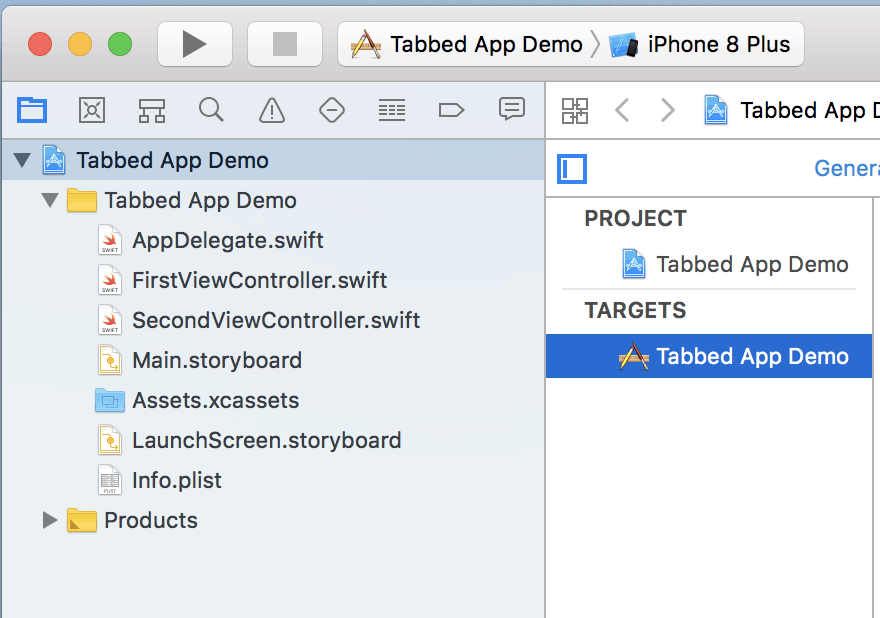
The Tabbed Application project template starts you off with two tabs in your tab bar.
As you can see from the File Navigator, there are two view controllers, each representing one of the tabs.
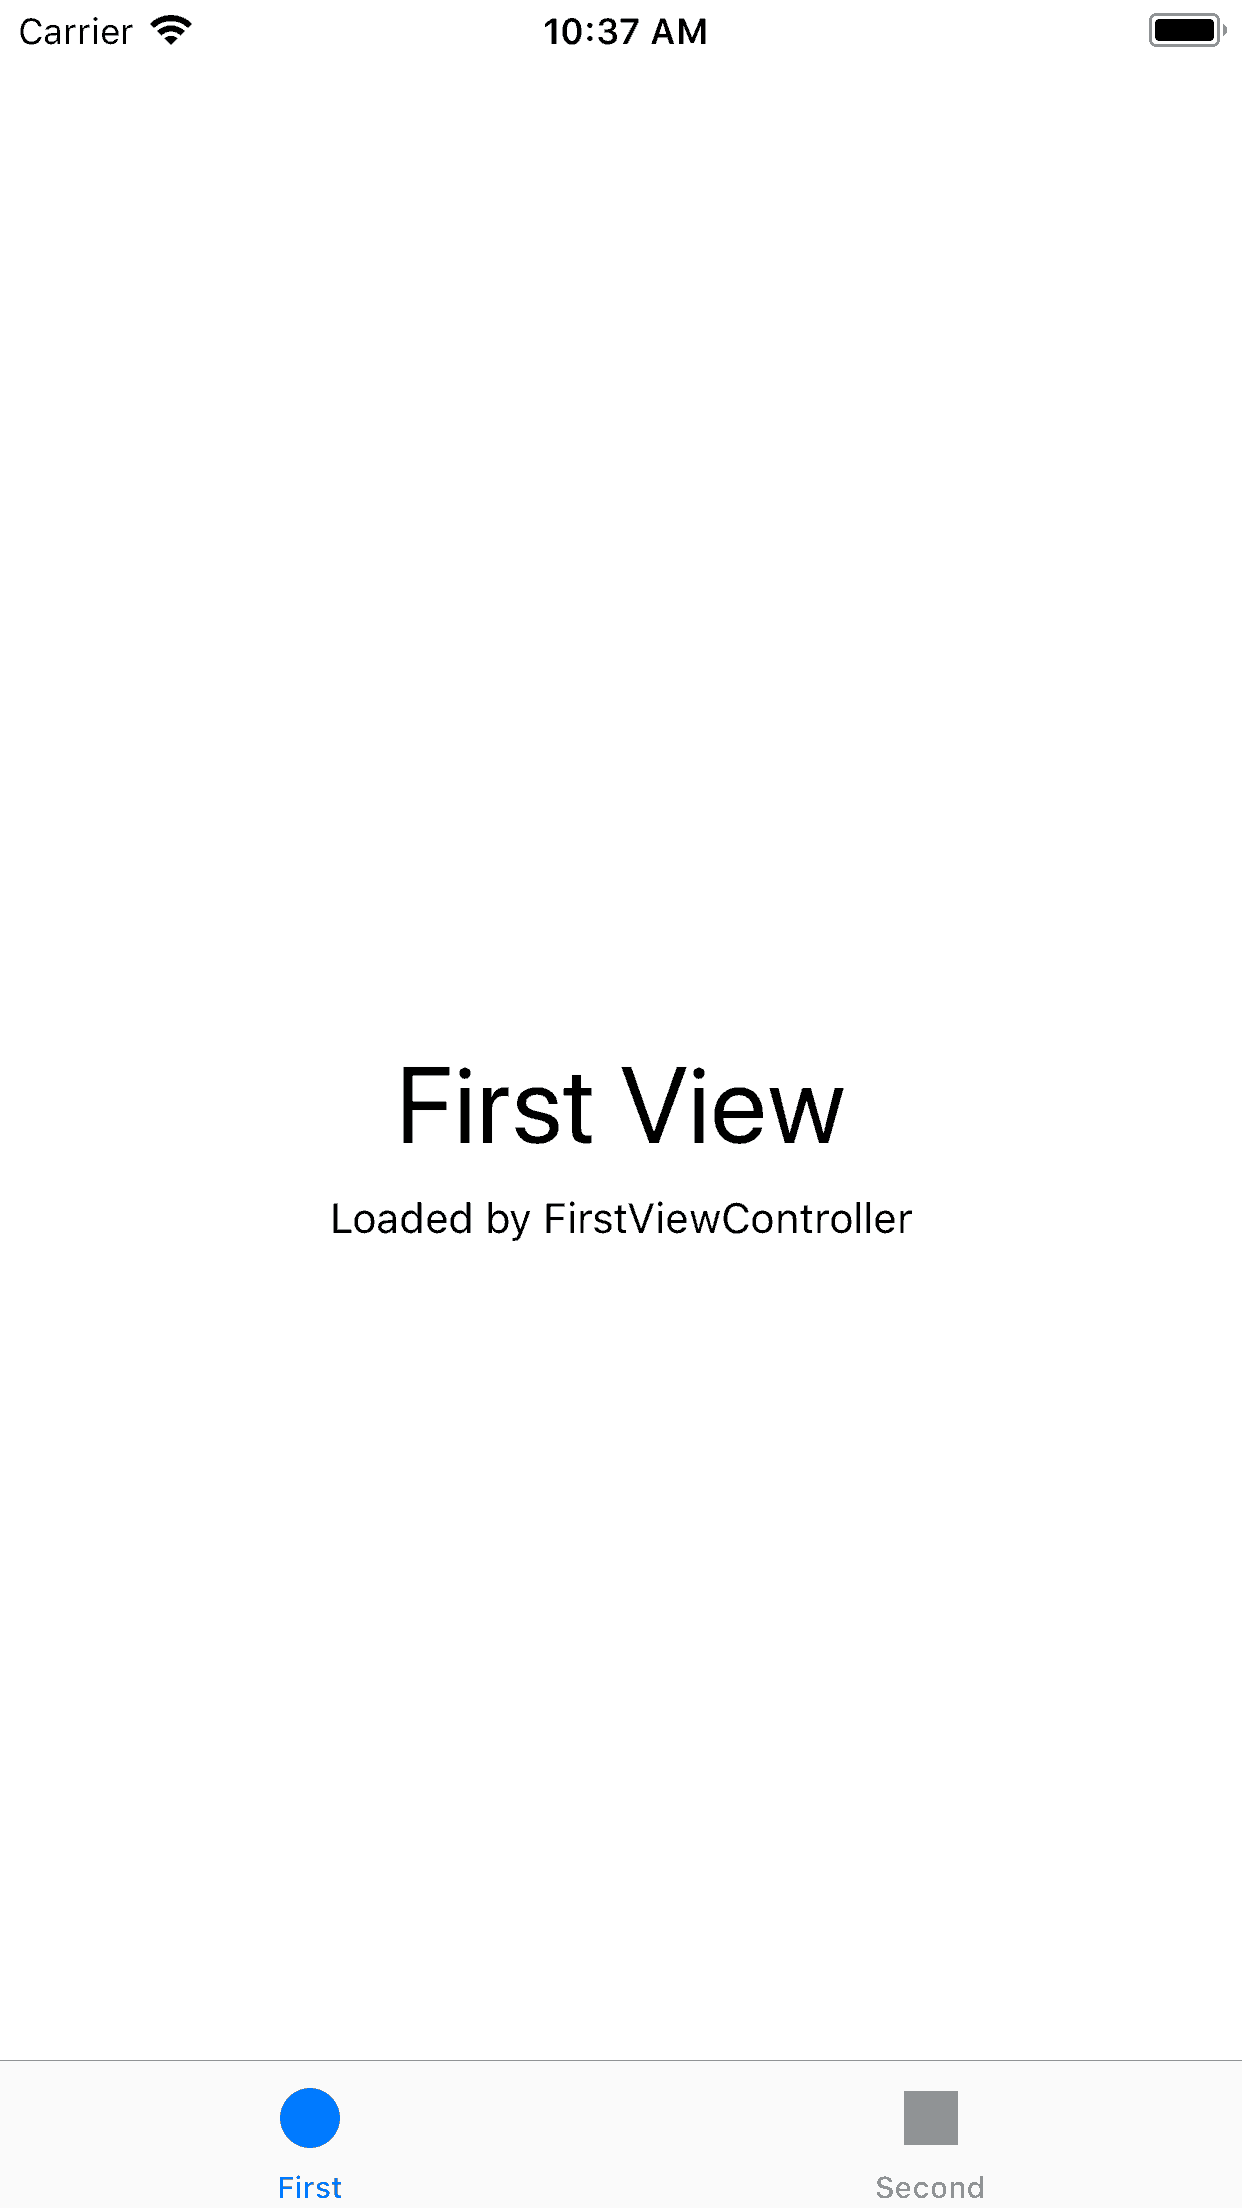
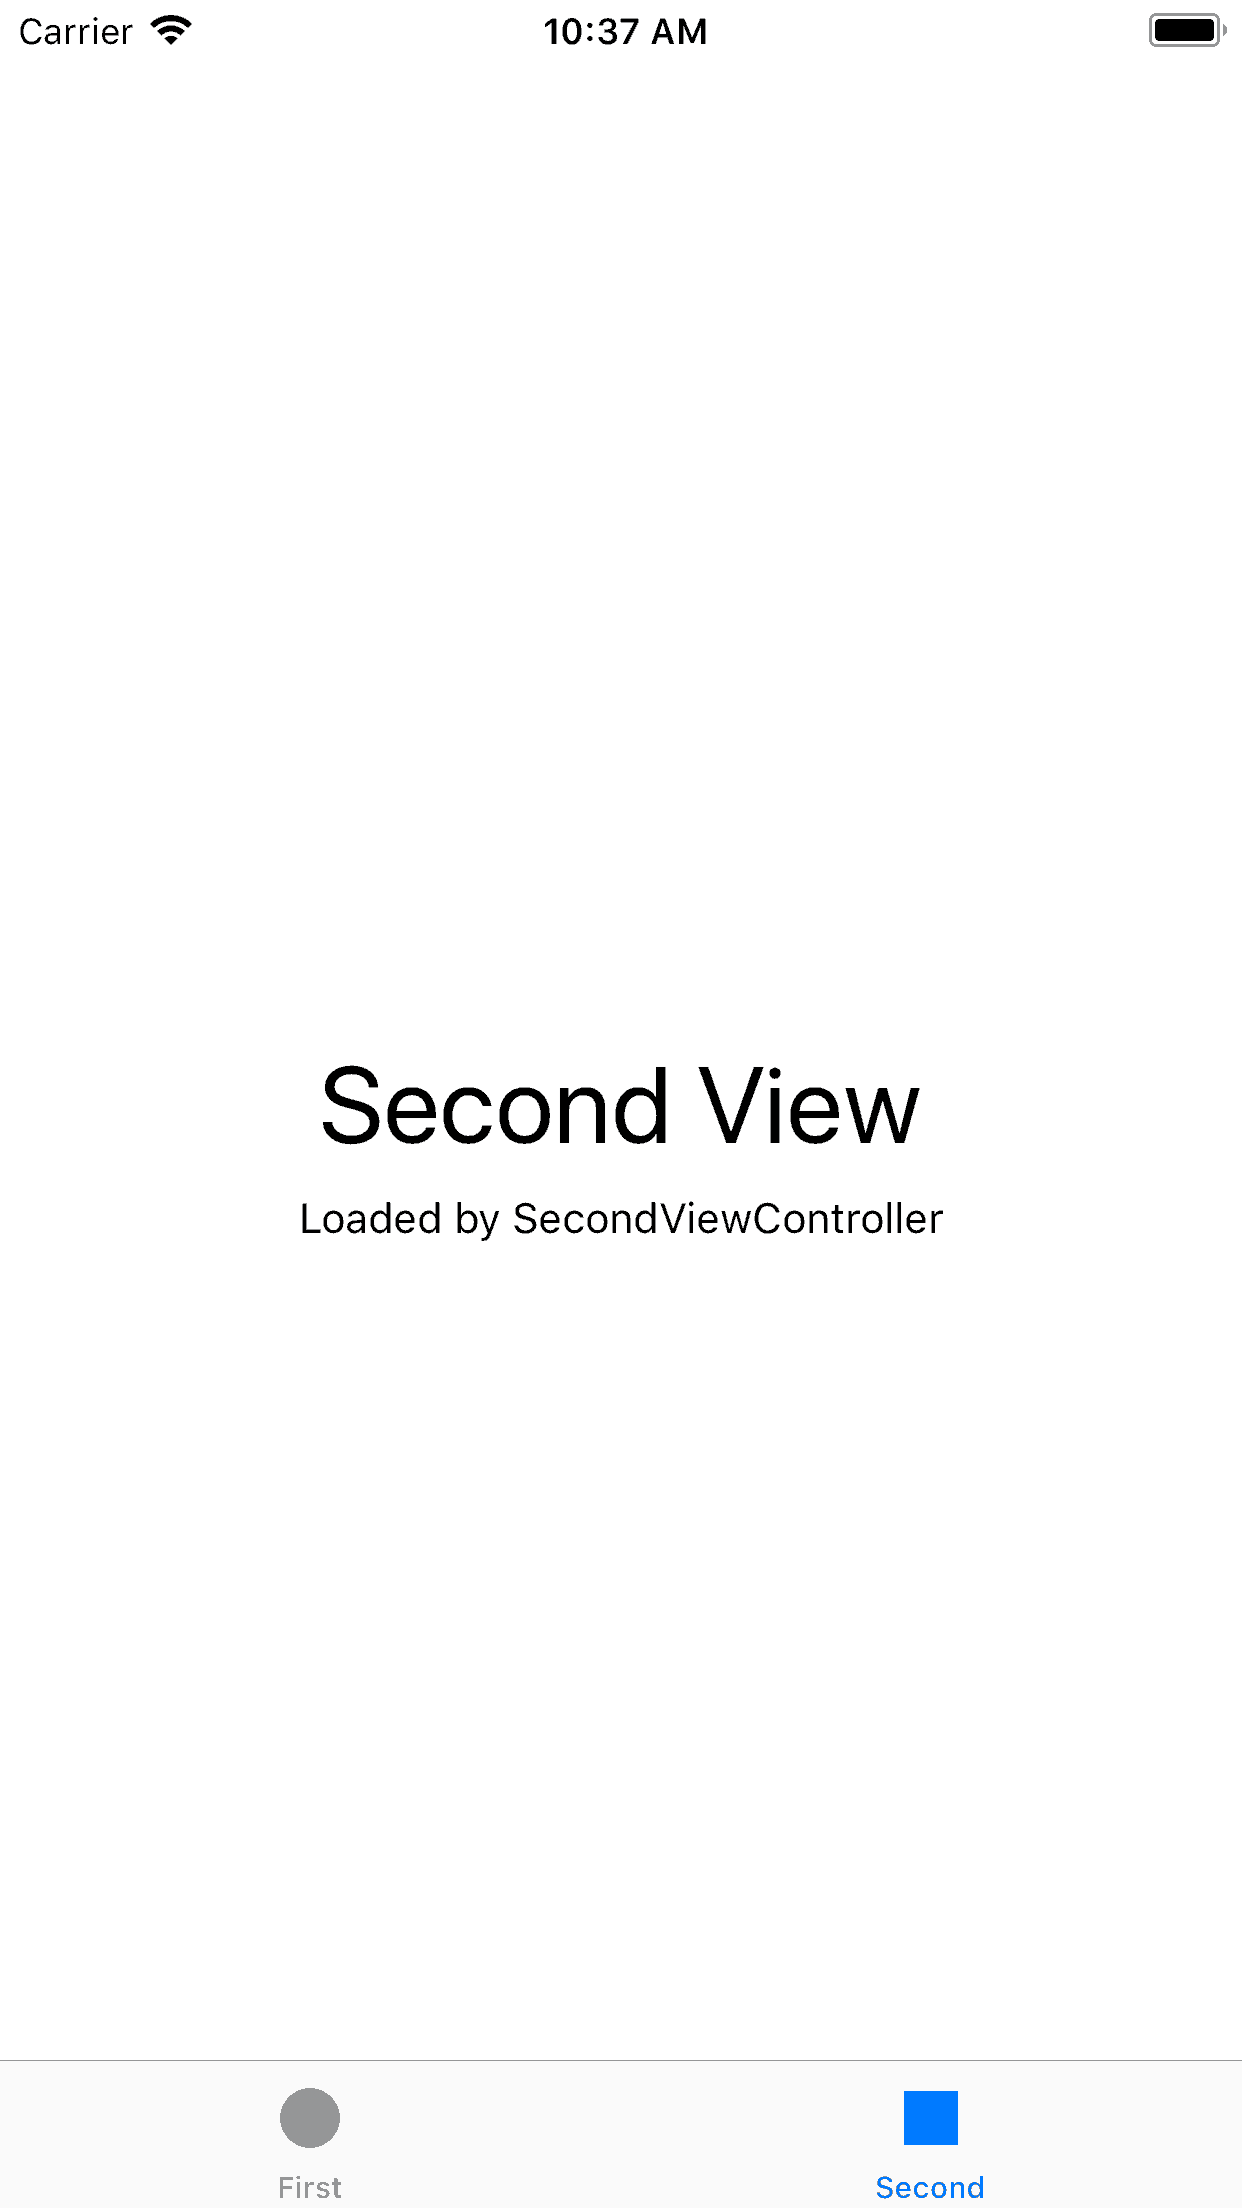
Run your app now and you can try out the two tabs in action.
Adding Additional Tabs
Go to your Main.Storyboard in your file navigator. Notice that the you have a single starting point, the tab bar controller, and two view controllers that are connected to the tab bar controller via segues. The two grey arrows going from the tab bar controller to the other two view controllers are the segues.
Also take note of the entry arrow on the left side of the tab bar controller. This entry arrow pointing at the tab bar controller indicates that it is the starting view controller.
So adding another tab to the tab bar, is equivalent to adding another view!
We’ll have to add another view controller to the storyboard and then connect a segue from the tab bar controller to the third view controller.
Start by making sure you can see the right pane which is called the inspector pane. The bottom half is the library pane where you can see a collection of UI related objects.
If you don’t see it, you can click the button in the upper right hand corner to toggle the pane visibility.
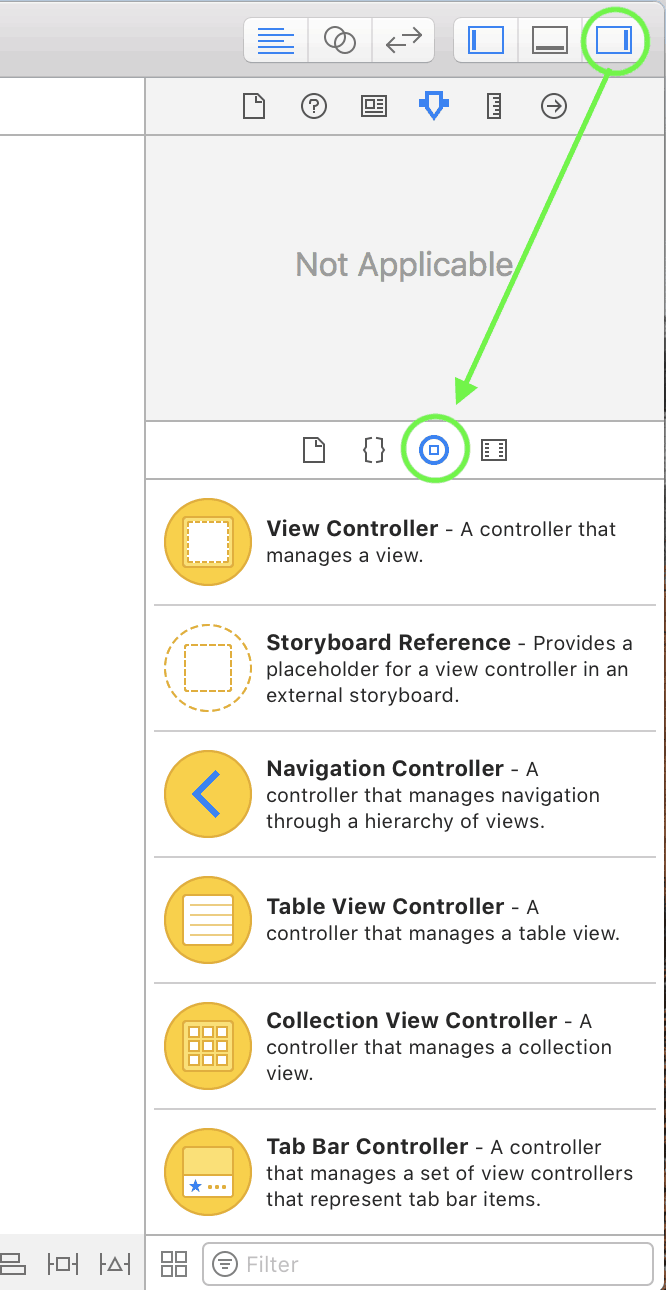
Make sure you’re on the Objects tab and type in view controller to filter the list.
When you see the view controller objects, click and drag it onto an empty area in your storyboard. Make sure you’re dragging a View Controller and not another type such as the Table View Controller or Collection View Controller.
After adding a new view controller, your storyboard will look something like this:

Notice however, that there’s no segue (grey line) connecting the tab bar controller to this new view controller.
We need to add it!
Hold down the control key, click the tab bar controller and start dragging your mouse over to the new view controller. If you’re holding down the control key, the tab bar controller won’t move and instead, you’ll start to see a blue line follow your mouse. Drop it right over the new view controller to bring up this dialog menu:
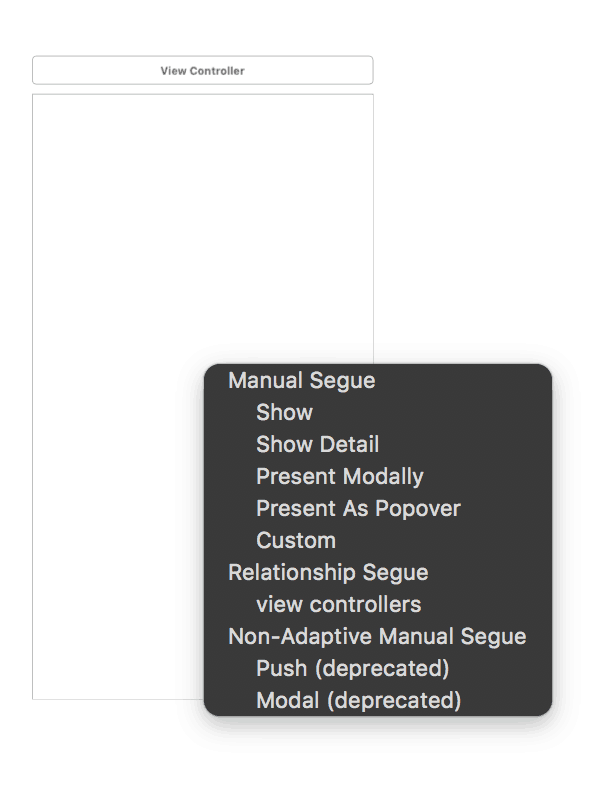
Select the item view controllers.
You should instantly see a segue form and connect the tab bar controller to the new view controller and furthermore, you’ll notice a new tab item appear in the tab bar!
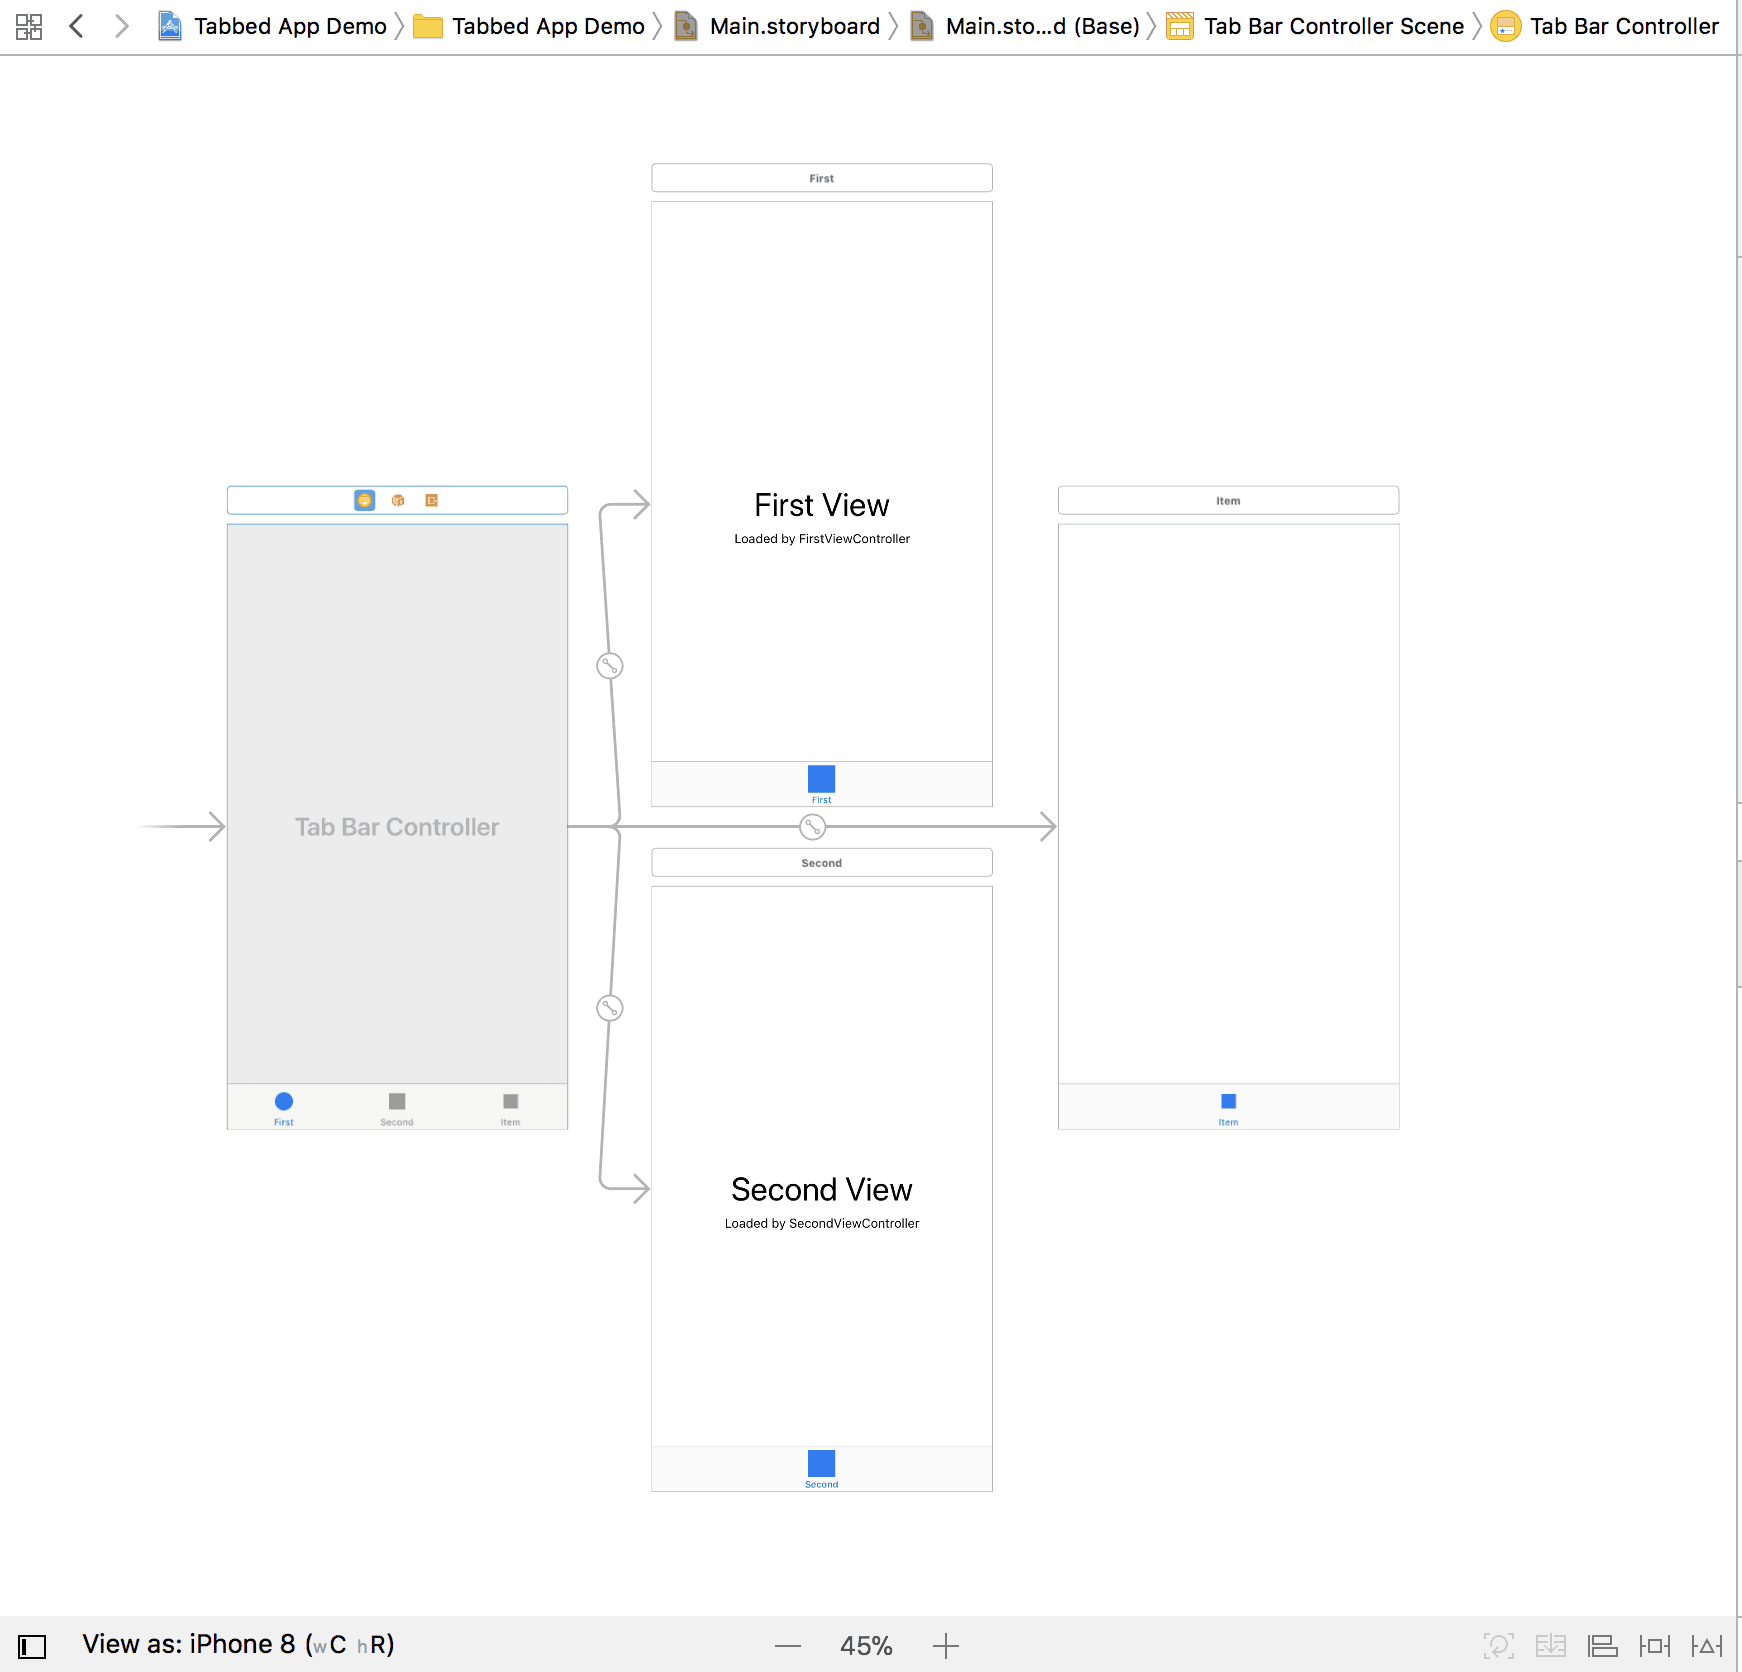
At this point, if you run your project, you can interact with your three tabbed views.
Changing Tab Icons and Titles
If you go to your asset library which is the item named Assets.xcassets in your file navigator, you’ll see the two icons used in the two default tabs that Xcode created for you when you started the project.
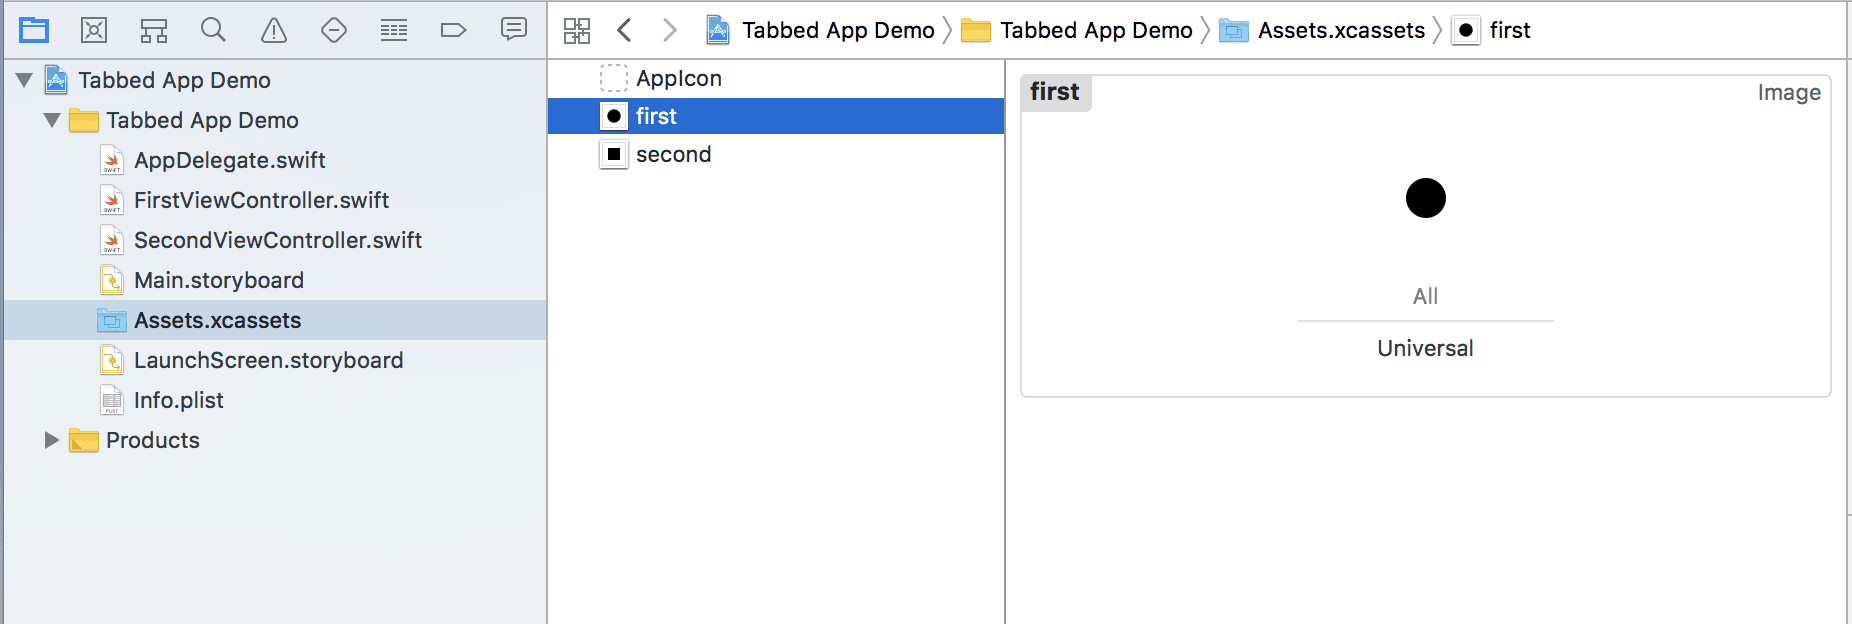
The asset library is the image asset library of your application. Whenever you need to add images to your app, you want to add it to this asset library.
Not all the assets have to be used; think of this more like a repository of images that are available for use in your app.
So if you were to change the tab icons, you’d first have to add the icon images here in the asset library.
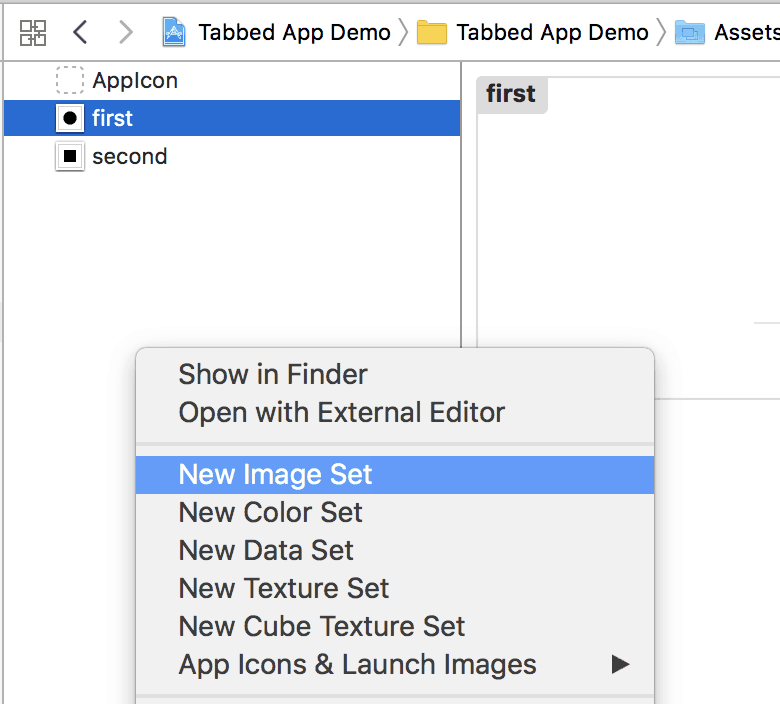
Start by right clicking on an empty area of the asset listing and choosing New Image Set.
You can then rename it to anything you want. To follow the convention started by the default project, I named it “third”.
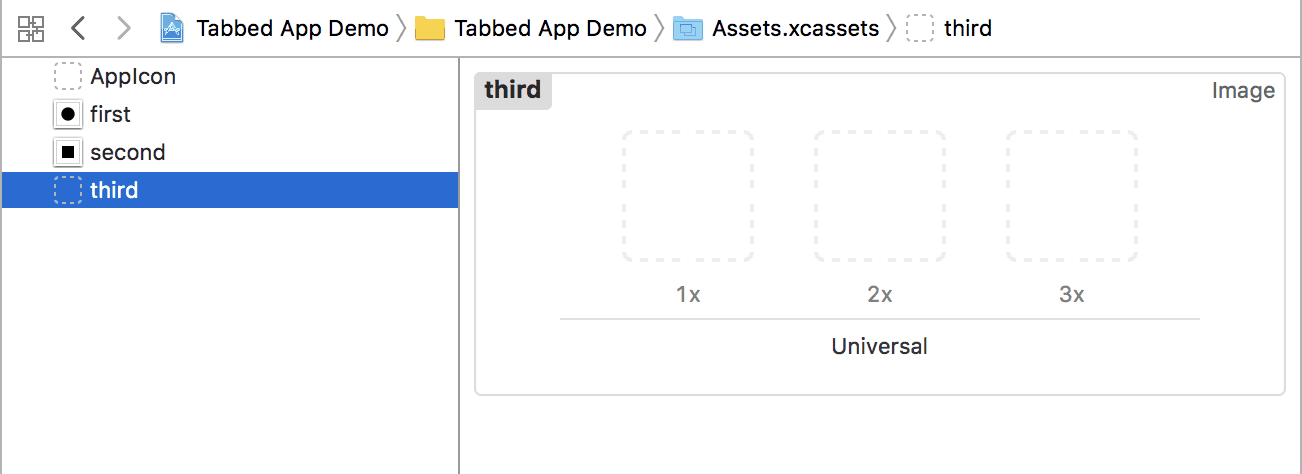
As you can see in the image, there are three slots to add images: 1x, 2x and 3x. The 2x version is double the size of the 1x version and is used for Retina displays and the 3x version if the latest phones with the Retina Display HD like the iPhone X.
First, to find out the dimensions of the tab bar icon images, you can check Apple’s documentation on the custom icons for iOS
Notice that the 2x version has the same filename but with an extra “@2x” in the name. This lets the system know that that is the retina version of the same image. Same goes for the “@3x”
Secondly, notice that the images are in black and white.
Last of all, notice that the icon images are PNGs. You can only add PNGs to the asset library.
Experiment with different icons created from your favorite graphics program.
Once you have the 1x, 2x and 3x versions of your icon image, you can simply drag and drop them into the respective slots in the image set that you just created in the asset library.
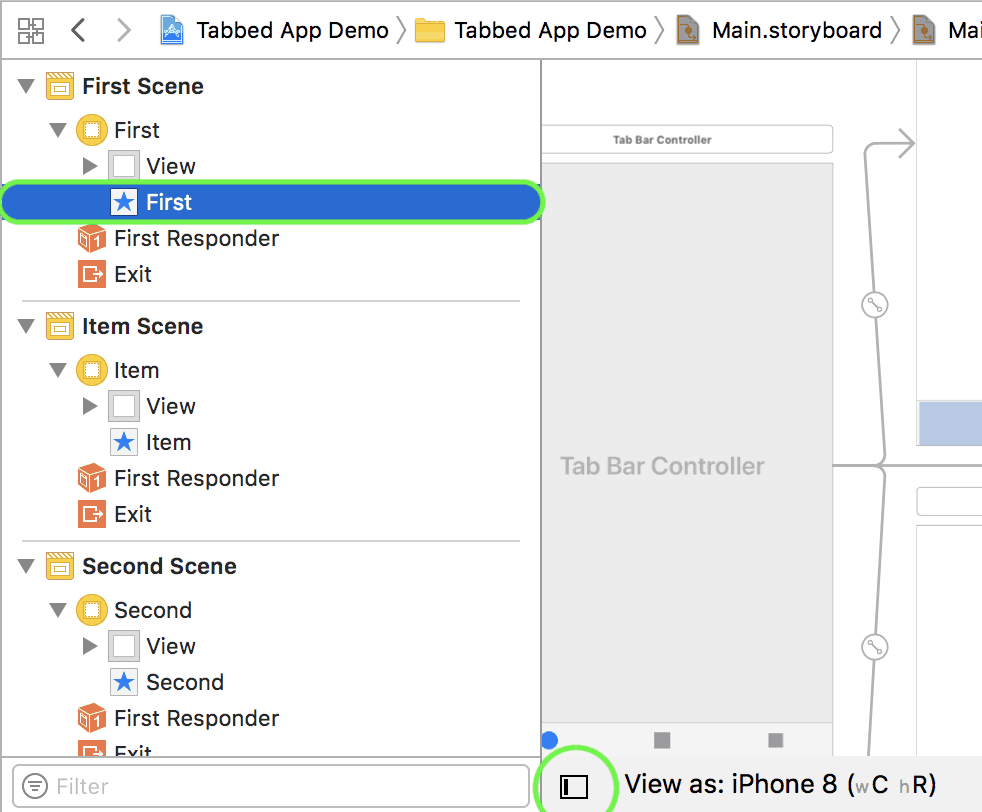
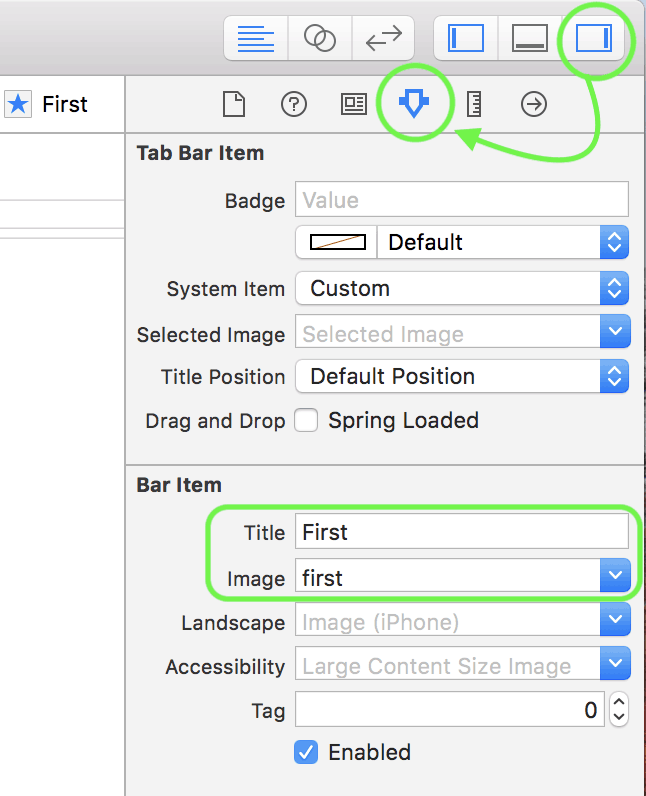
After adding your icon images to the asset library, go back to Main.Storyboard and click the view controller which you want to change the icon and title for.
There’s a document outline in the storyboard (if you don’t see it, i’ve indicated the button that toggles its visibility in the screenshot below) and you’ll want to expand it for your desired view controller so that you see the Tab Bar Item in the tree.
Once you have that item highlighted, go to your inspector pane and if you’ve got the right tab selected (refer to the screenshot below), you’ll see the properties to modify for the tab bar icon and title.
Adding a custom class for the new view
The last thing you might want to do for your new tab is to add a custom class for the view controller that you added via the storyboard.
What does that mean?
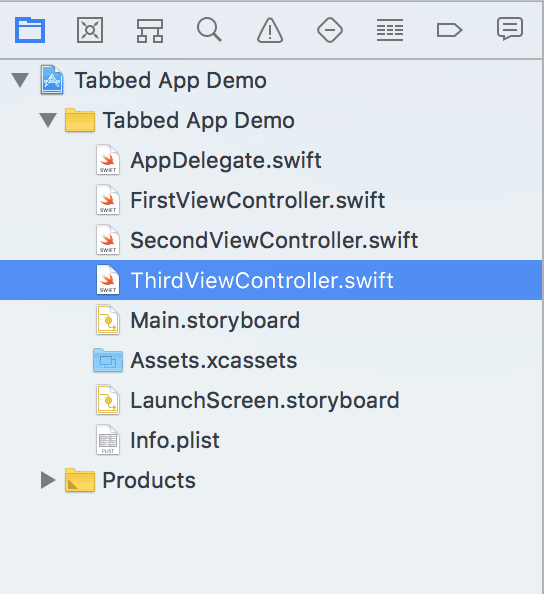
Well, if you notice in your file navigator, you’ve got two classes, FirstViewController.swift and SecondViewController.swift.
These two classes each correspond to the two default view controllers that were in your project to begin with. That means you can add code and logic to these classes to power the the first two tab views.
Unfortunately you don’t have that for your third tabbed view that you added!
You can fix this by right clicking in the file navigator and selecting New File.
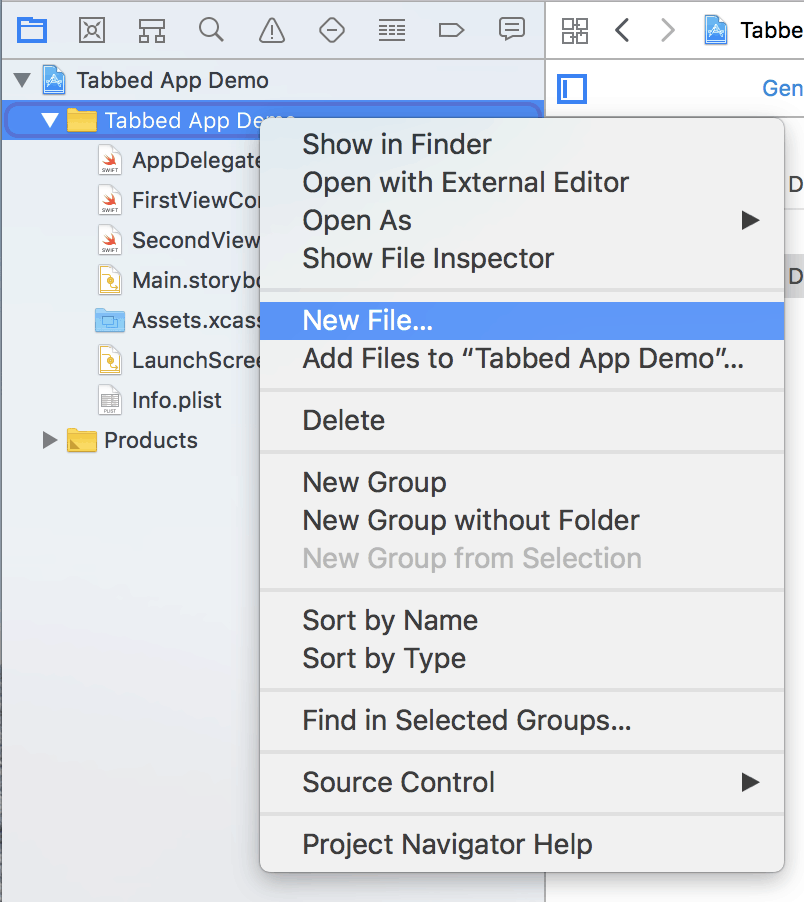
In the next dialog, make sure you’re on the “iOS” section and select Cocoa Touch Class.
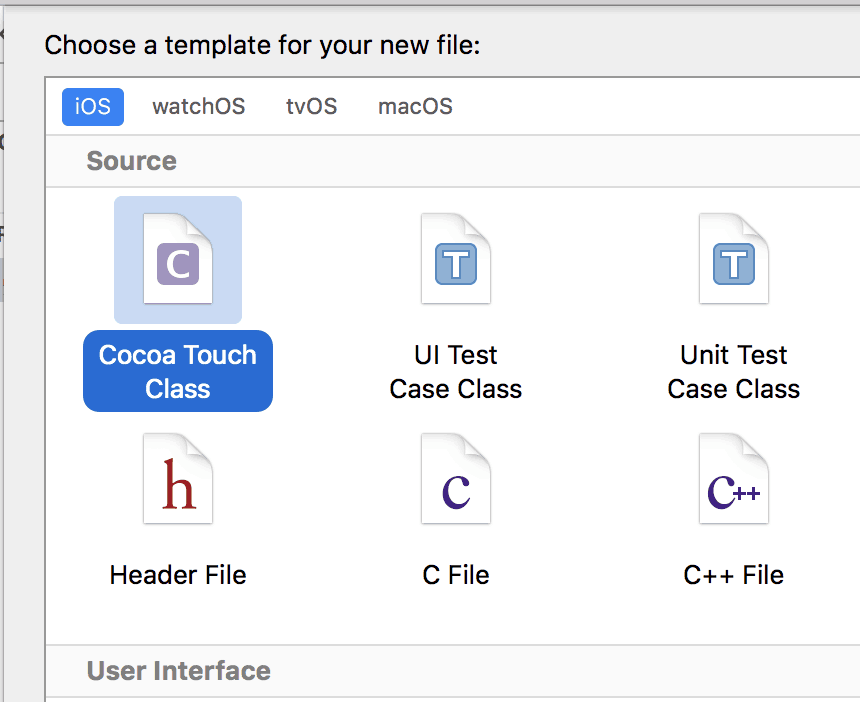
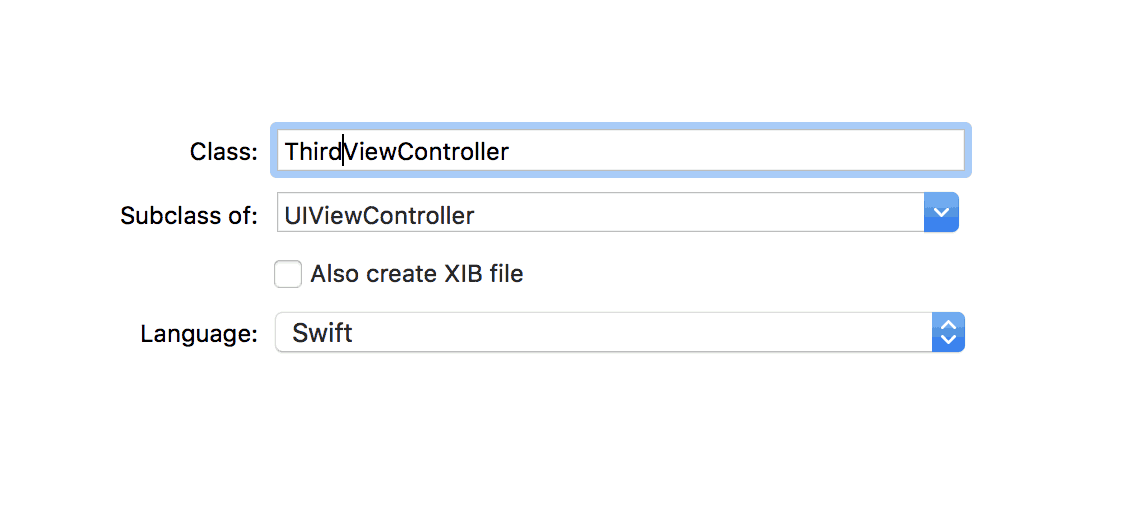
Then in the class details dialog, make sure that you type in UIViewController for the subclass and for the name, you can name it whatever you want. To follow the naming convention of the other two, I named it “ThirdViewController”.
After you confirm and save the file, you’ll see it in your file navigator like this:
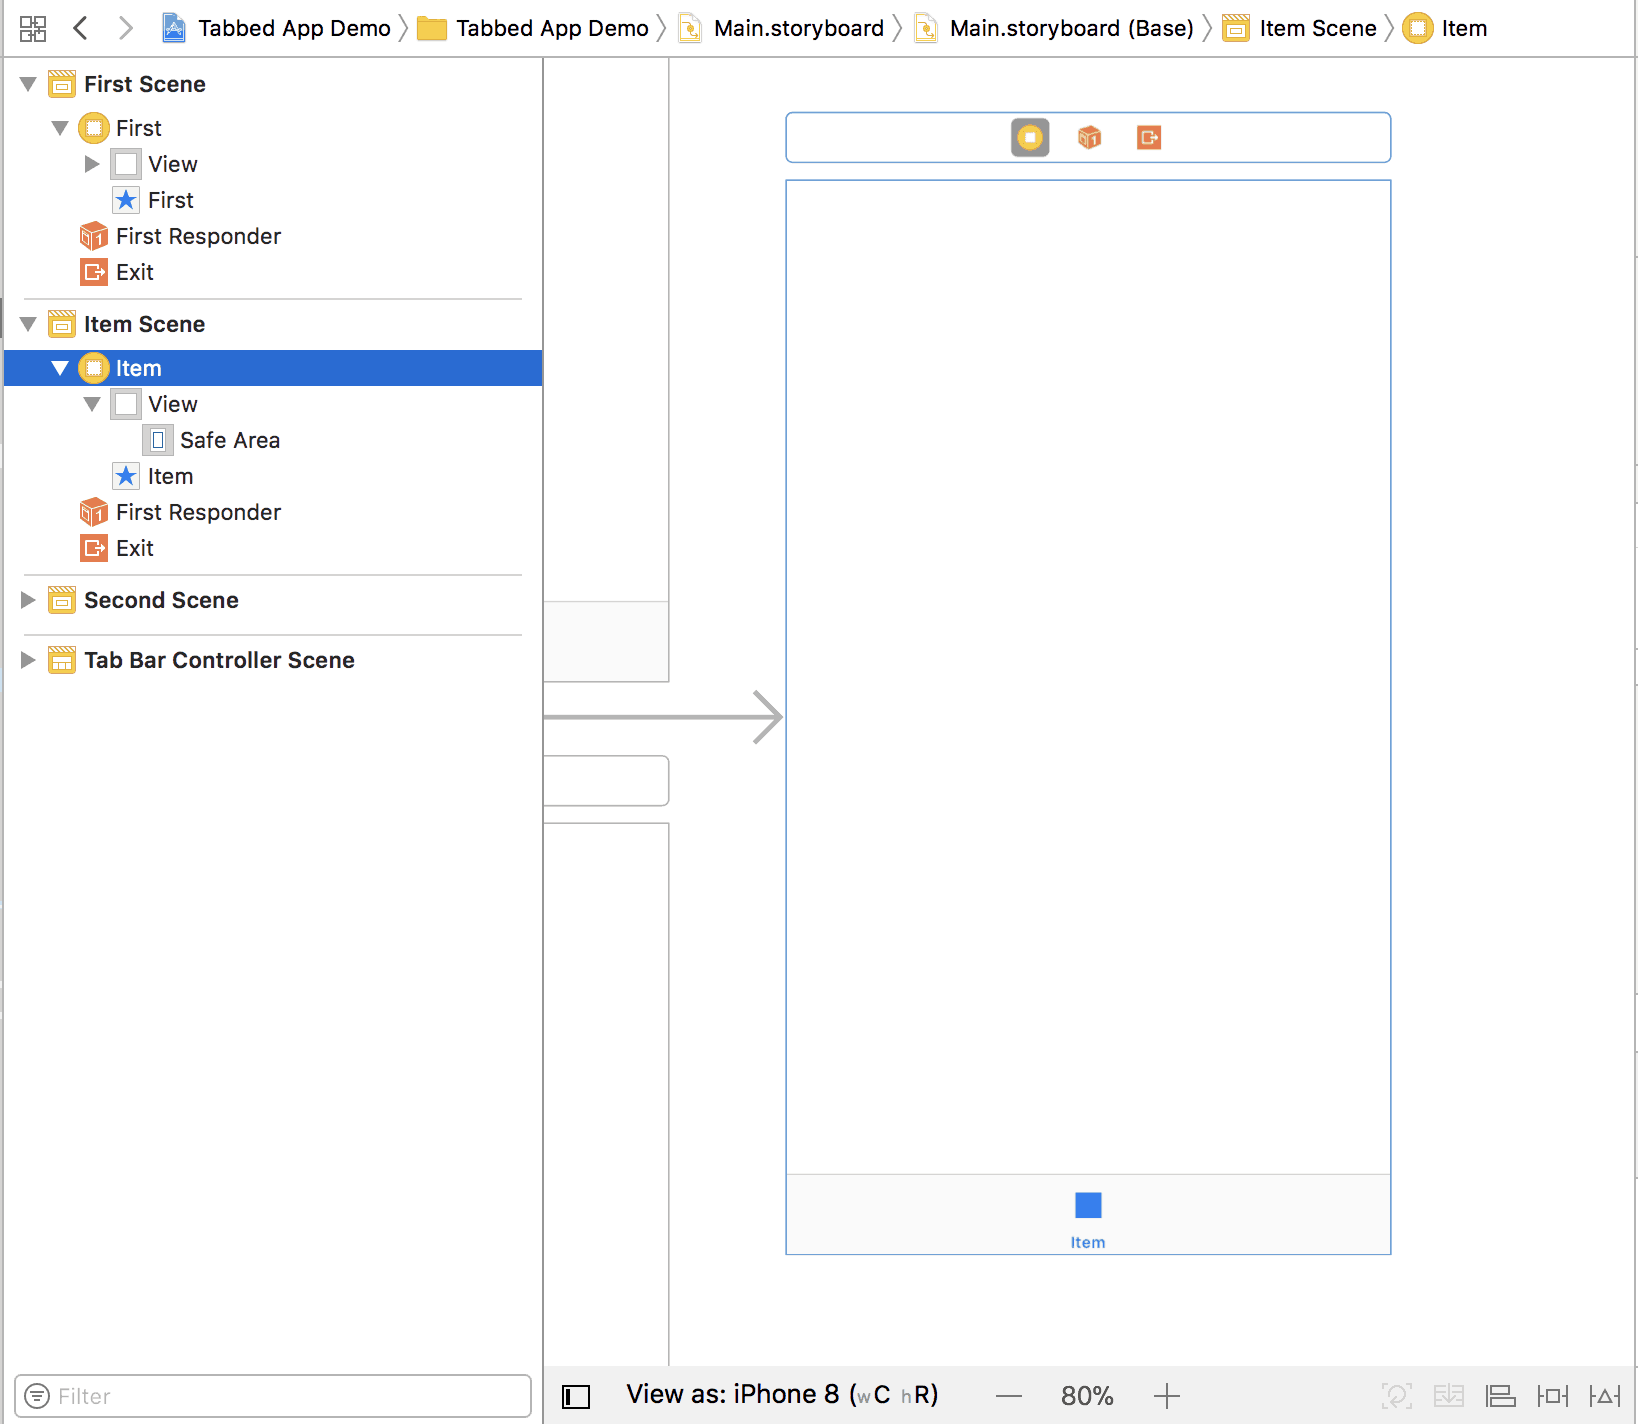
Now, go back to Main.Storyboard, click on your third view controller and make sure that you’ve got a blue outline around the view controller to ensure that it’s selected.
If it doesn’t show the blue outline when you click it, you can click it via the document outline:
Now that your third view controller is selected, we can make sure that the properties we’re about to modify pertain to that view controller.
Go look on the Attributes Inspector (right hand side pane). If you’ve got the right tab selected (see screenshot below), you’ll see a dropdown to select a Custom Class.
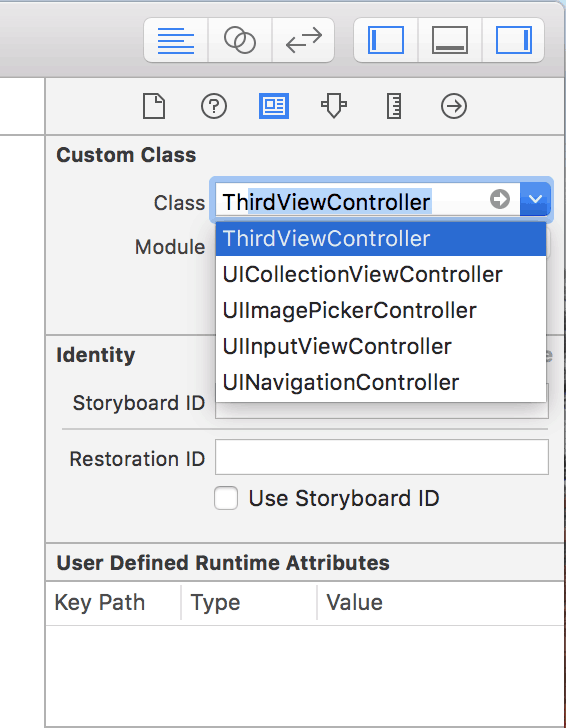
Expand the Custom Class dropdown and select the new UIViewController class that you created and you’re done!
Now this storyboard view will be the view for the UIViewController class you created in your Xcode project and you’re all set up to add code/logic for it.
Conclusion
As you can see, sometimes selecting the right Xcode project template can save you a lot of time. We could’ve arrived at the same result even if we started with the Single View Application Xcode project template, but we would’ve had to manually add some of the plumbing that we got for free by using the Tabbed Application template.
If you have any questions about tabbed applications or ideas to expand upon this tutorial, please don’t hesitate to let me know below in the discussion.
I’d appreciate if you share this tutorial with your friends and colleagues if you found it helpful!