
This article is the first chapter of a larger guide on how to use MySQL and WordPress to create and power iPhone apps. This guide shows you how to make three different apps that all leverage the different aspects of having a web hosting account and this first chapter shows you how to sign up for one.
For web hosting, I choose to go with Bluehost because of their excellent customer support (I can get ahold of a real person pretty easily). Furthermore, I can create multiple MySQL databases and attach unlimited domains to one hosting plan which means that I can use this single plan for multiple websites or projects.
In fact, we’re going to use just one hosting plan to support all 3 of the apps we’re building.
If you already have web hosting then feel free to use that. As long as you’re able to create MySQL databases and set up WordPress websites, then you’re good to go!

Otherwise if you’re thinking of creating your own website or MySQL powered iPhone app, Bluehost is a great choice and you can also get a discounted price by going through the link below:
Just to be transparent with you guys, at no extra cost to you, I’ll earn a commission if you decide to sign up so thank you for your support! It allows me to continue to provide high quality tutorials for you guys free of charge.
So if you’ve already got your own hosting, you can skip this next part; otherwise, I’m going to walk you through how to sign up for your hosting and set up your MySQL database so that later on, we can use our iPhone app to connect to the data we store inside of it.
Bluehost landing page
On this page, click the green “get started now” button.

Sign up page
On this page, you can either choose to sign up for a new domain or use an existing one that you have.
![]()
A free domain name is included with your plan, so I would recommend creating a new one as it’s worth about $10 a year.
The second option to “transfer your domain” is worded a little strangely because you don’t actually have to transfer the domain to Bluehost. Rather, you just have to go to your registrar where you registered your existing domain name and then change some configuration settings to point to Bluehost.
In this tutorial, I’ll show you how to sign up for a brand new domain name. There’s one that I’ve been eyeing and the previous owner has just let it expire so I’m going to take this opportunity to snatch it up!
So type in your desired domain into the “new domain” box and click next.
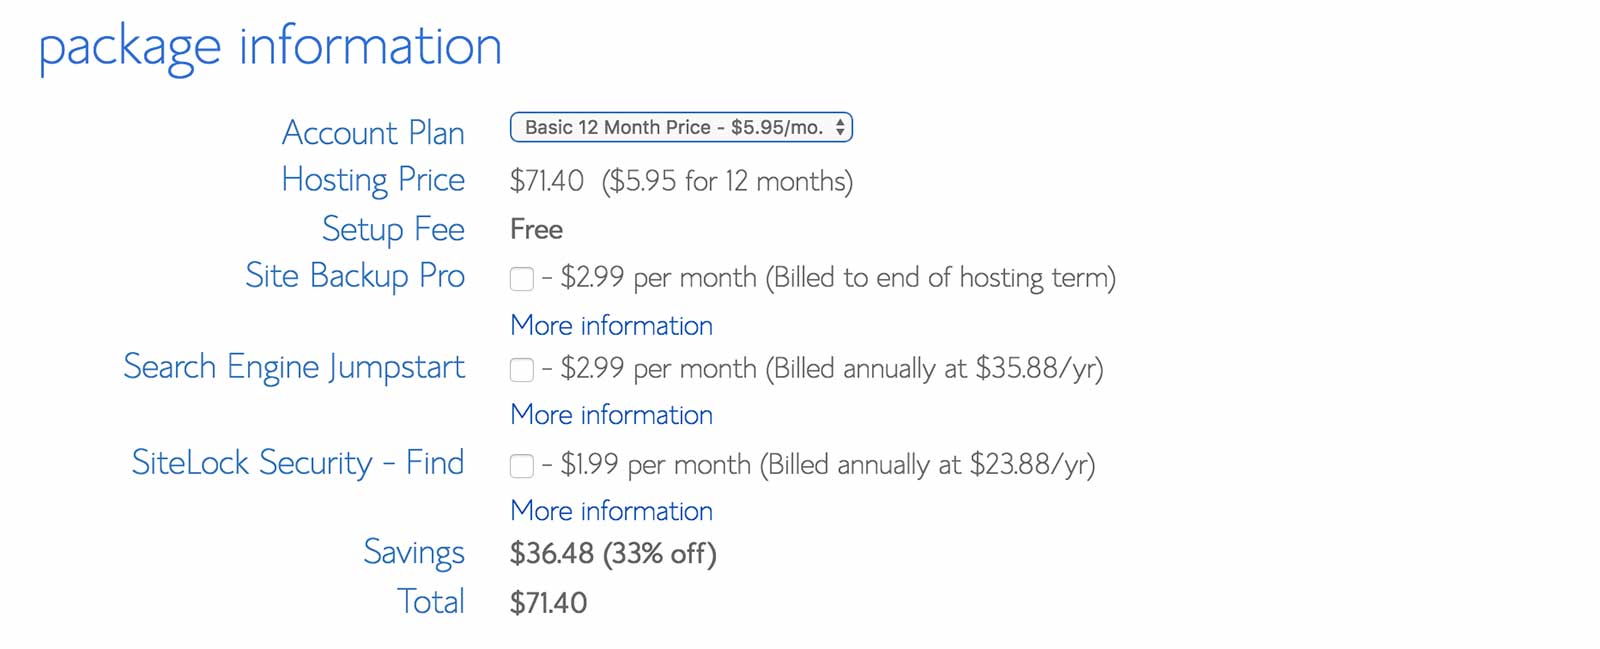
Account information and web hosting plan selection
This is the final page of the sign up process and you’ll have to provide your account information, select a web hosting plan and enter your billing information.
The account information part is pretty straight forward but I will say that you need to provide a real telephone number because they’ll give you a call to confirm your order (they’re on the ball with fraud and security!).
For the hosting plan, you’ll get the best rate if you go with a 3 year plan but it depends on your budget. One thing to note is that the payment is up front, however it’s not a contract and you can cancel at anytime (you’ll get a full refund within 30 days or after 30 days, you’ll get a refund for the unused portion of your selected plan).
If you choose to go with the 1 year plan, you end up paying less up front but more in the long run if your app or website is successful and you need to renew it in a year.
As for the other options like SiteLock or Site Backup, I usually opt out of those but for the Domain Whois Privacy option, I do consider getting that to keep my domain registration information private. You can click the “more information” link to see a comparison of what your domain registrant information would look like with and without whois privacy.
After you enter your billing information, you’ll be directed to a confirmation page.
Confirmation page
Congratulations! You’re nearly finished with setting up your account. The next step is to set a password. Follow the link to create a password.
Be careful to choose a password that will satisfy all the conditions it outlines.
You won’t be able to save your password until the “password strength” bar is green.
Once you come up with a worthy password, click “Save”.
Setting up your account
Now that you’ve signed up and set your password, all you have to do is wait for your activation email to arrive in your inbox.
Until then, there are certain areas of your control panel which you won’t be able to access because they’re still setting up your account. Unfortunately, setting up a new database is one of those tasks where you have to wait until you get your confirmation email in order to do.
Usually it’ll take about 15 minutes but if you don’t receive it after a while, don’t hesitate to contact support via live chat. You can get a hold of a live person in a few minutes and they’ll help you resolve any issues!
What’s next
Now you’re ready to create some sites and databases to power your iPhone apps.
Move onto creating your first app!