


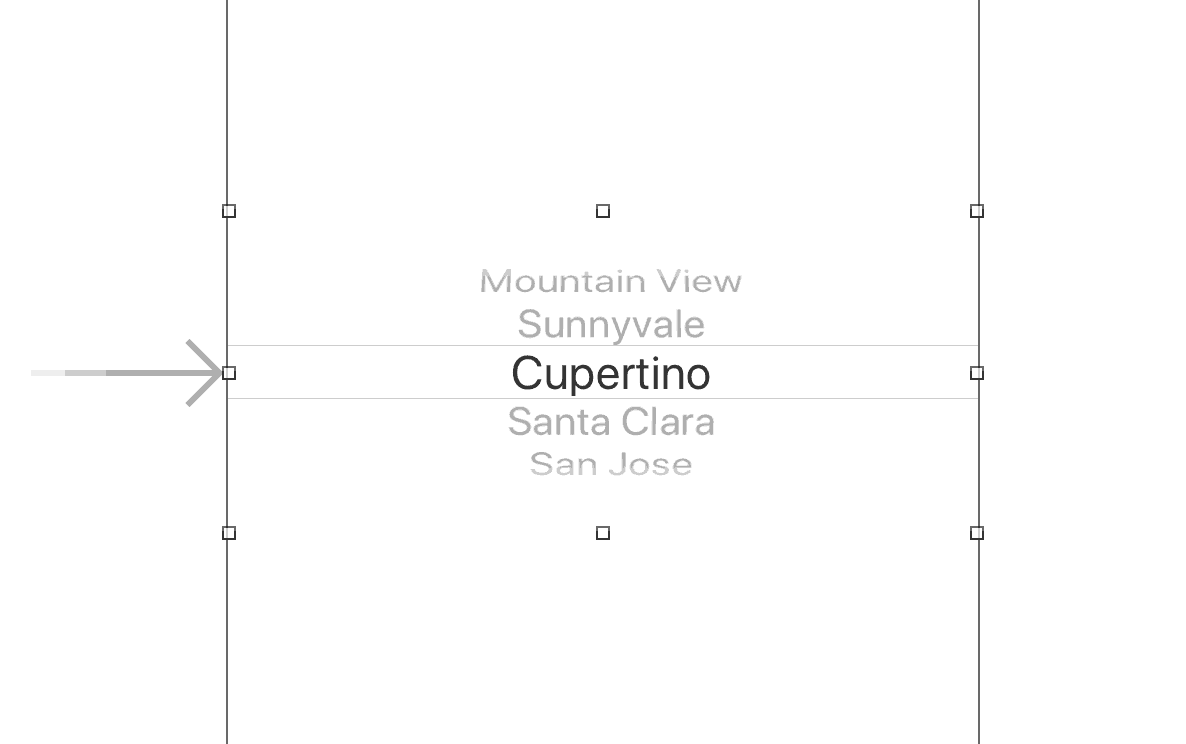
In this tutorial, we’ll walk though a basic implementation example of the UIPickerView which is a UI element that can be used to make a selection from multiple choices (similar to what a dropdown does for a webpage).
Steps:
- Creating the Xcode project
- Adding and Connecting the UIPickerView
- Creating the Data
- Connecting the Data
- Detecting UIPickerView selections
- Conclusion
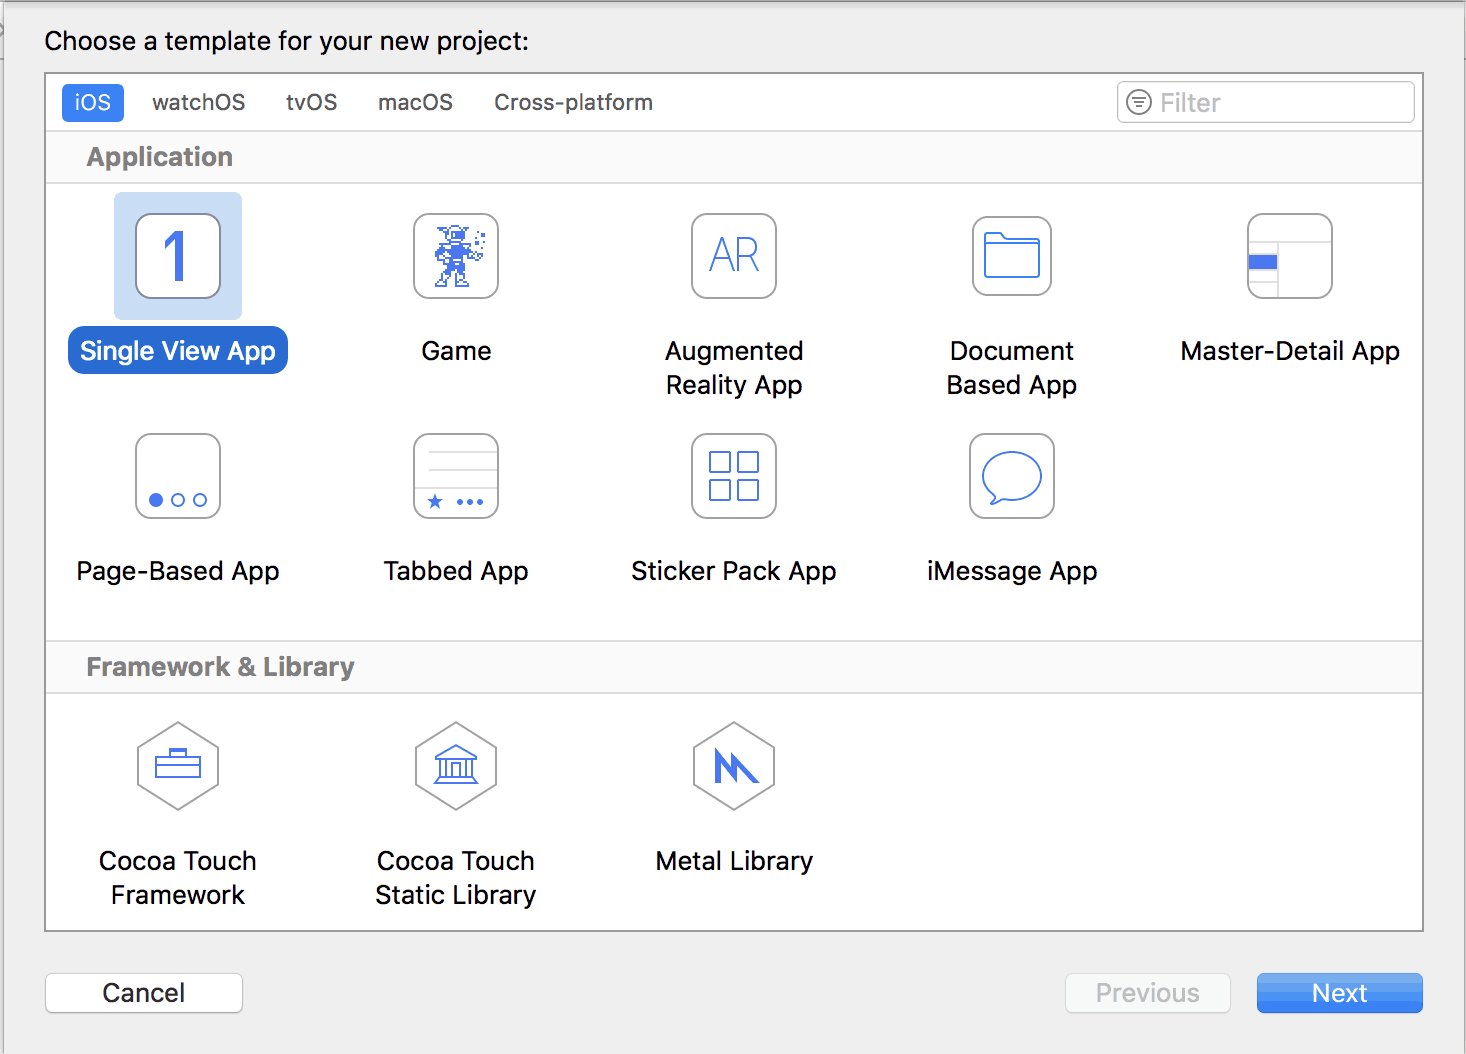
We’ll start with creating an Xcode single view application project to demonstrate the UIPickerView.
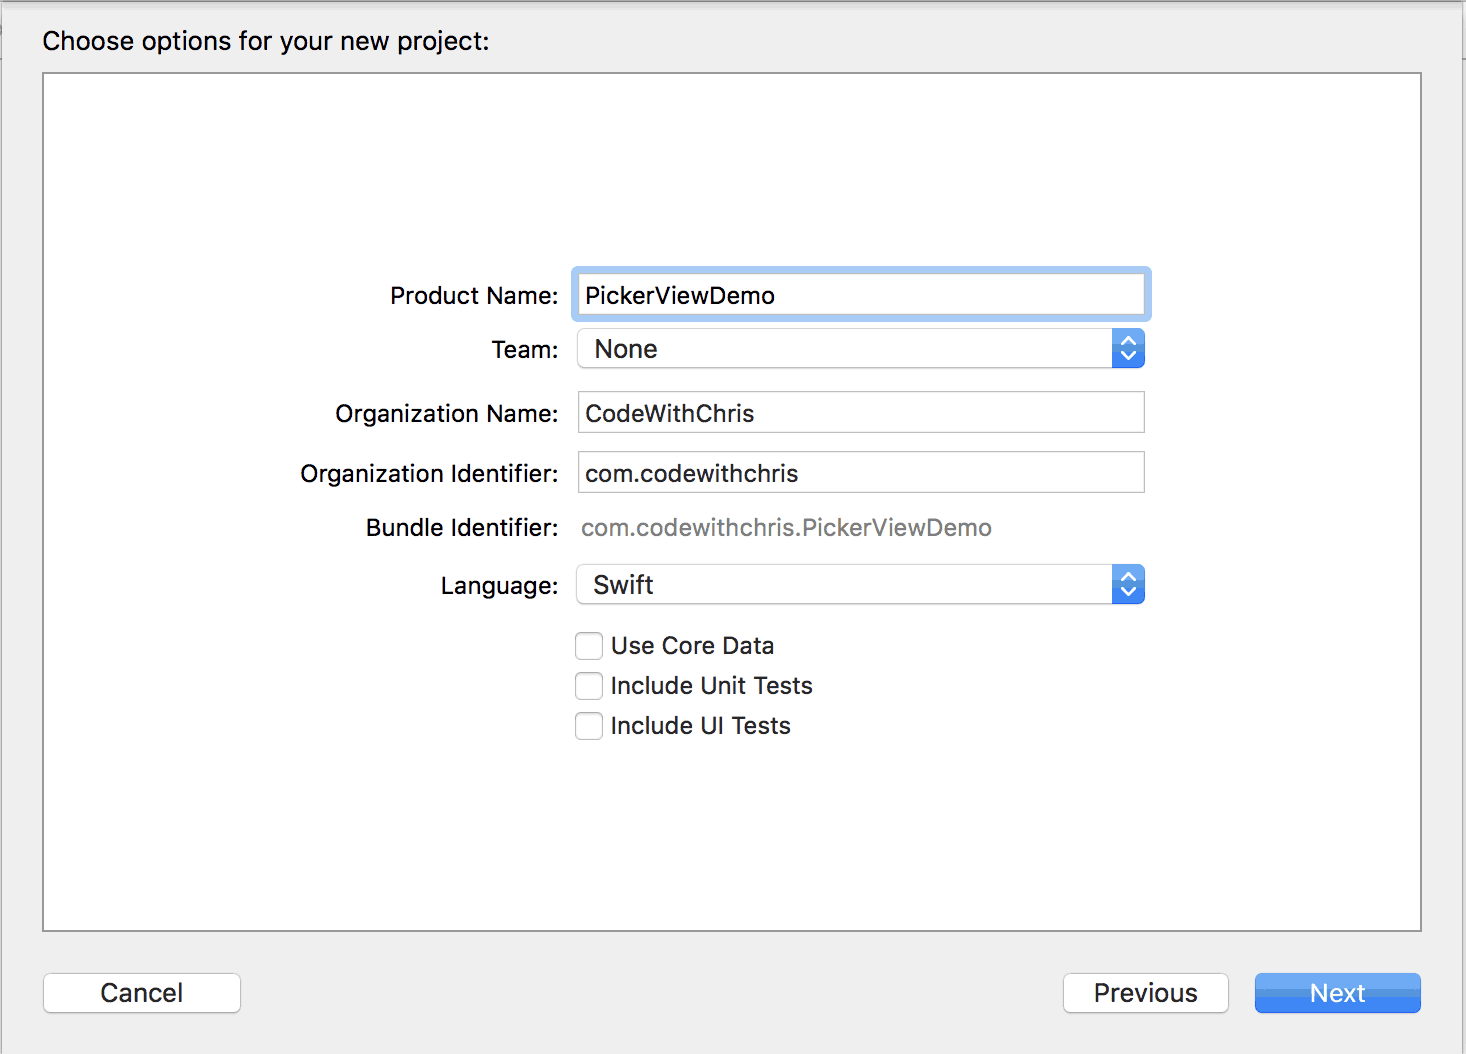
For the project settings, you can enter any sort of details since this will just be for demo purposes. This is what I’ve got:
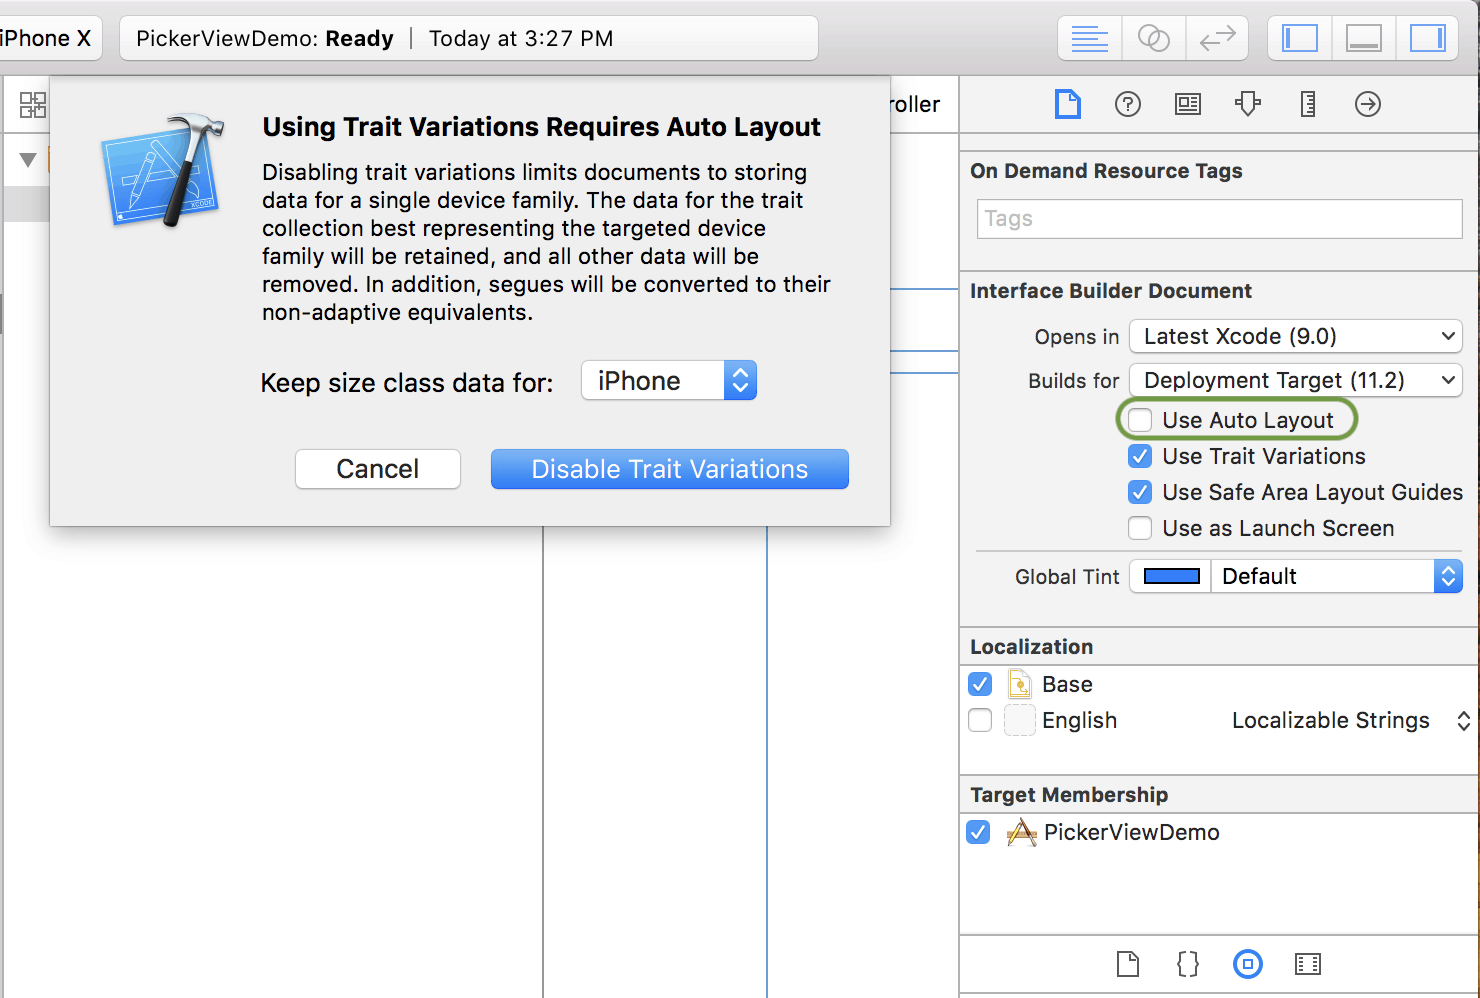
Since this article is not covering size classes and auto-layout, we want to make sure that our UIPickerView is well positioned in the Simulator. To accomplish this, go to the newly created Main.storyboard file and disable [√] Use Auto Layout and select iPhone
2. Adding and Connecting the UIPickerView
From the file navigator on the left, select Main.storyboard and the editor will change to a design view where you can see what your view will look like.
On the right hand side, you’ve got your Attribute Inspector View (top half) and your Library View (bottom half). If you don’t see this right hand pane, click on the icon in the upper right corner to toggle the pane.
Make sure you’ve selected the Objects library tab and type in “pickerview”.
The list of elements will filter down to the UIPickerView element.

Once you’ve found it, drag it onto your view.
Now that we’ve got the Picker View element on the view in the storyboard, we’ll need to expose this element to be accessible via code in the ViewController.
Click the Assistant Editor button and make sure that the storyboard is in the left pane and that ViewController.swift is in the right.
Then hold down control and click the UIPickerView element in the storyboard and drag your mouse over to the right side. Drop it in between the class ViewController and override func viewDidLoad.
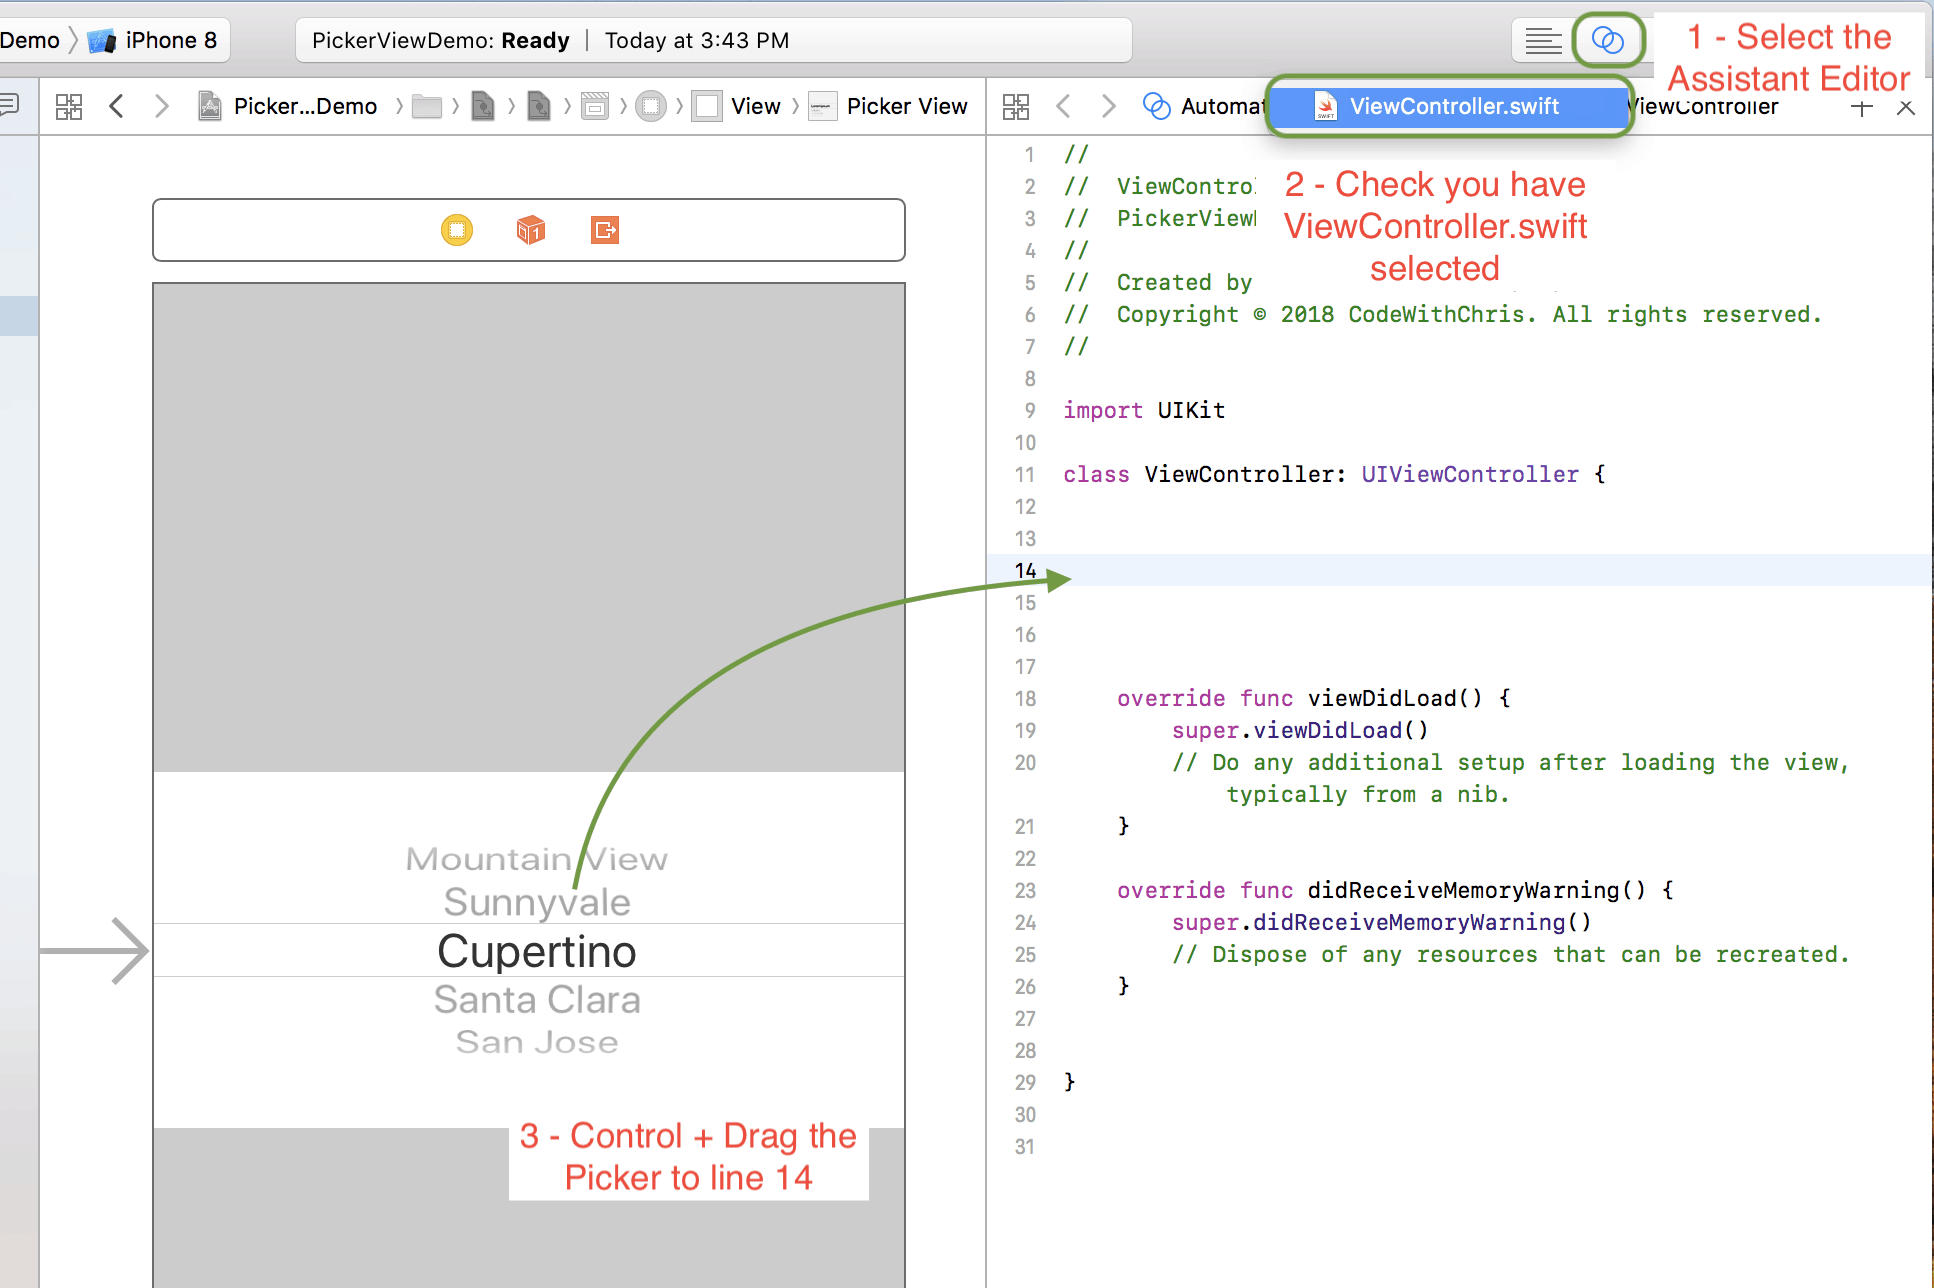
(Click the GIF to play it)
A small dialog will pop up to ask you for a name for this IBOutlet property. Just name it “picker”.

After doing that, your ViewController.swift file will look like this:
class ViewController: UIViewController {

    @IBOutlet weak var picker: UIPickerView!

    override func viewDidLoad() {
        super.viewDidLoad()
        // Do any additional setup after loading the view, typically from a nib.
    }
...
Now we can reference that Picker View element from code in the ViewController using “self.picker”. Run your app now to make sure it doesn’t crash.
Keep in mind that if you delete this IBOutlet property, you also have to break the connection from the storyboard or else your app will crash.
You can break the connection by right-clicking the Picker View element from the storyboard and looking for the connection to the deleted property and just clicking the “x” next to that connection.
Let’s create the data that we’re going display in the Picker control.
In ViewController.swift, add the following code.
    @IBOutlet weak var picker: UIPickerView!

    var pickerData: [String] = [String]()

    override func viewDidLoad() {
        super.viewDidLoad()
        // Do any additional setup after loading the view, typically from a nib.

        pickerData = ["Item 1", "Item 2", "Item 3", "Item 4", "Item 5", "Item 6"]
    }
...
In Line 3, we’re declaring a new Array instance variable to store the list of data. By declaring it here as an instance variable, we can access this variable from any method in this class and the variable will hold its value for the duration of the objects lifetime.
Now that the pickerData was initialized, we will add some data in Line 9, which is part of the viewDidLoad method.
Now that we’ve got the UIPickerView element in our storyboard and made it accessible from code, we can add the code to connect the data to it!
Go to ViewController.swift and make this class conform to the UIPickerViewDelegate and UIPickerViewDataSource protocols.
Line 1 below is what you want to modify. By doing this, we’re saying that the ViewController class conforms to the appropriate “rules” which allows it to be a data source for the UIPickerView class and allows it to handle events raised by the UIPickerView class. Also, this code actually sets this ViewController instance as the delegate (line 13) and datasource (line 13) of the Picker View we added to the storyboard.
class ViewController: UIViewController, UIPickerViewDelegate, UIPickerViewDataSource {

    @IBOutlet weak var picker: UIPickerView!

    var pickerData: [String] = [String]()

    override func viewDidLoad() {
        super.viewDidLoad()
        // Do any additional setup after loading the view, typically from a nib.

        // Connect data:
        self.picker.delegate = self
        self.picker.dataSource = self

        // Input the data into the array
        pickerData = ["Item 1", "Item 2", "Item 3", "Item 4", "Item 5", "Item 6"]
    }
...
Add the following methods to your ViewController.swift after the “didReceiveMemoryWarning” method.
    override func didReceiveMemoryWarning() {
        super.didReceiveMemoryWarning()
        // Dispose of any resources that can be recreated.
    }

    // Number of columns of data
    func numberOfComponents(in pickerView: UIPickerView) -> Int {
        return 1
    }

    // The number of rows of data
    func pickerView(_ pickerView: UIPickerView, numberOfRowsInComponent component: Int) -> Int {
        return pickerData.count
    }

    // The data to return fopr the row and component (column) that's being passed in
    func pickerView(_ pickerView: UIPickerView, titleForRow row: Int, forComponent component: Int) -> String? {
        return pickerData[row]
    }
...
The numberOfComponentsInPickerView method asks for the number of columns in your picker element. For example, if you wanted to do a picker for selecting time, you might have 3 components; one for each of hour, minutes and seconds.
The numberOfRowsInComponent method asks for the number of rows of data in your UIPickerView element so we return the array count.
The pickerView:titleForRow:forComponent: method asks for the data for a specific row and specific component.
With this data set, we only have one column so we’re just considering which row its asking for and returning the data item that corresponds to that row.

Adding more components
Let’s add more components to our data!
In ViewController.swift, let’s change the line of code where we append our data. Instead of just an array of string items, let’s do an array of array items.
class ViewController: UIViewController, UIPickerViewDelegate, UIPickerViewDataSource {

    @IBOutlet weak var picker: UIPickerView!

    var pickerData: [[String]] = [[String]]()

    override func viewDidLoad() {
        super.viewDidLoad()
        // Do any additional setup after loading the view, typically from a nib.

        // Connect data:
        self.picker.delegate = self
        self.picker.dataSource = self

        // Input the data into the array
        pickerData = [["1", "2", "3", "4"],
        ["a", "b", "c", "d"],
        ["!", "#", "$", "#"],
        ["w", "x", "y", "z"]]
    }
...
Pay specific attention to line 5 where the array of string is held by another array: var pickerData: [[String]] = [String]
We also have to change the numberOfComponentsInPickerView method:
    // Number of columns of data
    func numberOfComponents(in pickerView: UIPickerView) -> Int {
        return 4
    }
Let’s change the pickerView:titleForRow:forComponent: method too:
    // The data to return fopr the row and component (column) that's being passed in
    func pickerView(_ pickerView: UIPickerView, titleForRow row: Int, forComponent component: Int) -> String? {
        return pickerData[component][row]
    }
5. Detecting UIPickerView selections
In order to detect what the user has selected with the UIPickerView, we only have to implement one more delegate method:
    // Capture the picker view selection
    func pickerView(pickerView: UIPickerView, didSelectRow row: Int, inComponent component: Int) {
        // This method is triggered whenever the user makes a change to the picker selection.
        // The parameter named row and component represents what was selected.
}The UIPickerView is the iOS standard for selecting from multiple options. As you can see from this simple UIPickerView example, it can be difficult for beginners to understand if they haven’t learned about delegation yet. However, once you get the hang of using delegates then it makes sense and you can take advantage of other UIElements which leverage delegation too.
[social_warfare]