
In this tutorial, I’m going to show you a simple demo of adding a slider to your app and capturing the value of the slider.
The class we’re going to use is UISlider and it’s part of UIKit which is the framework you’re using to build your app.
If you’re new to iOS development, you may not have known that you were using UIKit all along because it’s included by default when you start a new Xcode project!
This is going to be a basic implementation but it’ll get you started in the right direction.
ARTICLE CONTENTS
1. Create a new Xcode 10 project
2. Add the slider to the view
3. Attach the elements to IBOutlets
4. Connecting the Slider value changed event
5. Conclusion and Source Code
1. Create a new Xcode 10 project
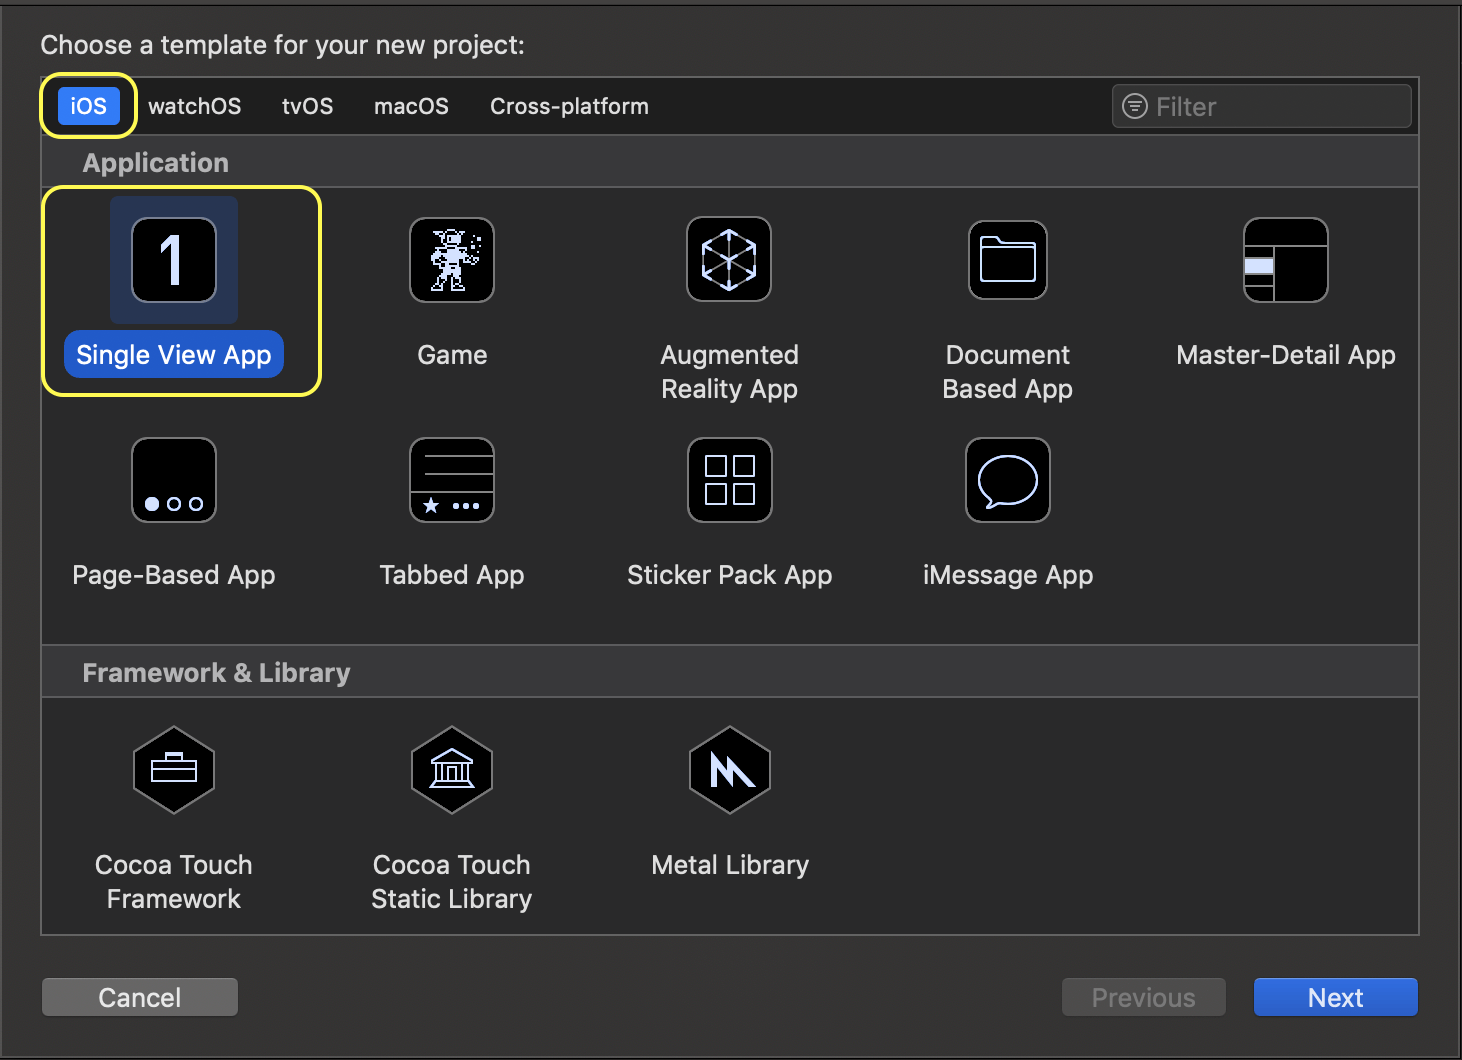
Let’s start by creating our demo project. We’re going to create a basic Single View Application.
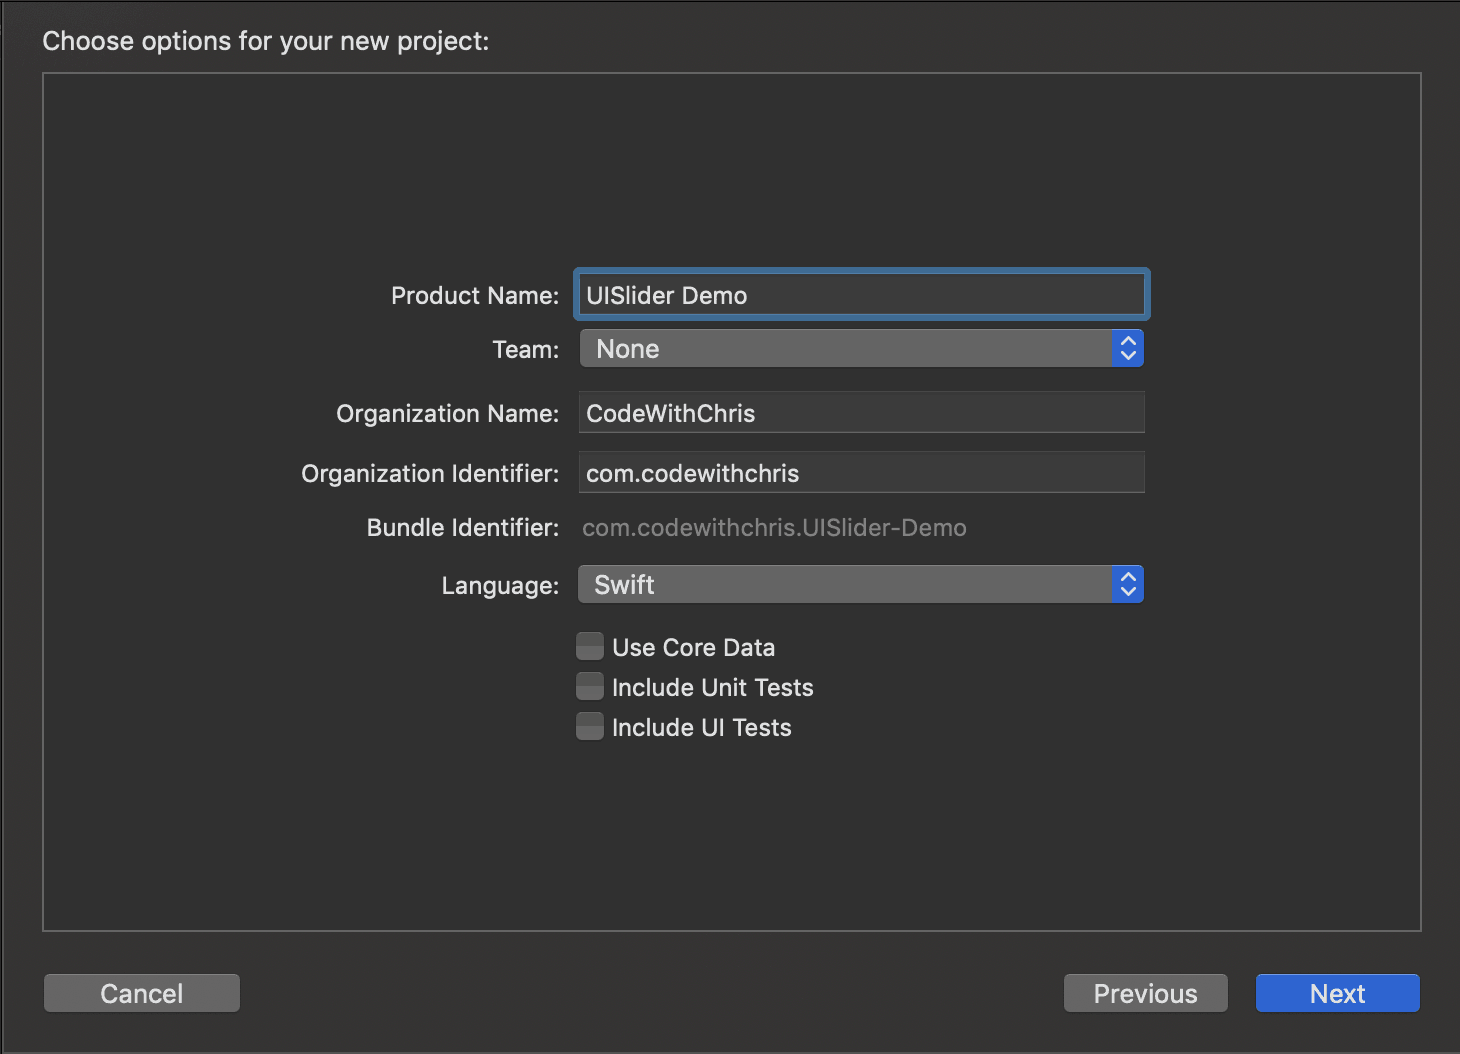
It doesn’t matter what you put in the project settings for this demo.
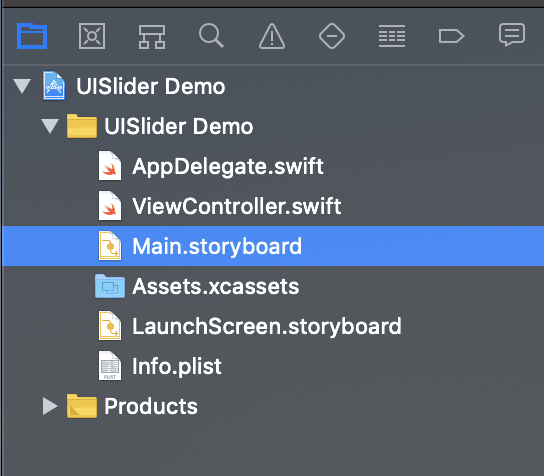
In this demo we’re going to use storyboards to add the UISlider to our view. Start by going to Main.storyboard in your file navigator.
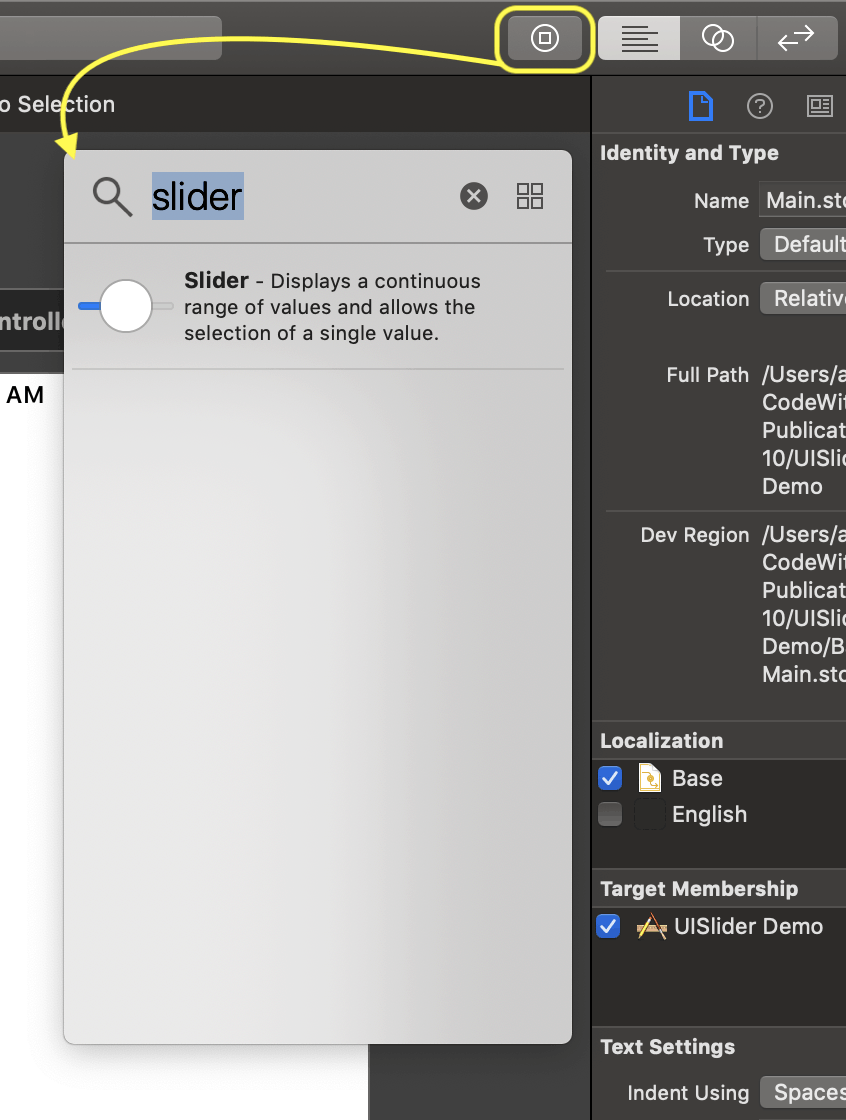
In the upper right corner, open the Library (also: Shift+Cmd+L) and search for “slider”.
When you find it, click and drag it onto your view. Next, do the same thing with a UILabel. Search for it and then drag it onto your view.
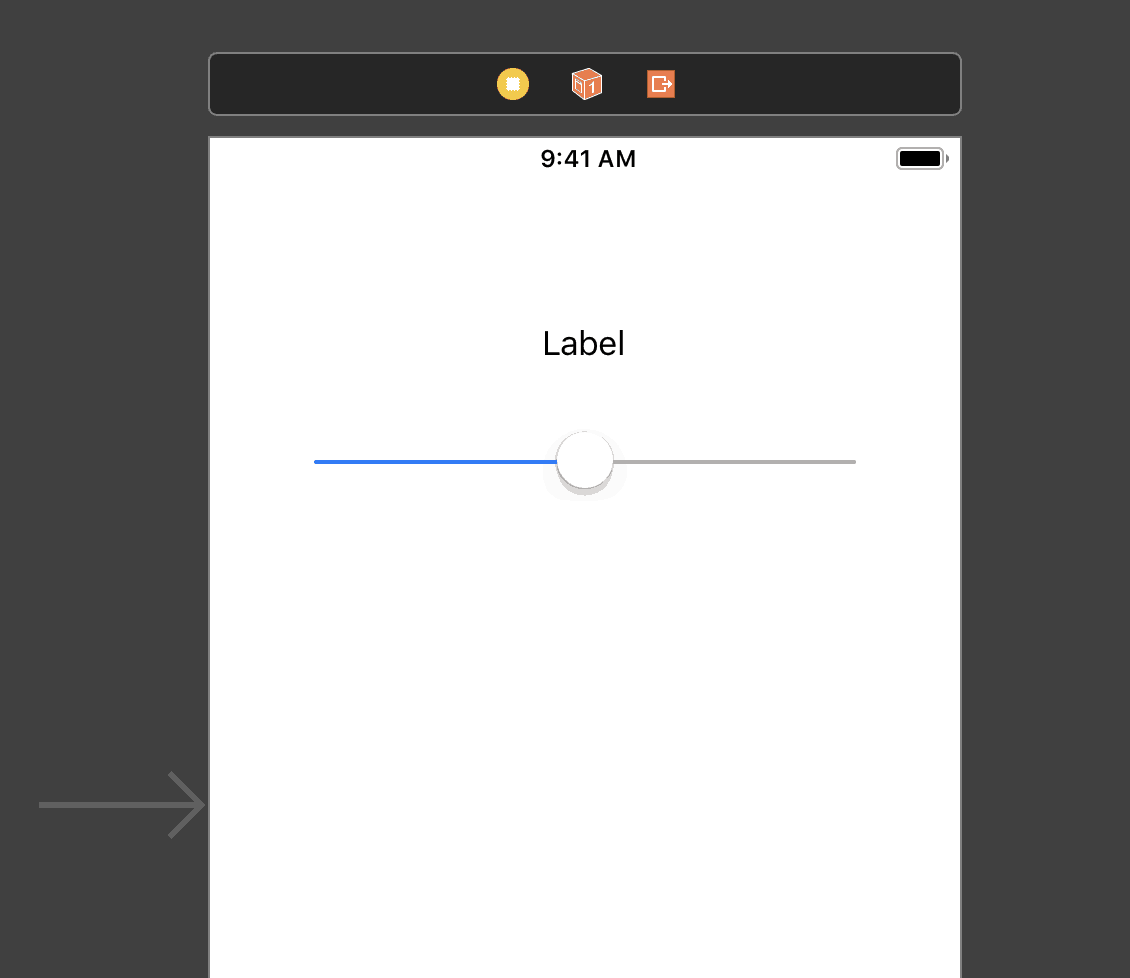
Your view in your storyboard should look like this now (I’ve widened my UISlider):
3. Attach the elements as IBOutlets
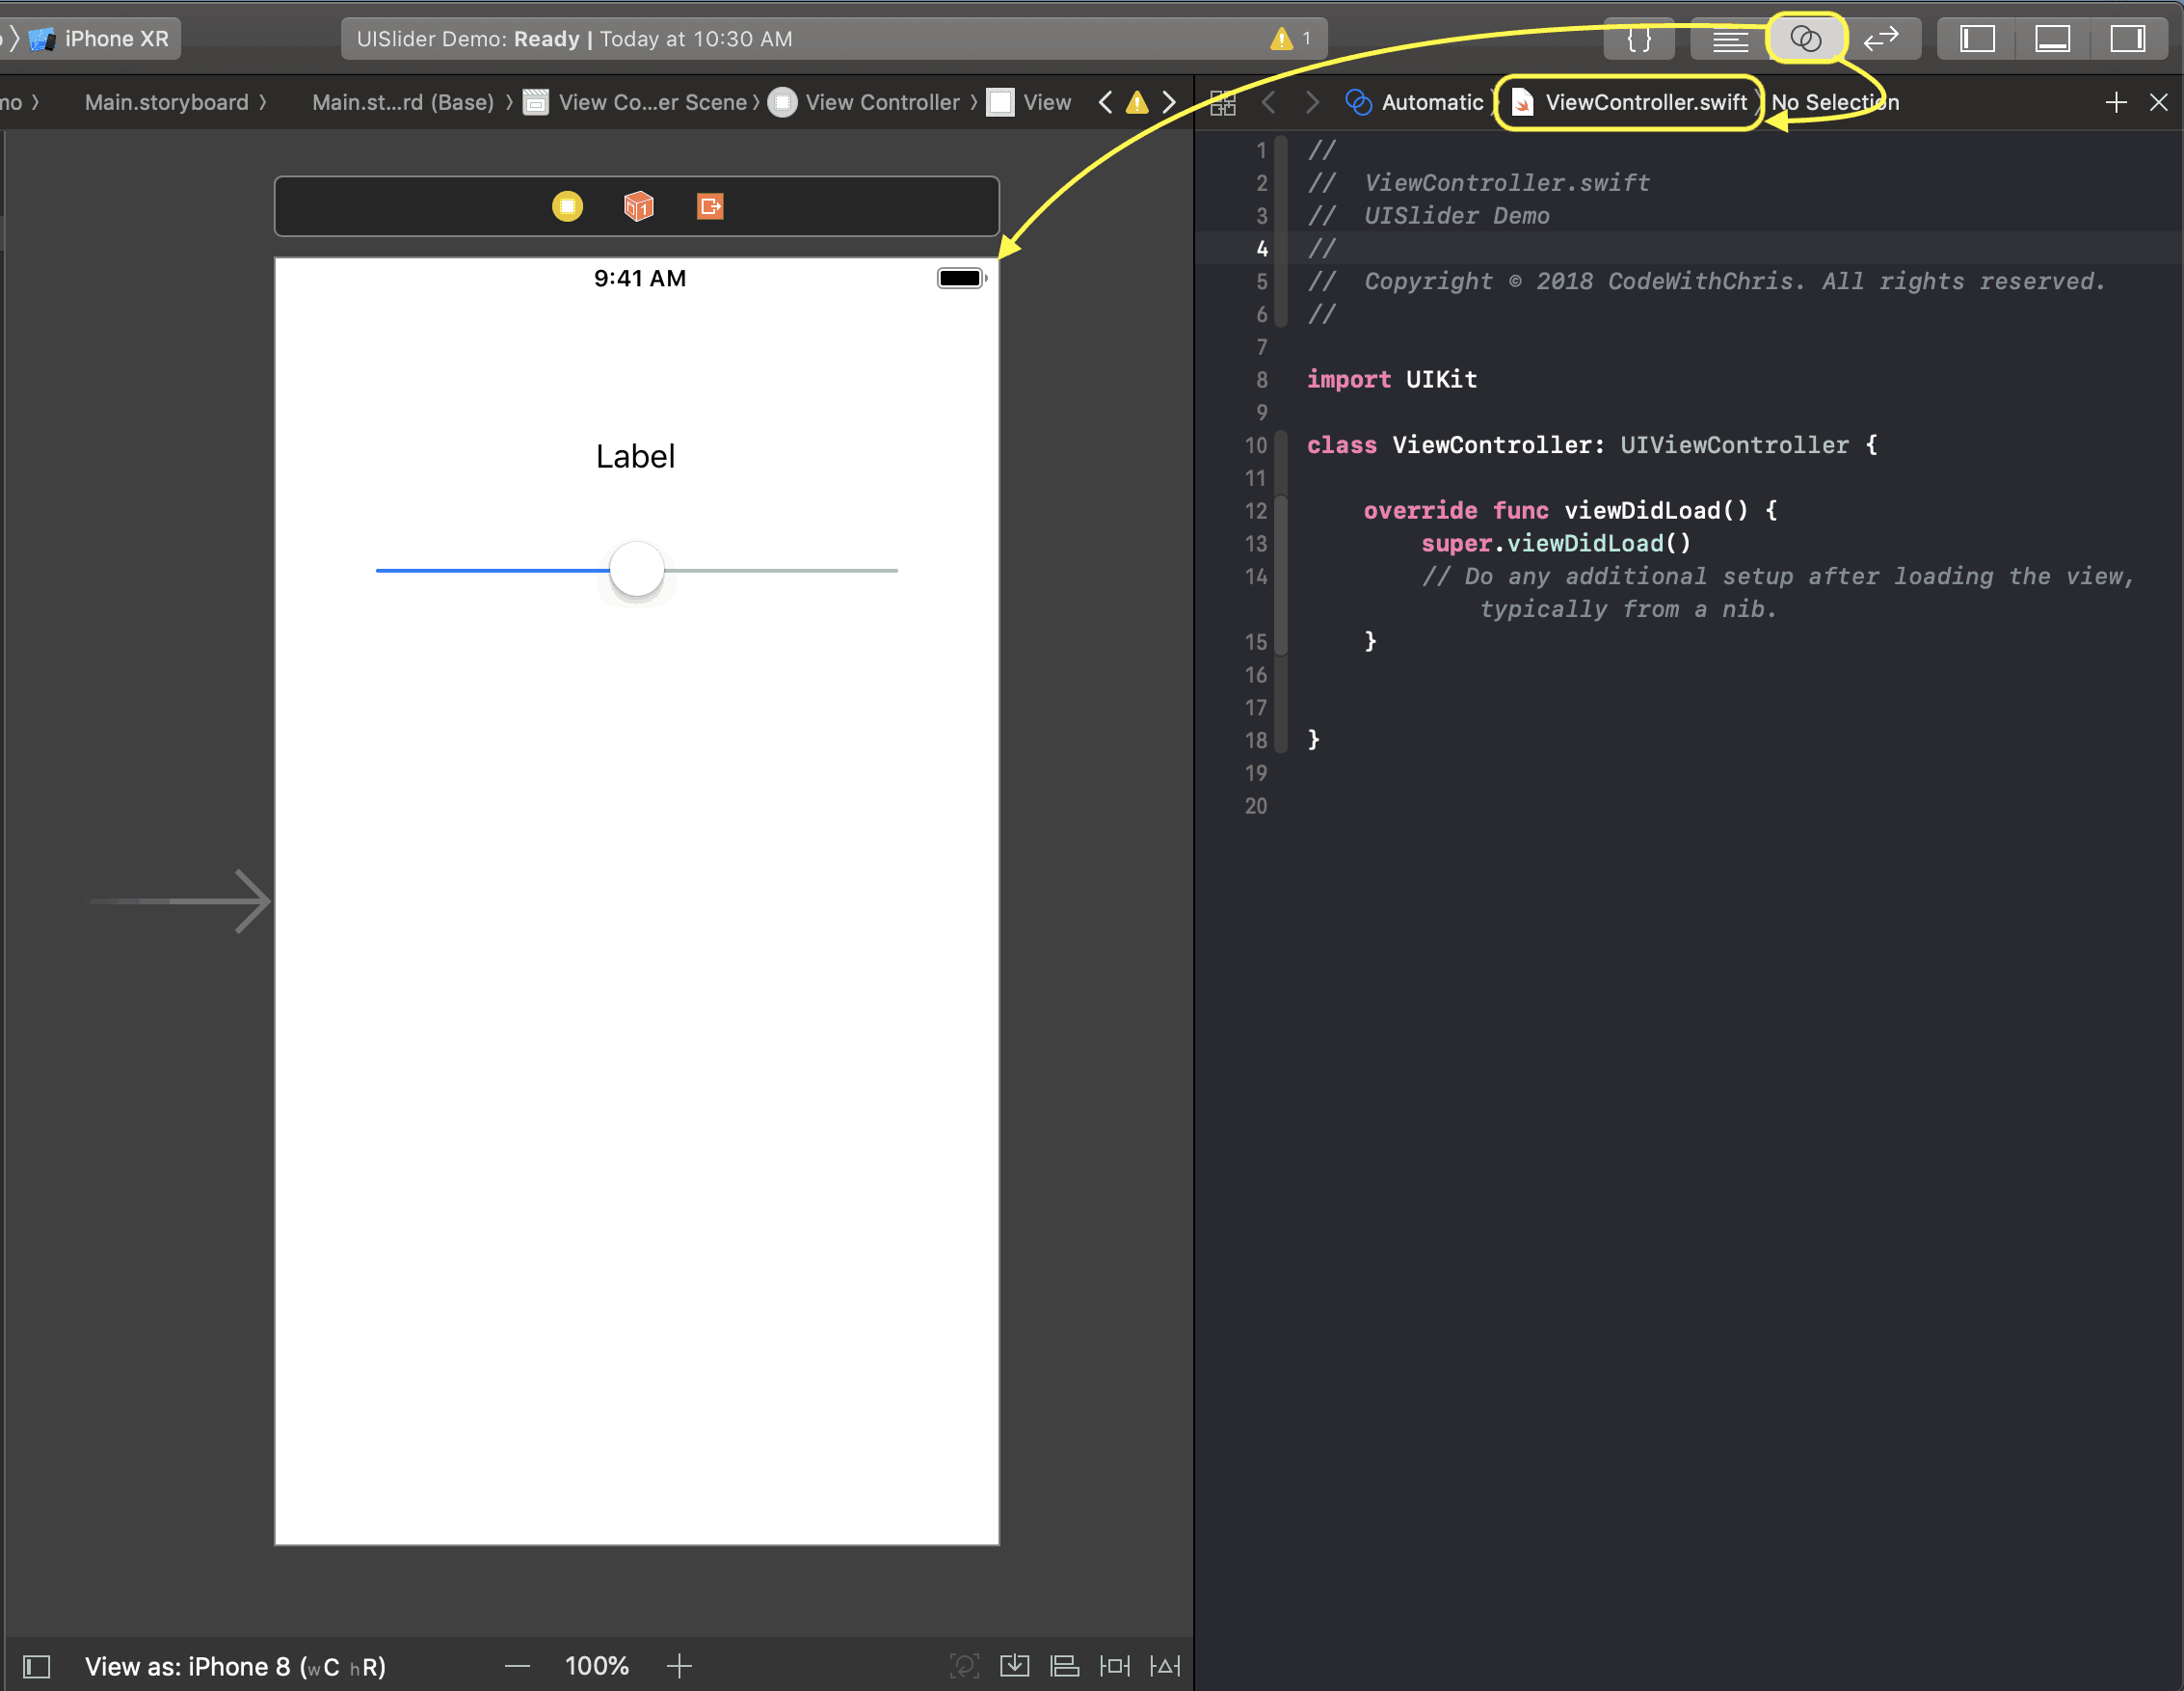
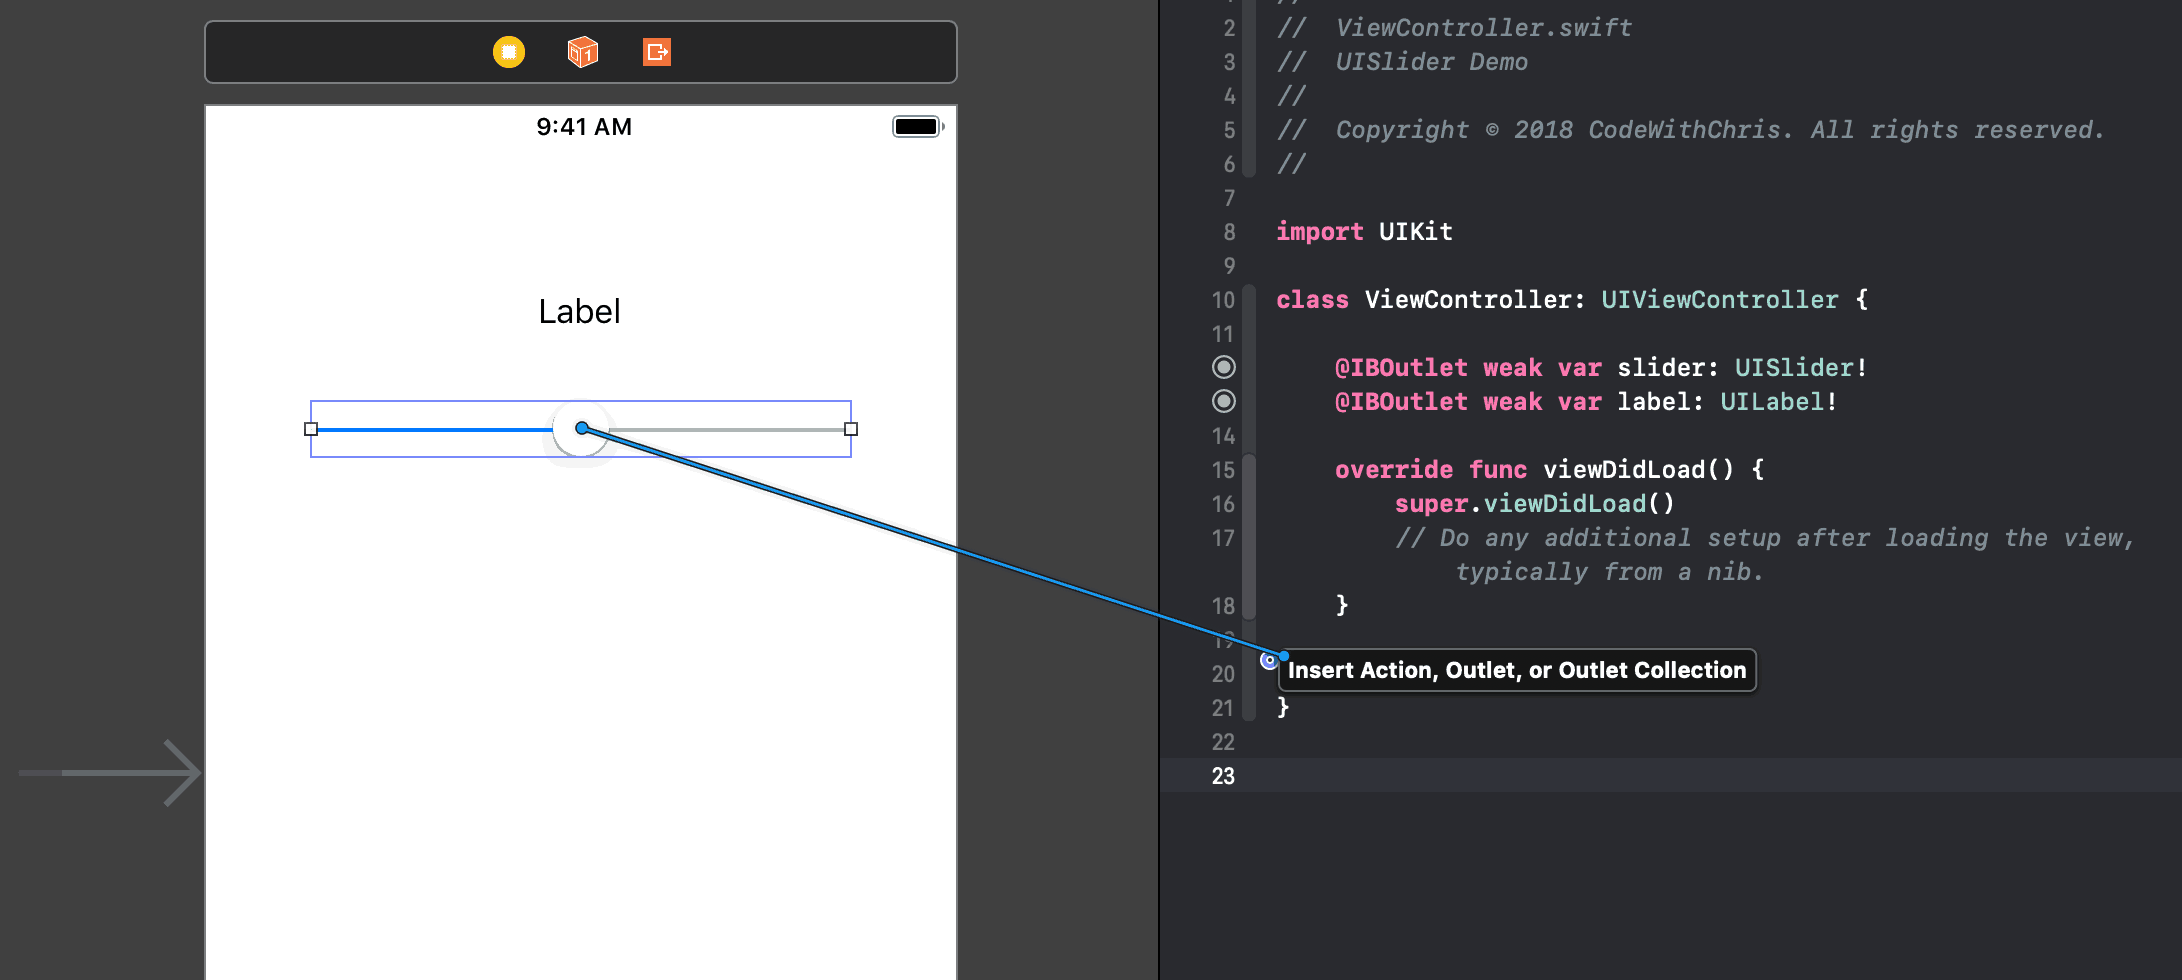
Go to Assistant Editor and make sure that you see your storyboard on the left side and ViewController.swift on the right.
Then hold down CTRL and click either the UILabel or UISlider element on the storyboard and drag over to the right hand side in-between the class ViewController and override func.
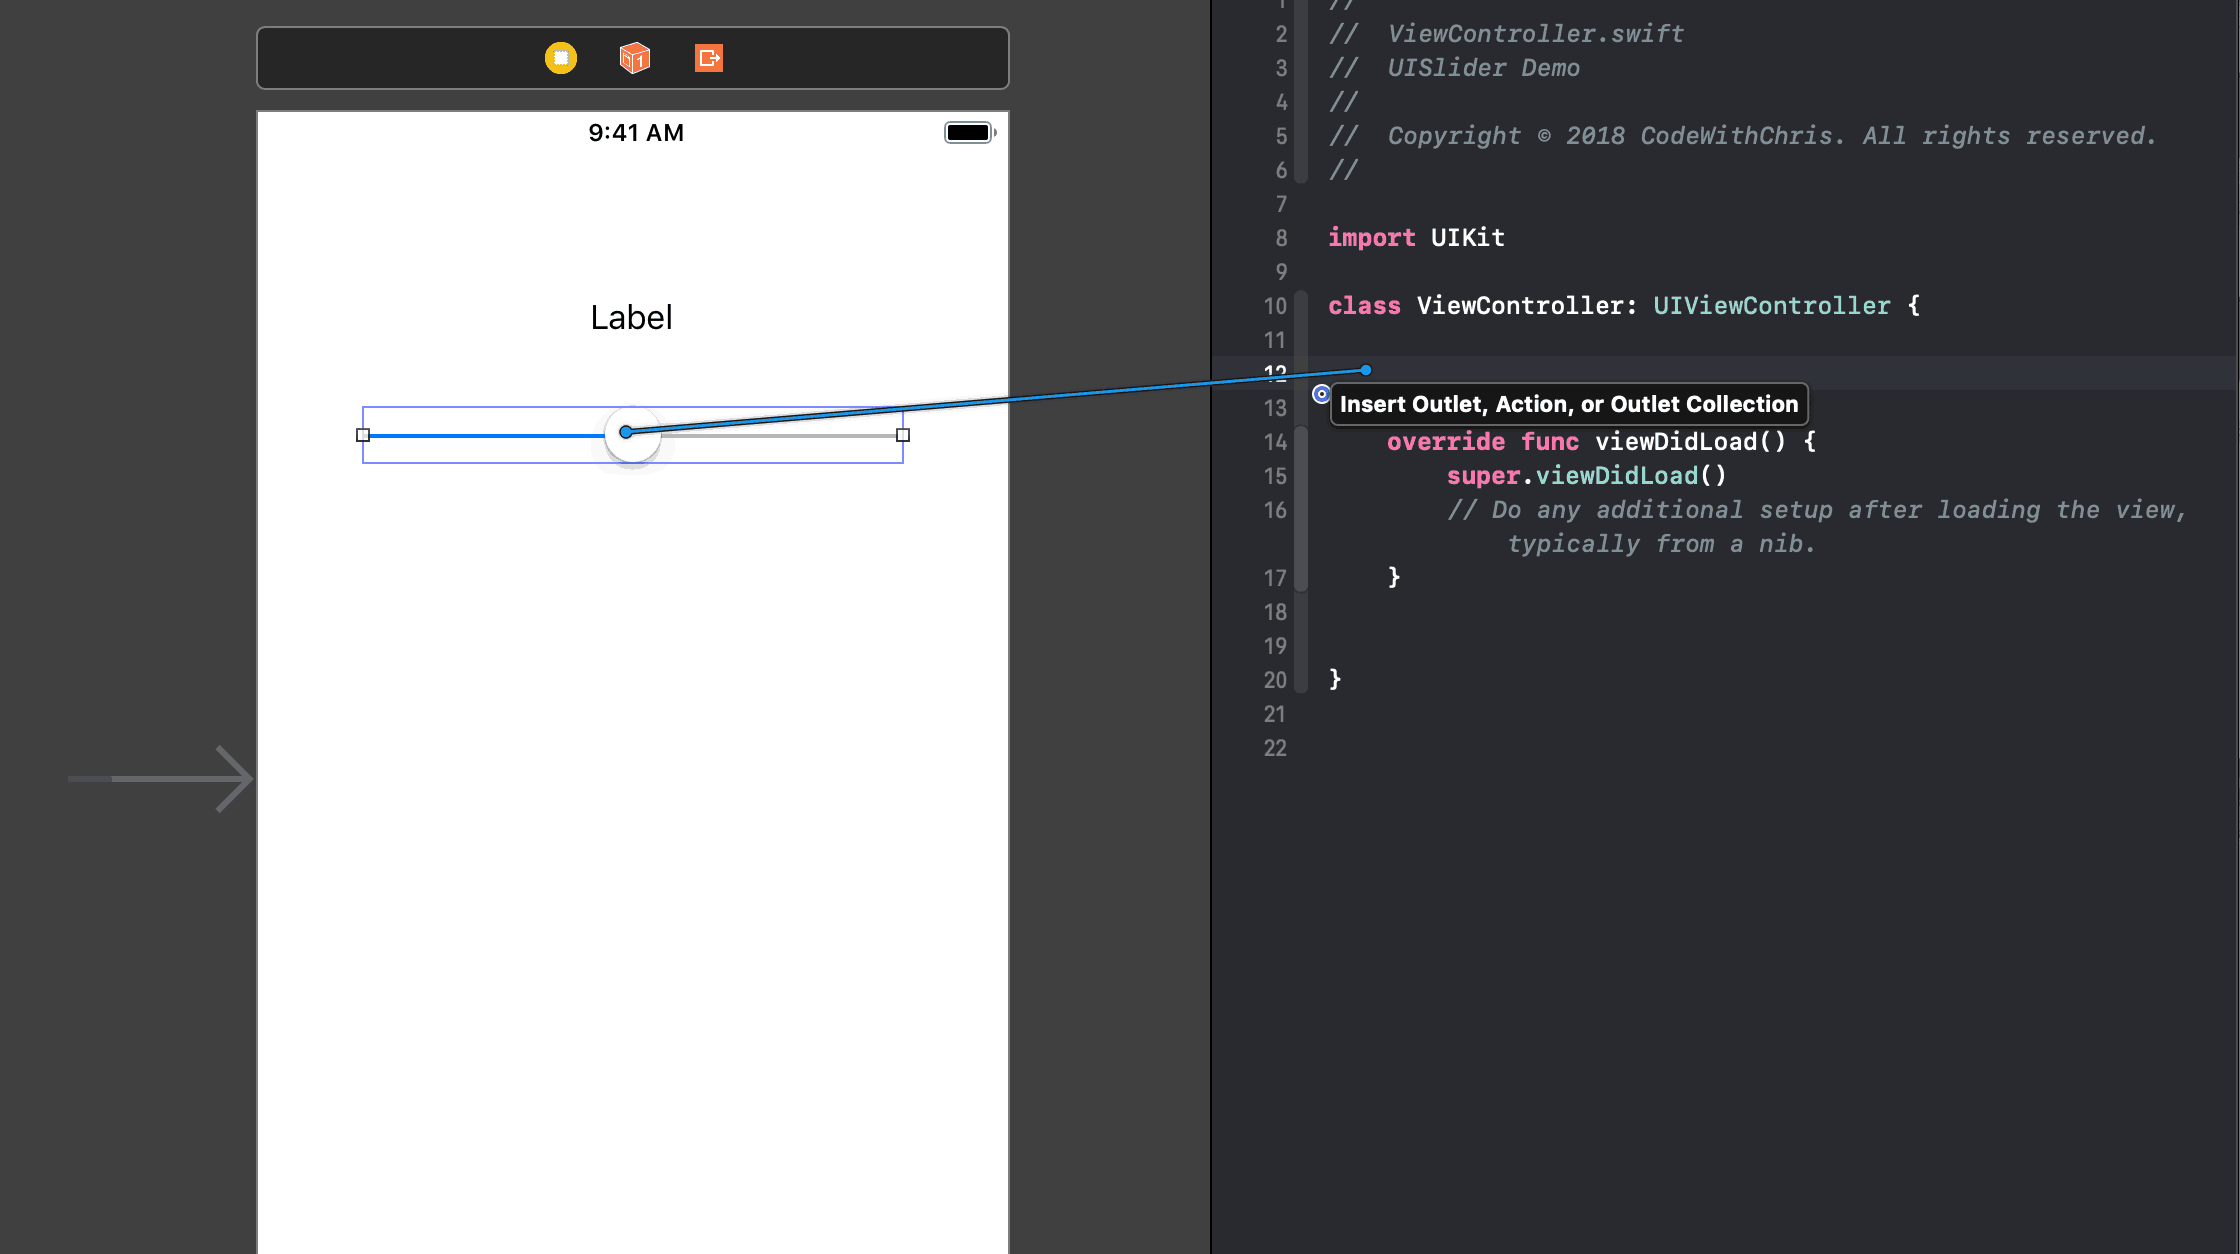
A blue line should follow your mouse cursor and when you release, a dialog will popup and ask you what to name your IBOutlet property.
Name it “slider” or “label” depending on which element you’re currently doing. Do it for both.
What we’re doing here is connecting those elements in the storyboard to properties of the ViewController class so that we can access these elements programmatically in the ViewController class.
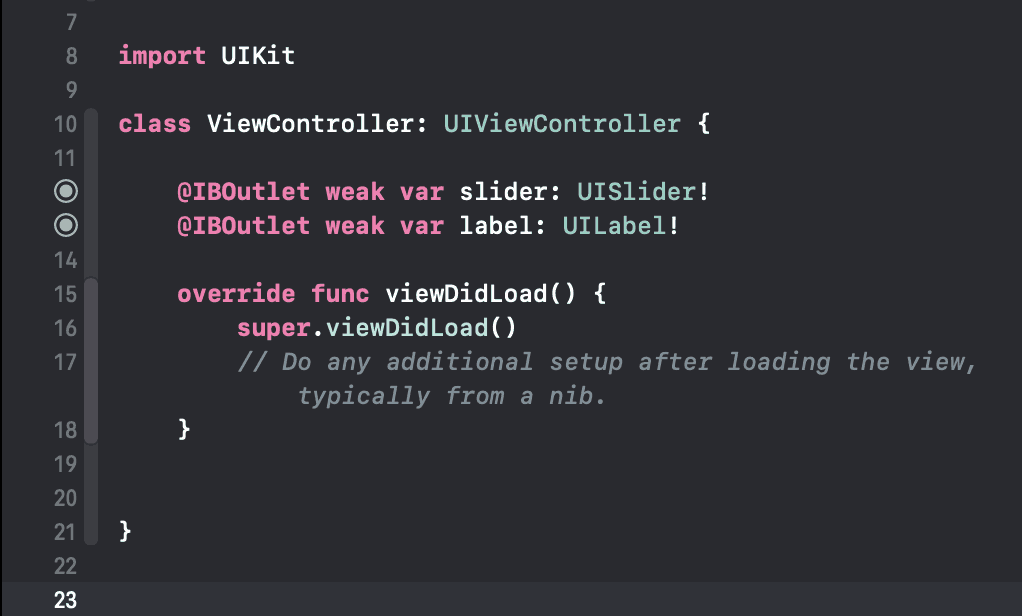
At the end, your ViewController.swift file will look like the above. Notice the two filled-in grey circles beside the two properties. This means that they’re successfully connected to the elements in the storyboard.
A common mistake: If you made a mistake in connecting the elements or naming your properties and you want to re-do it, you can delete the property in the .swift file but you also have to break the connection by going to your storyboard, right-clicking the element and clicking the “x” beside the outlet reference. If you don’t do this and you only delete the property from the .swift file, then the element will be connected to a property that no longer exists and your app will crash!
4. Connecting the Slider value changed event
In order to respond to event of the slider value changing, we have to hook up the event in the .swift file. Once again, we want to be in Assistant Editor view.
You’re going to hold down CTRL and click and drag the slider element so that a blue line follows your mouse. Drag it to an empty space in between the override func and the closing curly brace of the class method such as in the screenshot below.
In the dialog that pops up, you can name the IBAction method sliderValueChanged.
Then in the method you just created, add the following code:
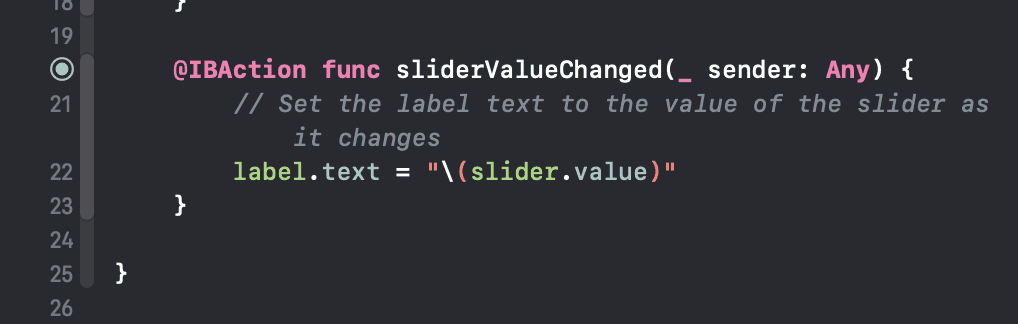
In the code above, we’re simply getting the value of the slider and adding it to a string.
Then we’re assigning that string as the text of the label.
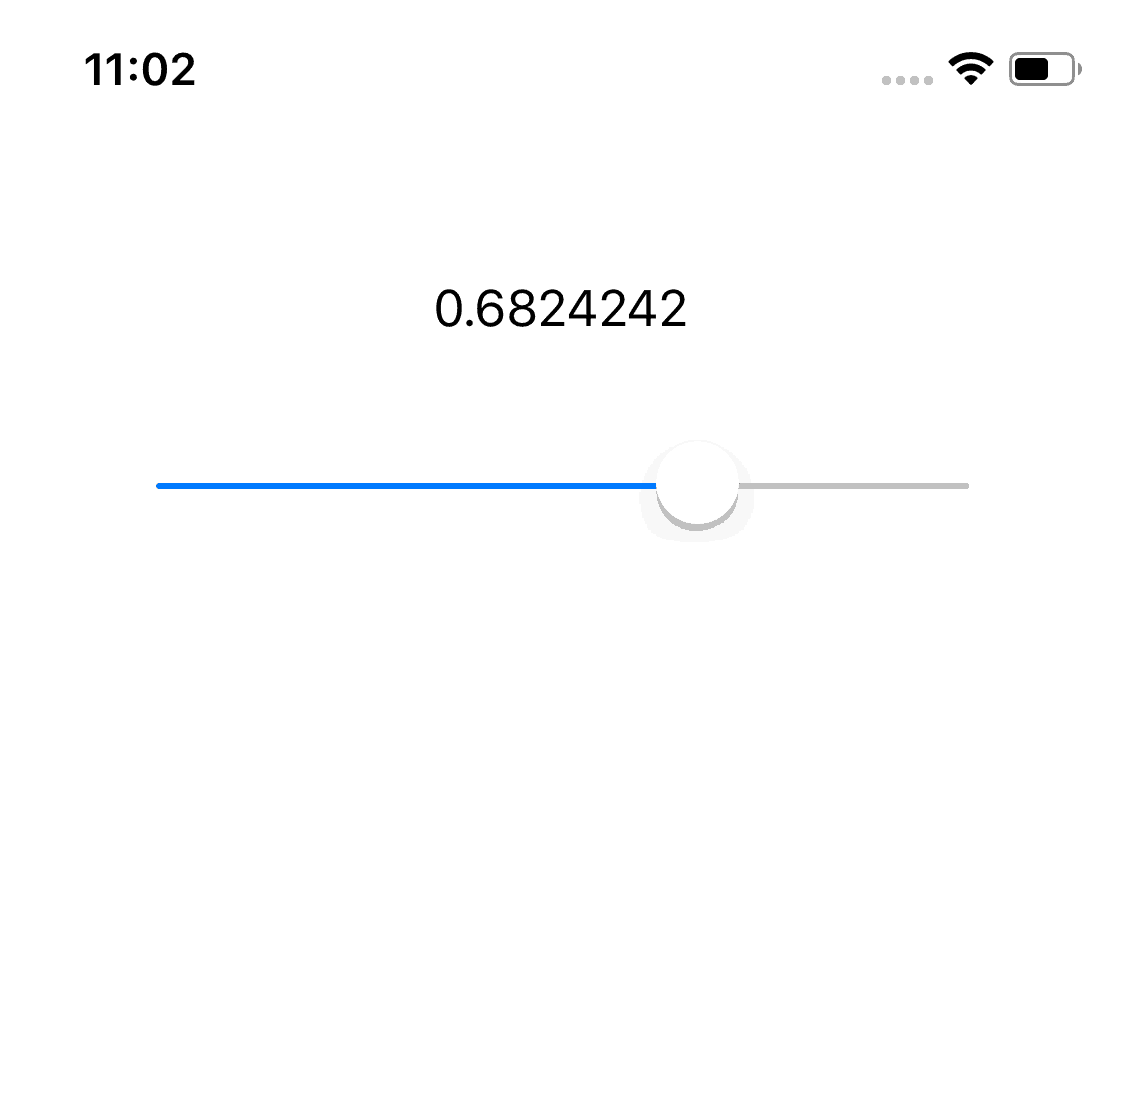
Run the app now and drag the slider thumb around. You’ll see that the label text changes to reflect the value of your slider.
There you have it! Adding a slider and getting its value is pretty simple. You can take this further by styling your slider and we’ll visit that next time.
If you found this tutorial useful, please share it with your friends and colleagues!